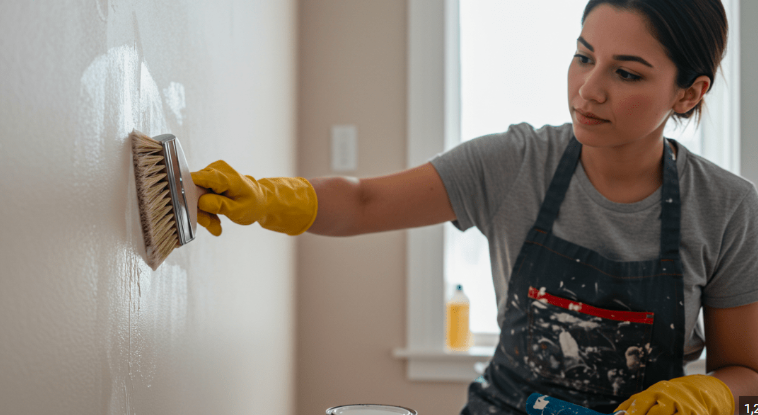

Washing your walls before painting is one of the most important steps to ensure a smooth, long-lasting finish that actually adheres properly.Skipping this step can lead to peeling, bubbling, or uneven paint that ruins your hard work.
We’ll walk you through how to wash walls before painting, including a complete What You’ll Need – Tools & Supplies Checklist and answer the common question: How Long Should Walls Dry Before Painting?
What You’ll Need – Tools & Supplies Checklist
Before you start washing your walls, gathering the right tools and supplies will make the entire process faster, easier, and more effective. Here’s everything you’ll need to get the job done right:
Tools:
- Large sponge or soft scrub brush
- Two buckets (one for cleaning solution, one for rinsing)
- Microfiber cloths or lint-free rags
- Long-handled mop or wall washing pad (for tall walls)
- Step ladder (for reaching high areas)
- Drop cloths or plastic sheeting (to protect floors and furniture)
- Rubber gloves
- Safety goggles (especially when using stronger cleaning solutions)
Cleaning Supplies:
- Mild dish soap or liquid detergent
- Trisodium Phosphate (TSP) or TSP substitute (for heavily soiled walls)
- White vinegar (natural alternative for light cleaning)
- Warm water
- All-purpose household cleaner (optional, for stubborn stains)
- Degreaser (especially for kitchen walls)
How Do You Wash Walls Before Painting
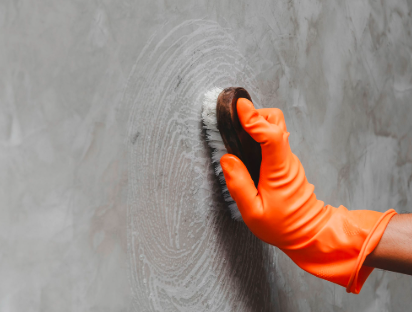
To wash walls before painting, start by removing all dust and cobwebs using a vacuum with a brush attachment or a dry microfiber cloth from top to bottom.
Next, mix warm water with a few drops of mild dish soap for regular walls — or use a TSP solution for greasy or heavily soiled surfaces — and apply it using a sponge or microfiber mop in small sections.
Once cleaned, rinse each section with a clean damp cloth to remove all soap residue and allow the wall to dry completely for at least 24 hours before priming or painting.
How to Sand Walls After Washing?
Once your wall is completely dry after washing, sanding is the next important step to create a smooth, paint-ready surface.
This is typically done with 120–220 grit sandpaper, which is fine enough to smooth out rough patches, bumps, and old paint edges without damaging the wall surface underneath.
After sanding, wipe the wall down with a clean dry microfiber cloth to remove all dust before moving on to priming or painting.
How Long Should Walls Dry Before Painting?
After washing your walls, allowing them to dry completely is just as important as the cleaning process itself.
It is recommended to wait a minimum of 24 hours before applying any primer or paint, as even slightly damp walls can cause paint to bubble, peel, or fail to adhere properly to the surface.
If your room has high humidity or poor ventilation, consider running a fan or dehumidifier to speed up the drying process and ensure the wall is fully dry before you begin painting.
Do You Need to Prime After Washing Walls?
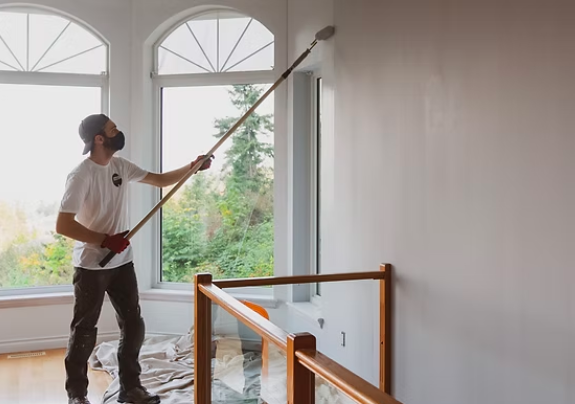
In most cases, yes — priming after washing walls is a highly recommended step that ensures your paint adheres evenly and delivers a long-lasting, professional-looking finish.
Primer seals the clean surface, covers any remaining stains or discoloration, and creates a uniform base that prevents your topcoat from soaking unevenly into the wall.
However, if your walls are in excellent condition, already have a similar paint color, and you are using a high-quality paint-and-primer-in-one product, you may be able to skip a separate primer coat without affecting the final result.
Common Mistakes to Avoid When Washing Walls
Washing walls before painting seems straightforward, but a few common mistakes can ruin your paint job before it even begins — here’s what to watch out for.
Using Too Much Water on the Wall
Soaking the wall with excess water can seep into drywall, causing it to swell, warp, or develop mold beneath the surface over time. Always wring out your sponge thoroughly so it is damp enough to clean but never dripping wet against the wall.
Skipping the Dusting Step
Many people jump straight into washing without dusting first, which turns loose dust and debris into a muddy layer that smears across the wall instead of cleaning it. Always dry dust from top to bottom before applying any liquid cleaning solution to the surface.
Using the Wrong Cleaning Solution
Using a harsh or abrasive cleaner on delicate wall surfaces can strip existing paint, leave chemical residue, or damage the drywall texture underneath. Always match your cleaning solution to your wall type — mild soap for regular walls, TSP for heavy grime, and bleach solution specifically for mold.
Not Rinsing Off the Soap Residue
Leaving soap or cleaning solution residue on the wall is one of the most overlooked mistakes that directly affects paint adhesion. Always follow up with a clean damp cloth to rinse every section you wash, as dried soap residue creates a barrier that prevents primer and paint from bonding properly.
Painting Before the Wall Is Fully Dry
Applying paint to a wall that feels dry on the outside but still holds moisture underneath is a very common mistake that leads to bubbling, peeling, and uneven finish. Always wait a full 24 hours — or longer in humid conditions — before picking up a paintbrush or roller.
Tips for Washing Already-Painted Walls
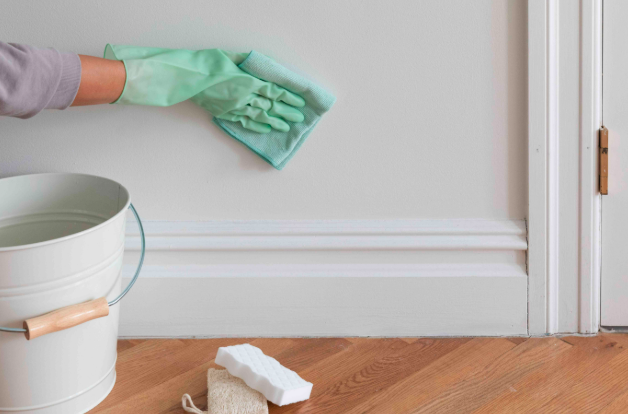
Washing already-painted walls requires a gentler approach than bare walls — here are four key tips to clean them effectively without damaging the existing paint.
- Always Test Your Cleaning Solution First: Before washing the entire wall, test your cleaning solution on a small hidden area to ensure it does not fade or lift the existing paint, especially on flat or matte finishes which are more sensitive to moisture.
- Use Gentle Circular Motions: Always scrub in gentle circular motions using a soft sponge, as aggressive scrubbing on already-painted walls can remove the sheen and leave visible scuff marks that show through your new paint.
- Work from Bottom to Top When Cleaning: Always clean from the bottom up to prevent dirty water from dripping down and leaving streaks, then rinse from top to bottom to remove all loosened dirt and soap residue evenly.
- Dry the Wall Immediately After Rinsing: After rinsing, blot excess moisture with a clean dry microfiber cloth rather than letting it air dry, as painted walls left too wet can develop bubbling or soft spots before painting.
Frequently Asked Questions
Can I Use a Pressure Washer to Clean Interior Walls Before Painting?
No — pressure washers are far too powerful for interior walls and will cause serious water damage, soak through drywall, and create moisture problems that take days to dry out properly.
What Type of Sponge Is Best for Washing Walls Before Painting?
A large cellulose sponge is the best choice for washing walls as it holds enough cleaning solution to cover wide areas efficiently while being soft enough not to scratch or damage the existing surface.
Should I Wash Walls in Sections or All at Once?
Always wash walls in small manageable sections, cleaning and rinsing one area completely before moving to the next, as this prevents the cleaning solution from drying on the surface and leaving behind streaks or residue marks.
Do I Need to Move Furniture Before Washing Walls?
Yes — always move furniture away from walls and cover floors and remaining items with drop cloths before you begin, as cleaning solutions and rinse water can drip and cause damage to your belongings and flooring.
Can I Wash Walls With Just Water and No Cleaning Solution?
Plain water alone is not effective enough to remove grease, grime, or nicotine buildup from walls and will simply spread dirt around rather than lifting it off the surface properly.
How Do I Wash Walls in a Room That Has Never Been Painted Before?
Unpainted walls such as bare drywall should only be wiped down with a dry microfiber cloth to remove dust — never use liquid cleaning solutions on bare drywall as moisture will damage and weaken the surface before painting.
Conclusion
Knowing how to wash walls before painting is the foundation of any successful paint job that looks professional and lasts for years.
Every step covered in this guide — from dusting and choosing the right cleaning solution to tackling grease and mold — plays a crucial role in preparing your walls the right way.
Take the time to clean, dry, sand, and prime properly, and your fresh coat of paint will deliver a smooth, long-lasting finish that truly stands the test of time.