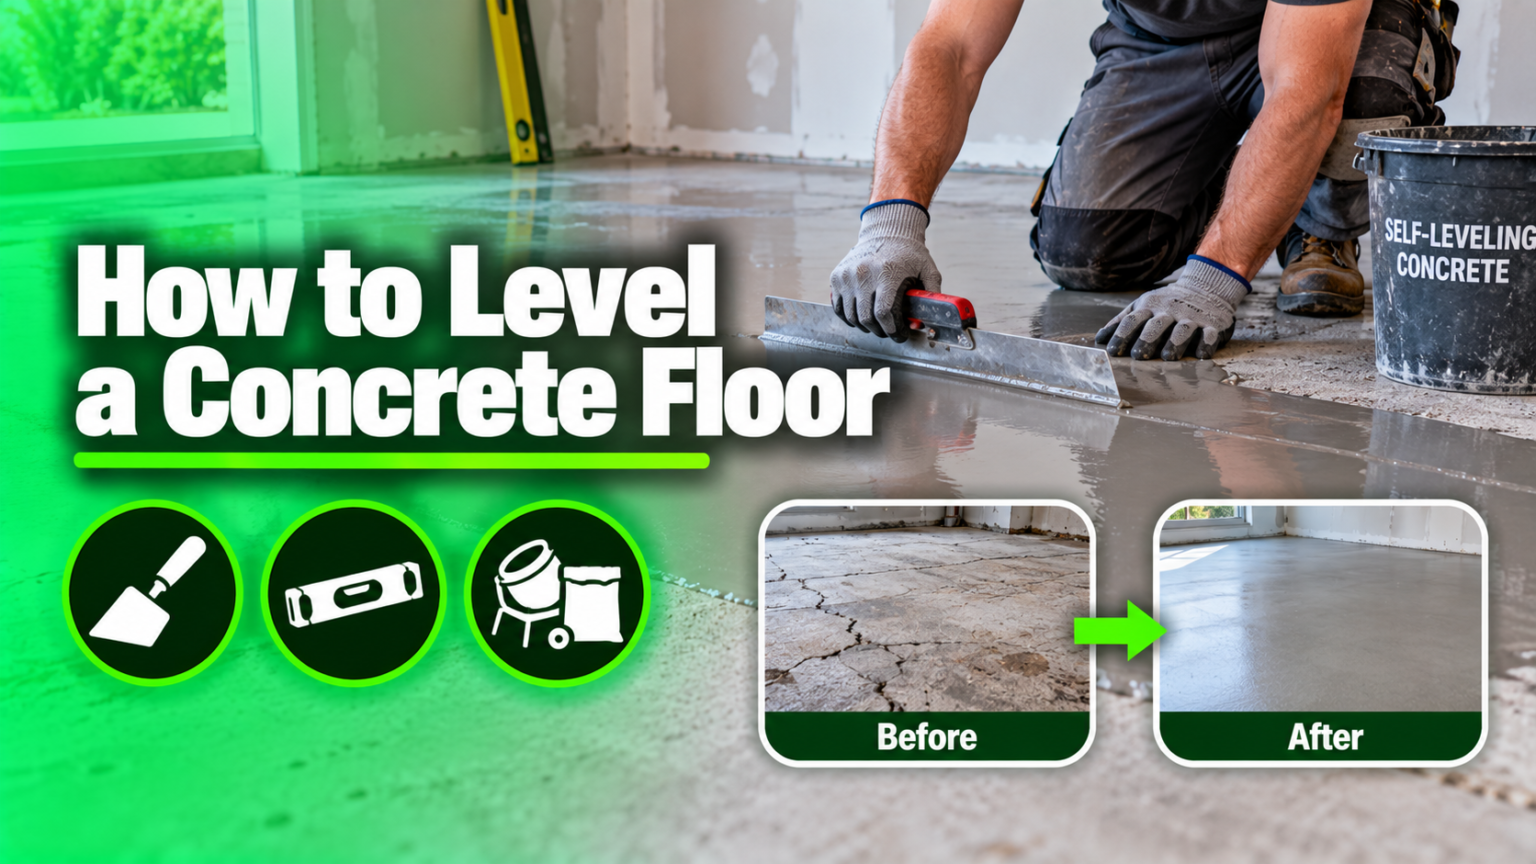

If you have ever walked across a room and noticed your furniture wobbling, or watched water pool strangely in one corner of your garage, there is a good chance your concrete floor is not as flat as it should be.
Learning how to level a concrete floor is one of the most useful skills a homeowner or DIY enthusiast can pick up, because an uneven floor does not just look bad, it can also cause real problems down the line. Cracked tiles, doors that will not close properly, and even structural stress can all trace back to a floor that was never properly leveled.
The good news is that leveling a concrete floor is not as intimidating as it might sound. With the right tools, the right materials, and a bit of patience, most minor and moderate unevenness can be fixed without calling in a professional crew. This guide walks through everything you need to know, from spotting the warning signs to choosing the right method, understanding costs, and avoiding the mistakes that trip up first-timers.
What Does “Leveling a Concrete Floor” Mean?
At its core, leveling a concrete floor means correcting dips, bumps, slopes, and other irregularities in the surface so that it becomes flat and even.
This is usually done by pouring or spreading a specialized compound over the existing concrete, which fills in low areas and creates a smooth, uniform surface once it cures. In some cases, leveling can also involve grinding down high spots rather than filling low ones, depending on the type of unevenness you are dealing with.
Why a Level Floor Matters
A level floor is not just about appearances. It plays a real role in the safety and functionality of a space. Flooring materials like tile, vinyl, and hardwood are installed based on the assumption that the subfloor beneath them is flat; when it is not, those materials can crack, shift, or wear unevenly over time.
Uneven floors are also a tripping hazard, and in commercial or workshop settings, they can interfere with the operation of heavy equipment or shelving units. Simply put, a properly leveled floor extends the life of everything built on top of it.
When Do You Need to Level Your Concrete Floor?
Not every concrete floor needs leveling, but certain situations make it almost unavoidable. You will likely need to level your floor before installing new flooring such as tile, laminate, or engineered wood, especially in older homes where the original pour may have settled unevenly.
Basements and garages are common trouble spots, since they are more prone to shifting soil beneath them. If you are renovating a space or noticing any of the warning signs discussed in the next section, it is worth taking a closer look.
Signs Your Concrete Floor Needs Leveling
Before jumping into any repair work, it helps to confirm that leveling is actually necessary. Here are the most common indicators homeowners run into.
Visible Dips, Slopes, or Cracks
The most obvious sign is simply being able to see or feel the unevenness. Running a straight edge or a marble across the floor is a simple way to confirm suspicions, since a marble will visibly roll toward the lowest point.
Furniture Wobbling or Doors Not Closing Properly
If a table rocks even though all four legs are the same length, or a door that used to close smoothly now drags or sticks, the floor beneath it may have shifted or settled unevenly.
Water Pooling in Certain Areas
In garages, basements, and utility rooms, water that consistently collects in the same spot after cleaning or rain is a strong sign that area sits lower than the rest of the floor.
Uneven Tile or Flooring Installation Issues
If you have already installed tile or hardwood and notice cracking, gaps, or a hollow sound when walking over certain sections, the subfloor was likely uneven at the time of installation.
Types of Concrete Floor Unevenness
Not all uneven floors are the same, and the type of unevenness you are dealing with will determine which leveling method makes the most sense.
| Type of Unevenness | Typical Cause | Recommended Fix |
|---|---|---|
| Minor Surface Irregularities | Natural curing variations, minor wear | Thin self-leveling compound |
| Moderate Dips and Bumps | Settling, poor original pour | Self-leveling compound or screed |
| Severe Structural Unevenness | Foundation movement, soil shifting | Professional assessment, possible foundation repair |
Minor Surface Irregularities
These are small imperfections, often just a few millimeters in depth, and are usually cosmetic rather than structural. They are the easiest type to fix with a thin layer of self-leveling compound.
Moderate Dips and Bumps
This category includes noticeable low spots that might be a centimeter or more in depth. These are still very manageable for a DIY leveling project but may require a thicker application of leveling compound.
Severe Structural Unevenness
When unevenness is tied to actual foundation movement, no amount of surface leveling compound will solve the underlying problem. In these cases, it is important to consult a structural engineer before attempting any cosmetic fix.
Tools and Materials Required
Having the right supplies on hand before you start makes the entire process smoother and helps avoid mid-project trips to the hardware store.
Essential Tools
- Long straight edge or laser level, to identify high and low points
- Trowel or gauge rake, for spreading compound evenly
- Mixing drill with a paddle attachment
- Spike roller, to release trapped air bubbles
- Bucket for mixing
- Shop vacuum, for cleaning the surface thoroughly
Materials Needed
- Self-leveling compound (the main product used for most leveling jobs)
- Concrete primer, to help the compound bond properly
- Patching compound or epoxy filler, for cracks and holes
- Sealant or finish, depending on the final use of the floor
Safety Equipment
Because leveling compounds and primers can release fine dust and fumes, it is wise to wear gloves, a dust mask, and knee pads while working. Safety glasses are also recommended when mixing powders.
Step-by-Step Process to Level a Concrete Floor
This is the heart of the guide, walking through the actual process of how to level a concrete floor from start to finish.
Step 1: Assess the Floor for High and Low Spots
Start by using a long straight edge or laser level to map out where the floor dips or rises. Mark problem areas with chalk so you know exactly where extra compound will be needed.
Step 2: Clean and Prepare the Surface
Any dust, oil, grease, or old coatings must be removed before you begin, since leveling compound will not bond properly to a dirty surface. A shop vacuum followed by a degreasing wash is usually sufficient for most floors.
Step 3: Repair Cracks and Holes
Fill any visible cracks or holes with a patching compound or epoxy filler and allow it to cure fully before moving forward. Skipping this step can cause the leveling compound to sink into hidden voids.
Step 4: Apply Primer
A concrete primer creates a bonding layer between the old concrete and the new leveling compound. Apply it evenly with a roller and let it dry according to the manufacturer’s instructions, usually a couple of hours.
Step 5: Mix the Self-Leveling Compound Correctly
This step matters more than people expect. Follow the manufacturer’s water-to-powder ratio exactly, since too much water weakens the mix and too little makes it difficult to spread. A mixing drill with a paddle attachment ensures a smooth, lump-free consistency.
Step 6: Pour and Spread the Compound
Work in manageable sections rather than trying to cover the entire floor at once. Pour the mixture and use a gauge rake or trowel to guide it into low areas; the compound is designed to self-level, but a little guidance speeds up the process and helps it flow into corners.
Step 7: Use a Spike Roller to Remove Air Bubbles
Rolling a spike roller over the wet compound releases trapped air bubbles that could otherwise weaken the surface once it cures.
Step 8: Allow Proper Curing Time
Curing times vary by product, but most self-leveling compounds need at least 24 to 48 hours before they can be walked on, and longer before flooring can be installed on top. Always check the specific product instructions.
Step 9: Sand or Smooth Out Minor Imperfections
Once fully cured, run your hand or a straight edge over the surface to check for any remaining high spots, and lightly sand them down if necessary.
Step 10: Seal or Finish the Floor
Depending on how the floor will be used, apply a sealant, paint, or move directly into installing your chosen flooring material.
Different Methods of Leveling a Concrete Floor
While self-leveling compound is the most popular method for homeowners, it is not the only option available.
Self-Leveling Compound Method
This is the most common and beginner-friendly approach, ideal for floors with minor to moderate unevenness across a large area.
Sand and Cement Screed Method
A traditional method that involves mixing sand and cement into a thick paste and manually leveling it with a straight edge. This method is more labor-intensive and typically used by professionals for larger commercial spaces.
Grinding Method
Rather than filling low spots, grinding removes high spots using a concrete grinder. This is best suited for floors that only have a few isolated raised areas rather than widespread dips.
Overlay or Resurfacing Method
For floors with significant wear or damage in addition to unevenness, a full overlay can both level and refresh the surface, giving an almost brand-new finish.
How Long Does It Take to Level a Concrete Floor?
The overall timeline depends heavily on the size of the area and the product used, but most self-leveling compounds set within a few hours and are safe to walk on within one to two days.
Drying and Curing Time Explained
There is a difference between the compound setting, which happens fairly quickly, and full curing, which is when the material reaches its maximum strength. Setting might take just a few hours, while full curing for flooring installation can take up to a week.
Factors That Affect Curing Speed
Temperature, humidity, and the thickness of the applied layer all influence how quickly a leveling compound cures. Cooler or more humid environments generally slow the process down.
Cost of Leveling a Concrete Floor
Budgeting for this project depends on whether you plan to do it yourself or hire a professional crew.
| Cost Factor | DIY Estimate | Professional Estimate |
|---|---|---|
| Materials (per sq. ft.) | Lower cost, basic products | Often uses premium-grade compounds |
| Labor | Your own time | Skilled labor charges apply |
| Tools/Equipment Rental | One-time or owned tools | Included in service price |
| Overall Project Cost | Generally more affordable | Higher, but includes expertise and guarantee |
DIY Cost Breakdown
For a DIY project, the primary costs are the self-leveling compound itself, primer, and any tool rentals like a mixing drill. Smaller rooms can often be completed affordably with materials available at most hardware stores.
Professional Leveling Cost
Hiring a professional adds labor costs on top of materials, but it also brings expertise, especially valuable for larger areas or floors with more complicated unevenness.
Factors That Affect Overall Pricing
The total cost is influenced by the size of the floor, the severity of the unevenness, the type of compound used, and your specific location.
DIY vs Hiring a Professional
Deciding whether to tackle this project yourself or call in help depends on the scale and severity of the problem.
When You Can DIY
Minor to moderate unevenness across a small to medium sized room is generally manageable for a confident do-it-yourselfer, especially with the step-by-step process outlined above.
When You Should Hire an Expert
Large commercial spaces, severe structural issues, or floors with signs of foundation movement are best left to professionals who can properly diagnose the root cause.
Pros and Cons of Each Option
DIY leveling saves money and offers flexibility in scheduling, but carries a higher risk of mistakes for first-timers. Professional leveling costs more but comes with experience, proper equipment, and often a warranty on the work.
Common Mistakes to Avoid
Even a straightforward project like this has a few pitfalls that trip up beginners.
- Skipping surface cleaning, which leads to poor bonding and premature failure of the leveling compound
- Using an incorrect water-to-powder mixing ratio, resulting in a mix that is either too runny or too thick to work with
- Not applying a primer, which weakens the bond between old and new material
- Rushing the curing process, which can cause cracking or shifting once weight is placed on the floor
Maintenance Tips After Leveling
Once your floor is level, a bit of ongoing care helps it stay that way for years to come.
Protecting the Floor from Moisture
Excess moisture can weaken leveling compound over time, so it is worth addressing any drainage or humidity issues in the space before and after the project.
Regular Cleaning Practices
Routine sweeping and occasional damp mopping help preserve the surface, especially in garages and basements where dust and debris accumulate quickly.
When to Re-Level in the Future
If new dips or cracks appear years down the line, particularly in areas prone to settling, it may be worth repeating a lighter version of this process rather than waiting for the problem to worsen.
Frequently Asked Questions (FAQs)
Can I Level a Concrete Floor Myself? Yes, for most minor to moderate unevenness, a self-leveling compound and basic tools are enough for a confident DIYer to complete the job successfully.
How Thick Should Self-Leveling Compound Be? This varies by product, but most compounds can be applied anywhere from a thin skim coat up to a couple of inches thick, depending on the depth of the low areas being filled.
Does Self-Leveling Compound Work on Uneven Old Concrete? Yes, as long as the old concrete is structurally sound, cleaned thoroughly, and properly primed before application.
How Do I Know If My Floor Is Level? A long straight edge, a laser level, or even a marble rolled across the surface will reveal any dips or slopes that need attention.
Can You Walk on a Leveled Floor Right Away? No, most compounds require at least 24 to 48 hours before it is safe to walk on them, and longer before installing additional flooring on top.
Conclusion
Knowing how to level a concrete floor gives you the ability to fix one of the most common, yet often overlooked, issues in homes and workspaces. From identifying the warning signs to choosing the right method, gathering the correct tools, and following a careful step-by-step process, most homeowners can successfully complete this project without professional help, as long as the unevenness is not tied to a deeper structural issue.
Taking the time to clean, prime, mix correctly, and allow proper curing will reward you with a smooth, durable surface ready for whatever flooring or finish comes next.
A little patience during this project goes a long way. A properly leveled concrete floor is not just a cosmetic upgrade; it is a foundation, quite literally, for everything you plan to build on top of it.
Related Articles
What Are Styrofoam Ceiling Tiles? Discover their benefits & tips.
How to Manually Flush a Toilet: Complete guide 2026
How to Clean Shower Tiles: Step-by-Step Guide for a Spotless Bathroom
How to Tell If a Wall Is a Bearing Wall: A Complete Homeowner’s Guide