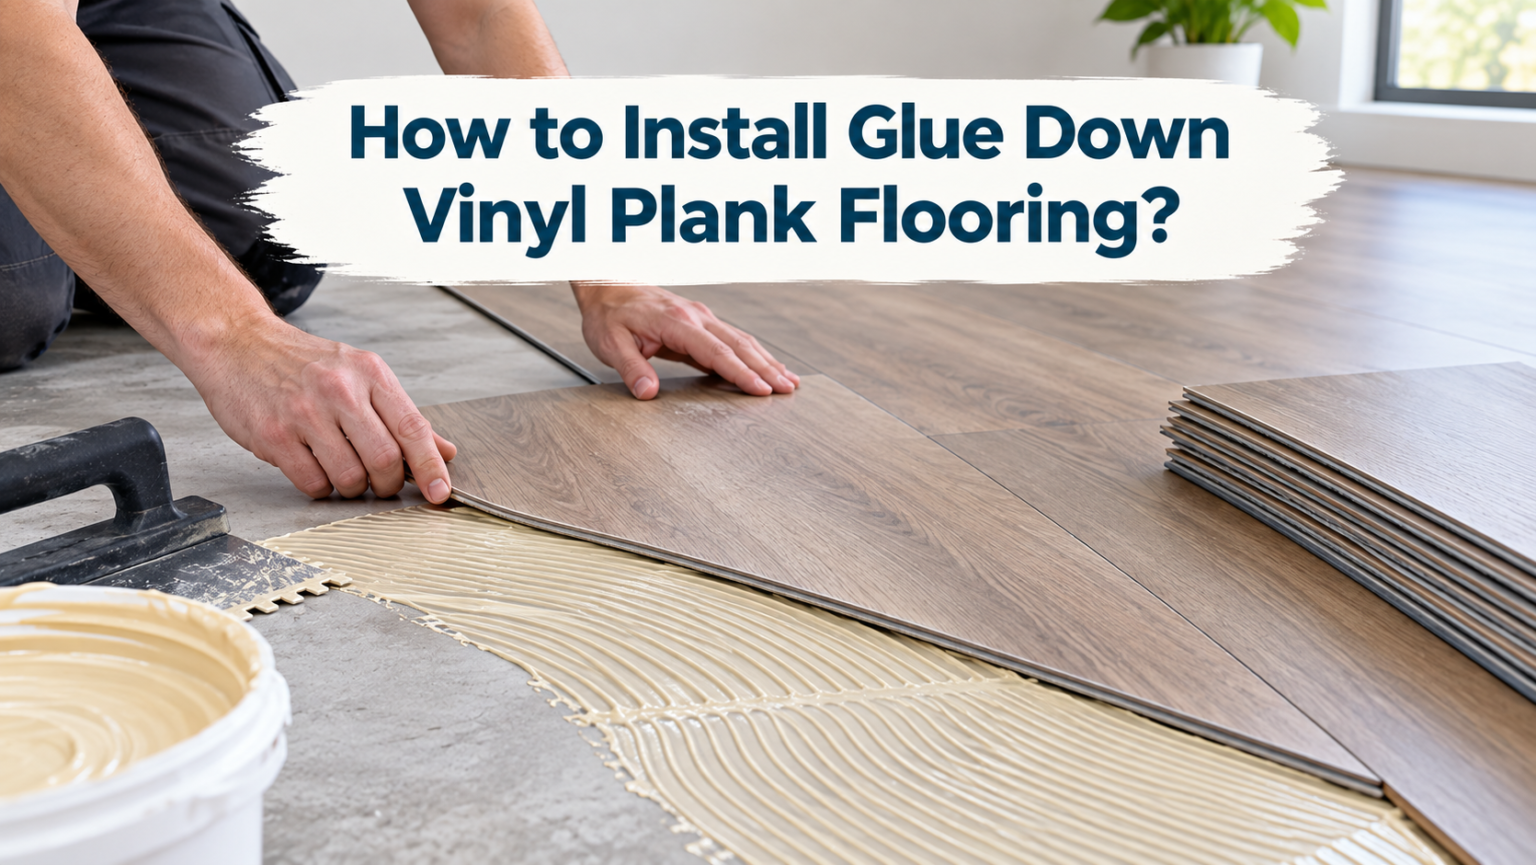

Glue down vinyl plank has quietly become the go-to choice for homeowners who want a floor that stays put, feels solid underfoot and survives real life. Unlike floating floors that can shift, gap or creak, a fully bonded floor behaves like one continuous surface.
The catch is that success depends far more on preparation than on laying planks. If you want to learn how to install glue down vinyl plank flooring correctly, you need to understand your subfloor, your adhesive and your timing.
This guide walks through every stage in plain language, from measuring the room to the first mop. By the end, you will know exactly where DIYers go wrong and how to avoid joining them.
What Is Glue Down Vinyl Plank Flooring?
Glue down vinyl plank, often labelled LVP or LVT, is a multi-layer resilient plank bonded directly to the subfloor with adhesive rather than clicked together. Each plank has a clear wear layer on top, a printed decorative film, a rigid or flexible core and a backing designed to grip glue.
Because the plank is bonded across its entire underside, it cannot expand, contract or drift the way a floating floor does. That is why it is preferred in large open areas, sunrooms, offices and homes with rolling chairs or wheelchairs. It also sits thinner, so doorways and appliance heights rarely need adjusting.
Glue Down vs Floating Vinyl: Which One Fits Your Project?
Both systems use the same plank material, but they behave completely differently once installed. Choosing the wrong one is the most expensive mistake you can make before buying a single box.
| Factor | Glue Down Vinyl | Floating Vinyl |
| Stability | Bonded, will not shift or gap | Can move with temperature swings |
| Subfloor demands | Very strict flatness and moisture limits | More forgiving of minor waves |
| Installation speed | Slower, adhesive timing matters | Faster, no glue involved |
| Removal | Difficult and messy | Easy to lift and reuse |
| Heavy rolling loads | Excellent | Can shift or separate |
| Radiant heat | Well suited | Suited but more movement-prone |
| Sound underfoot | Quieter, solid feel | Hollower, often needs underlayment |
Choose glue down for big spaces, commercial traffic, basements with controlled moisture and rooms with strong sunlight. Choose floating for rentals, quick weekend refreshes or subfloors you cannot realistically level.
Tools, Materials and How Much You Need
Buying the wrong trowel or running short of planks mid-install stops the job cold. Get the list right before day one, and confirm every product against the flooring manufacturer’s specification sheet.
Tools You Must Have
You will need a notched trowel in the exact size your adhesive calls for, a 75 to 100 pound floor roller, a chalk line, a utility knife with plenty of spare blades and a long straightedge. Add a jigsaw for curves, a T-square, a pry bar and knee pads. The roller is worth renting rather than skipping, because no substitute applies even pressure across a whole floor.
Materials Checklist
Order your planks, the manufacturer-approved adhesive, patching compound, primer for porous subfloors, transition strips and quarter round. Keep dye lot numbers matching across cartons so colour stays consistent. Buy one spare box beyond your calculation and store it, because discontinued patterns make future repairs impossible.
Calculating Quantity and Waste
Measure length times width for each area, including closets and nooks, then total the square footage. Add seven to ten percent waste for a standard straight layout, and fifteen percent for diagonal or herringbone patterns. Cartons list coverage on the label, so divide your adjusted total by that figure and round up.
Understanding Adhesive, Open Time and Acclimation
Adhesive is where most first-time installers lose control of the job. Two concepts decide whether your floor bonds properly or fails within a year.
Pressure-Sensitive vs Hard-Set Adhesive
Pressure-sensitive adhesive stays tacky and grips when planks are pressed into it, making it the common residential choice. Hard-set adhesive cures into a rigid bond and is used in heavy traffic, high heat or elevated moisture conditions. Using a generic flooring glue instead of the specified product usually voids the warranty outright.
Open Time and Working Time Explained
Open time is the wait after spreading before the adhesive becomes tacky, typically fifteen to forty-five minutes. Working time is the longer window, often two to four hours, during which planks can still be set and adjusted. Laying into wet adhesive traps solvent underneath and causes bubbling, slipping and edge curl later.
Acclimating the Planks
Lay the cartons flat in the installation room for a full forty-eight hours before starting. Keep the space between sixty-five and eighty-five degrees Fahrenheit with the HVAC running normally. Do not stack boxes more than four high, and never install planks straight off a cold delivery truck.
Subfloor Preparation: The Stage That Decides Everything
Roughly seventy percent of the effort in a glue down job happens before a single plank goes down. A clean, dry, flat and structurally sound surface is not a suggestion.
Checking and Correcting Flatness
The industry standard is a maximum deviation of three-sixteenths of an inch over ten feet. Drag a long straightedge across the floor in several directions and mark every high ridge and low dip you find. Grind or sand high spots, then fill hollows with patching compound or self-leveller and let them cure fully.
Moisture Testing Concrete Slabs
Moisture migrating up through concrete is the single biggest cause of glue down failure. Use a calcium chloride test or an in-situ relative humidity probe rather than a surface meter, since surface readings miss what is happening deeper in the slab. Most adhesives cap out near seventy-five to eighty-five percent RH, and a failed result means applying a moisture mitigation coating first.
Prepping by Subfloor Type
New concrete needs its full curing period, and any sealer, paint or curing compound must be ground off before priming. Plywood and OSB require re-fastening of loose sheets, filled seams and a light sanding to remove ridges. Over existing ceramic tile, fill the grout lines flush and scuff the glaze so adhesive has something to hold.
Final Cleaning
Remove carpet, cushioned sheet vinyl and all old adhesive residue, then vacuum until the surface is genuinely dust free. In homes built before the 1980s, have old cutback adhesive or tile tested for asbestos rather than sanding it. Prime porous surfaces so the slab does not pull moisture out of your adhesive prematurely.
Layout and Plank Pattern Planning
Walls are almost never square, so starting tight against one guarantees a crooked floor by the far side of the room. Establishing an accurate reference line takes twenty minutes and saves the entire install.
Finding and Snapping Your Starting Line
Measure to find the centre of the room and snap a chalk line down its length. Snap a second line perpendicular to it, then verify the corner using the 3-4-5 triangle method before trusting either line. Every row you lay will reference these lines, not the baseboards.
Dry-Laying to Avoid Sliver Cuts
Before spreading any adhesive, loose-lay two or three rows across the room to see how the final row lands. If the last row would be narrower than half a plank, shift your starting line sideways to balance both edges. This one adjustment is the difference between a professional look and an obvious amateur finish.
Staggering End Joints Properly
Offset end joints by at least six to eight inches from the row beside them, and never let two joints sit within a few inches of each other. Avoid repeating staircase patterns by pulling planks from three or four open boxes at a time. Random mixing also blends any slight colour variation between cartons.
Step-by-Step Installation Process
With prep complete, the actual laying moves quickly. Work in sections you can comfortably cover within the adhesive’s working time.
- Spread the adhesive. Hold the trowel at roughly a forty-five degree angle and pull even ridges across a manageable section, usually enough for three or four rows. Never flood a larger area than you can fill in time.
- Wait for tack. Touch the surface lightly with a knuckle. It should feel sticky and stringy but leave nothing on your skin.
- Set the first row. Align planks to the chalk line and place them down flat rather than sliding them into position, which pushes adhesive into the seams.
- Work outward. Keep seams tight, check alignment every few planks and wipe any adhesive off the wear layer immediately with the cleaner the manufacturer recommends.
- Cut as needed. Score the plank face firmly with a utility knife and snap it along the line; use a jigsaw for curves, pipes and vent openings. Undercut door casings so planks slide beneath them.
- Roll the floor. Roll each finished section in both directions right away, then roll again after thirty to sixty minutes. This step is skipped constantly and causes more failures than any other.
- Finish the edges. Install transition strips, reattach baseboards or quarter round, and caulk where the floor meets tubs or showers.
Curing, Care and Repairs
The adhesive is not finished working when the last plank goes down. What you do over the following week determines how long the bond lasts.
Cure Time Rules
Stay off the floor entirely for twenty-four hours, and keep heavy furniture and appliances off for forty-eight to seventy-two hours. When moving items back, lift or use wide plywood runners instead of dragging. Avoid wet mopping for at least five days so water cannot reach the fresh adhesive through seams.
Everyday Maintenance
Sweep or vacuum with a hard-floor setting and damp mop with a pH-neutral vinyl cleaner. Skip steam mops, wax, polish and abrasive pads, all of which damage the wear layer. Use felt pads under furniture legs and avoid rubber-backed mats, since rubber can permanently stain vinyl.
Repairing a Damaged Plank
Warm the damaged plank gently with a heat gun to soften the adhesive, then lift it with a pry bar and a suction cup. Scrape the old glue off the subfloor, spread fresh adhesive and set the replacement plank from your spare box. Weight it down for several hours so it sits perfectly flush.
Common Problems and Their Causes
Nearly every glue down failure traces back to a shortcut taken earlier in the process.
| Problem | Usual Cause |
| Edges lifting or curling | Insufficient rolling or laying into wet adhesive |
| Seams opening up | Sliding planks instead of setting them |
| Bubbles or soft spots | Trapped moisture or excess adhesive |
| Subfloor texture showing through | Unfilled low spots or rough patching |
| Adhesive squeezing up at joints | Wrong trowel notch or too much glue |
| Discolouration | Rubber mats, harsh cleaners or moisture from below |
Frequently Asked Questions
Do I need an expansion gap?
Most glue down products need little to none, though some manufacturers still specify an eighth to a quarter inch. Always check the installation sheet for your exact product.
Can it go over existing flooring?
It can go over well-bonded ceramic tile or sound vinyl, provided the surface is filled flat and scuffed. Carpet and cushioned vinyl must always be removed.
Is underlayment required?
No. Underlayment prevents adhesive from bonding to the subfloor and defeats the purpose entirely.
Does it work with radiant heat?
Yes, when the system is kept within the temperature range the flooring manufacturer states, usually under eighty-five degrees Fahrenheit at the surface.
How long does a room take?
An average bedroom takes a full day including prep, while subfloor levelling or moisture mitigation can add several days to the schedule.
Conclusion
Learning how to install glue down vinyl plank flooring comes down to three disciplines: prepare the subfloor honestly, use the specified adhesive with the specified trowel, and roll the floor properly. Rushing any of those turns a twenty-year floor into a two-year problem.
If your moisture test fails or your slab is badly out of level, bring in a professional rather than gambling on adhesive. Follow your manufacturer’s written instructions above any general guide, including this one.
Related Posts
How to Measure for a Storm Door Complete Guide 2026
How to Measure Room for Furniture: Step-by-Step Guide for Perfect Fit
How to Install an Interior Door: Step-by-Step DIY Guide
Average Door Thickness: A Complete Guide to Standard Sizes and Measuring Tips