
Vinyl floors are one of the most popular flooring choices — but without the right cleaning routine, they can dull, scratch, or warp faster than you’d expect. The good news? A simple daily sweep and a weekly damp-mop with a pH-neutral cleaner is all it takes to keep them looking brand new.
Whether you have luxury vinyl plank (LVP), sheet vinyl, or vinyl tile, this guide covers everything — cleaning frequency, the right tools, homemade solutions, stain removal, and the most common mistakes to avoid. By the end, you’ll know exactly how to clean and protect your vinyl floors for years to come.
How Often Should You Clean Vinyl Floors?

How often you clean your vinyl floors depends on foot traffic and usage. As a general rule, use a three-tier cleaning routine:
- Daily: Sweep or vacuum to remove loose grit and dust that acts like sandpaper underfoot, causing micro-scratches over time.
- Weekly: Damp-mop to lift grease, light stains, and embedded dirt that daily sweeping misses.
- Monthly: Deep-clean along edges, grout lines, and high-traffic zones where buildup accumulates between regular moppings.
This routine takes minimal time but dramatically extends your floor’s lifespan and keeps it looking fresh.
Essential Tools & Supplies for Cleaning Vinyl Floors
Using the right tools is just as important as using the right cleaner — the wrong scrubber or mop can permanently damage vinyl’s protective layer. Here’s what you’ll need:
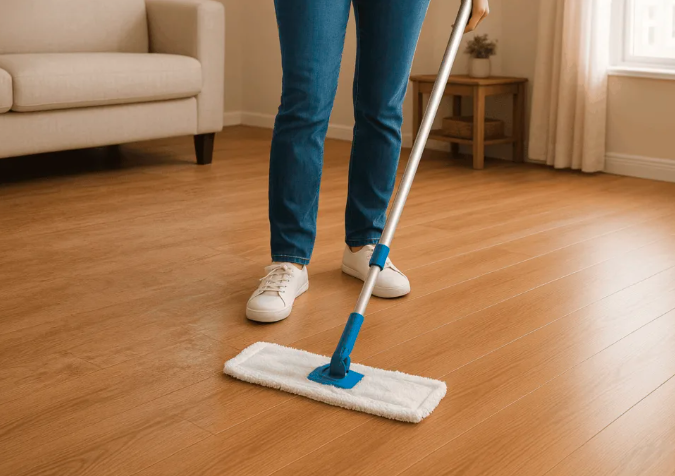
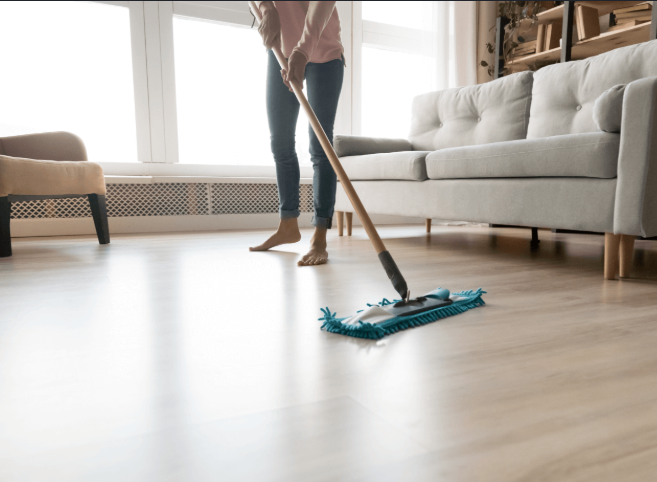
- Microfiber mop – The only mop type recommended for vinyl. It cleans without scratching and wrings out nearly dry, preventing moisture damage.
- Soft broom or vacuum (beater bar OFF) – Beater bars can scratch or gouge vinyl. Always disable this setting before vacuuming.
- Bucket + warm water – For preparing and diluting cleaning solutions before use.
- pH-neutral cleaner or mild dish soap – Ideal pH is 7 (neutral). Acidic or alkaline cleaners erode vinyl’s protective wear layer over time.
- White vinegar (diluted) – A safe, natural option for light buildup — always diluted at 1 cup per gallon of water.
Step-by-Step: How to Clean Vinyl Floors Properly
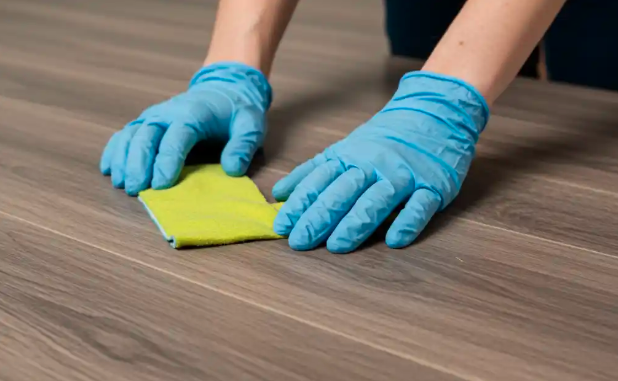
Follow these five steps every time you mop for the best result without risking damage.
Step 1 – Remove Dust & Debris
Sweep or vacuum the entire floor to remove loose dirt, dust, and grit. Focus on corners, edges, and under furniture where debris collects. Use a vacuum on hard floor mode (beater bar off) to clean areas brooms can’t reach. Skipping this step means you’ll be pushing grit across the floor while mopping — causing scratches.
Step 2 – Prepare Your Cleaning Solution
Fill a bucket with warm water and add your chosen cleaner. For a pH-neutral commercial cleaner, follow the label ratio. For a DIY option, use 1 cup of white vinegar per 1 gallon of water, or a few drops of mild dish soap per gallon. Never use full-strength cleaners — always dilute first.
Step 3 – Mop with a Damp (Not Wet) Mop
Dip your microfiber mop, then wring it out thoroughly. Your mop should be barely damp — if you can still squeeze water from it, it’s too wet. Mop in 3–4 ft sections using overlapping S-strokes. This technique covers every inch of floor and prevents streaking.
Step 4 – Rinse & Remove Residue
After mopping, go over the floor with a clean mop dampened in plain water. Soap or cleaner residue left behind creates an invisible tacky film that attracts dirt, making the floor look dingy within days. A quick rinse pass ensures a truly clean finish.
Step 5 – Dry the Floor Completely
Air-dry completely, or speed up the process with a dry microfiber cloth. Never leave standing water — even ‘water-resistant’ vinyl can warp or delaminate at seams if moisture sits too long. In humid conditions, open a window or use a fan to accelerate drying.
Best Homemade Cleaning Solutions for Vinyl Floors
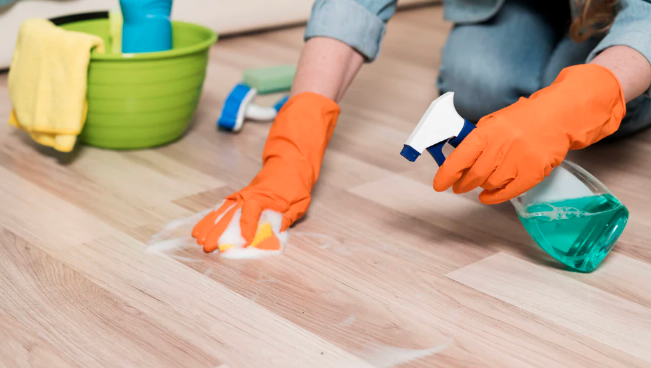
Commercial cleaners work fine, but these three homemade solutions are just as effective — and gentler on both your floors and your wallet.
Vinegar & Water Solution
Mix 1 cup of white vinegar with 1 gallon of warm water. This solution breaks down dirt and light buildup without leaving residue. It’s ideal for regular weekly mopping. Important: never use undiluted vinegar — its acidity can dull the finish over time. Always use the 1:16 ratio.
Baking Soda Paste for Tough Spots
For stubborn stains, make a paste with baking soda and a few drops of water. Apply to the stain, let it sit for 2 minutes, then gently wipe with a damp microfiber cloth. Use only as a spot treatment — not for full-floor mopping, as it’s mildly abrasive.
Dish Soap Solution
Add 2–3 drops of mild dish soap per gallon of warm water. This gentle mix lifts grease and everyday grime effectively. Use sparingly — too much soap leaves a film. Always follow up with a plain-water rinse pass to remove any residue.
How to Remove Stains from Vinyl Floors
The golden rule of vinyl stain removal: act fast. The longer a stain sits, the deeper it sets into the surface. Here’s how to treat the most common stain types:
Food & Pet Stains
Wipe fresh stains immediately with a mild detergent and warm water solution using a soft cloth. For dried or crusted spots, dampen with warm soapy water, cover with a damp cloth for 3–5 minutes to rehydrate the residue, then gently wipe away. Rinse with clean water to finish.
Ink, Marker & Dye Stains
Apply a small amount of rubbing alcohol to a soft cloth. Dab — never rub — working from the outer edge of the stain inward to avoid spreading the ink. Continue until the stain fades, then clean the area with plain water and dry immediately.
Grease, Oil & Acidic Stains
Apply a mild dish soap solution to the stain and wipe gently until the grease lifts. For acidic spills (juice, vinegar, wine), clean immediately to prevent discoloration — acid can etch the vinyl surface if left to dry. Always rinse with clean water after treatment.
Rust Stains
Apply a few drops of lemon juice or a commercial vinyl-safe rust remover to the stain. Let it dwell for 3–5 minutes, then wipe gently with a soft cloth. Rinse with clean water immediately — leaving acidic solutions on vinyl too long can damage the protective finish.
What to Avoid & Common Mistakes When Cleaning Vinyl Floors
Some of the most common ‘cleaning shortcuts’ cause permanent damage to vinyl floors. Avoid all of the following:
- Abrasive scrubbers – Rough pads or brushes scratch the wear layer, leaving dull marks that cannot be repaired.
- Bleach or ammonia-based cleaners – These strong chemicals cause discoloration, weaken the surface, and can break down adhesive bonds beneath the planks.
- Steam mops – The combination of high heat and pressurized moisture forces water into seams, causing delamination, bubbling, and warping — damage that is often irreversible.
- Too much water – Vinyl is water-resistant, not waterproof. Excess moisture seeps under planks through seams, causing swelling and lifting at edges. Always wring your mop thoroughly.
- Wax or polish – Vinyl has a factory wear layer that needs no waxing. Wax creates a hazy buildup that traps dirt and is extremely difficult to remove.
- Skipping the dry-sweep step – Mopping without sweeping first pushes grit across the floor, causing micro-scratches with every pass.
- Leaving soap residue – Uncleaned detergent creates a tacky film that acts like a dirt magnet — always rinse with clean water after mopping.
- Ignoring stains – Some stains become permanent if left untreated. Prompt action is always better than delayed cleaning.
Pro Maintenance Tips to Keep Vinyl Floors Like New

Prevention is always easier than repair with vinyl floors. These five habits take minimal effort but dramatically extend your floor’s lifespan:
Use Doormats at Every Entrance
Place doormats both outside and inside every entrance. They trap dirt, grit, and moisture before it reaches your floors. A good mat can reduce floor cleaning frequency by up to 50%.
Use Furniture Felt Pads — And Replace Them
Attach felt pads to all furniture legs — not just heavy pieces. Chairs are actually the biggest culprits since they’re moved frequently. Replace pads every 6–12 months as they wear down, compact, and lose their protective cushioning.
Never Drag Heavy Items
Always lift furniture when moving it — even a short drag can leave permanent gouge marks. For large pieces, use furniture sliders or get help from a second person.
Clean Spills Within 60 Seconds
The faster you act on a spill, the easier it is to remove. Keep a microfiber cloth within reach of kitchen and dining areas. Even water left standing for too long can seep into seams.
Trim Pet Nails Regularly
Trim pet nails every 3–4 weeks. Long nails — especially from large dogs — can gouge through vinyl’s wear layer with repeated running and turning, leaving deep scratches that cannot be buffed out.
Conclusion
Clean vinyl floors don’t require expensive products or hours of scrubbing — just the right habits applied consistently. Sweep daily, mop weekly, deep-clean monthly, and always act fast on spills. Use gentle, pH-neutral cleaners, keep moisture to a minimum, and protect against furniture scratches.
Whether your floors are brand new or a few years old, following the steps in this guide will help them stay looking sharp for 10, 15, even 20 years. The key is consistency — make these habits routine and your vinyl floors will practically take care of themselves.
Frequently Asked Questions
Are robot mops safe for vinyl floors?
Yes, robot mops are generally safe for vinyl when set to a low-moisture mode. Avoid models that saturate the floor, and check that the mop pad is only slightly damp before each run. Empty the water tank promptly after use.
Can you use bleach on vinyl flooring?
No. Bleach can discolor the surface, weaken the protective wear layer, and break down the adhesive beneath vinyl planks. Always use pH-neutral or mild cleaners instead.
How do you maintain vinyl floors long-term?
Clean regularly using the daily/weekly/monthly routine outlined above, wipe up spills immediately, use furniture pads on all legs, avoid dragging heavy items, and never use wax, steam mops, or abrasive tools. Consistent habits are the key to long-term durability.
How do you safely disinfect vinyl floors?
Use a diluted white vinegar solution (1 cup per gallon of water) or a commercial vinyl-safe disinfectant on a lightly dampened microfiber mop. Avoid bleach, ammonia, and hydrogen peroxide — these can damage or discolor the surface.
Can you use dish soap on vinyl floors?
Yes, in small quantities. Add 2–3 drops of mild dish soap per gallon of warm water. Always rinse with a clean-water mop pass afterward to remove any soap film that could attract dirt and dull the floor’s appearance.
Related Articles
How Much Does a Plumber Cost? 2026 Complete Pricing Guide
How to Measure Room for Furniture: Step-by-Step Guide for Perfect Fit
486 Gelney Kitchen Exhaust Hood System: How It Works and Why It Matters
Garage Door Bottom Seal Replacement: Complete Guide for Homeowners