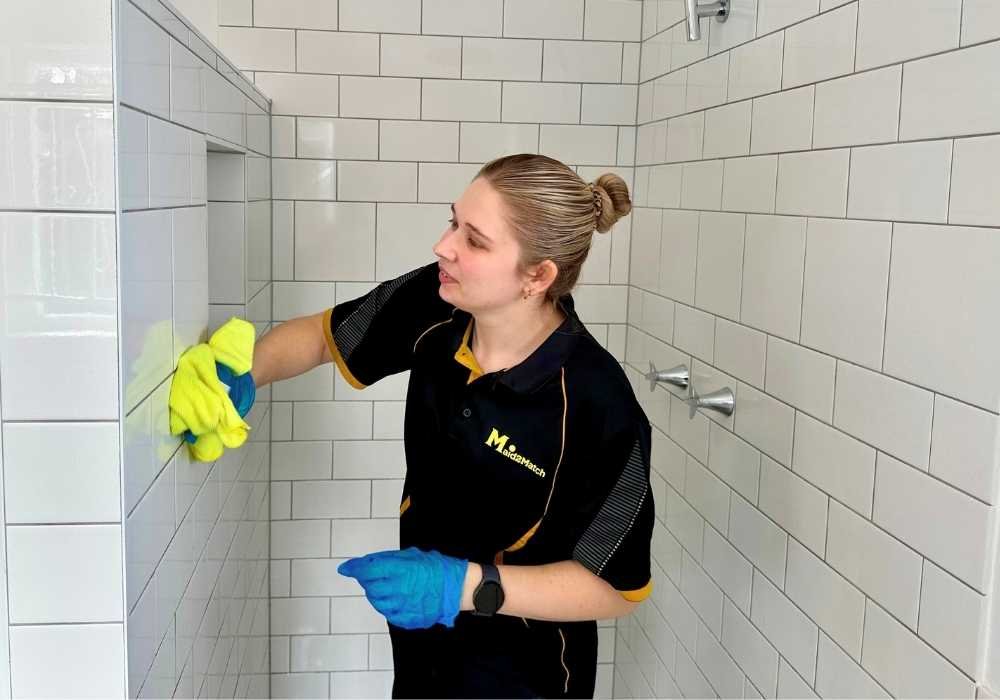

You spend 20 minutes scrubbing your shower tiles — and they still look dull. Sound familiar? The problem isn’t your effort; it’s the method.
The most effective and widely tested solution starts with something you already have at home: equal parts white vinegar and dish soap — a combination that breaks down soap scum and mineral buildup in one simple step. Apply it to the tiles, leave it for 10–60 minutes, then scrub gently and rinse for a sparkling result.
In this guide, you’ll learn exactly how to apply this solution, scrub without damaging your tiles, and rinse for a spotless finish — plus the best cleaners for each tile type, common mistakes to avoid, and habits that keep tiles clean longer.
Why Do Shower Tiles Get Dirty So Quickly?
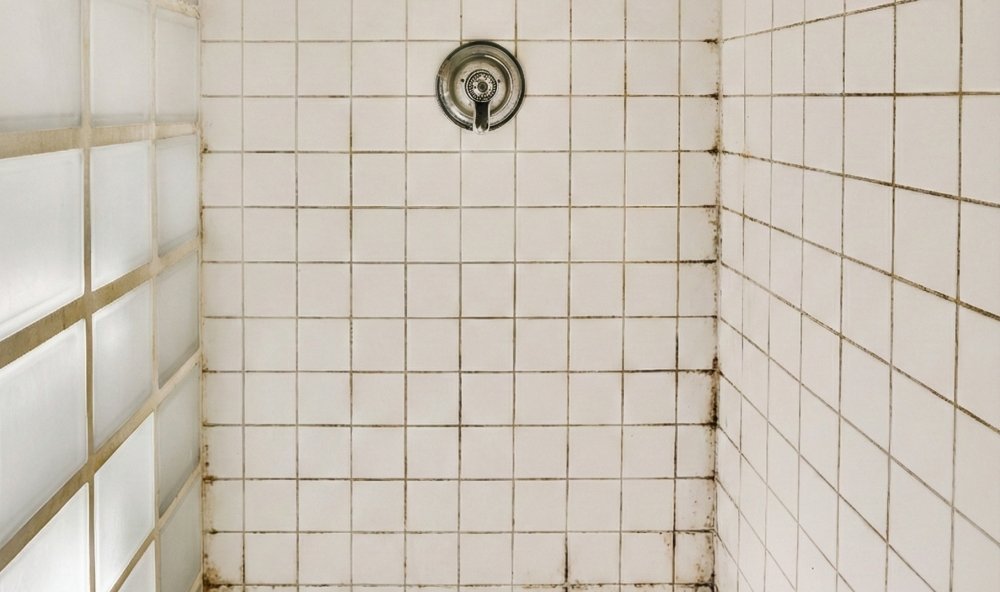
Shower tiles get dirty quickly because they are constantly exposed to soap, water, and moisture in a confined space. Soap scum forms when soap reacts with dissolved minerals in hard water, creating a stubborn sticky residue that clings to tile surfaces and grout lines.
At the same time, evaporating water leaves behind mineral deposits that cause dull stains and marks. High humidity inside the shower encourages mold and mildew growth, especially in grout lines. Skin oils and small contaminants stick to the tiles, adding to the buildup.
This continuous buildup cycle means your shower tiles can look dirty again within days of cleaning — especially in areas with hard water. Understanding the cause is the first step to choosing the right cleaning method.
Step-by-Step Guide to Clean Shower Tiles
Cleaning shower tiles is far more effective when you follow a structured method rather than scrubbing randomly. Each step below builds on the previous one — skip a step and you’ll likely find the results disappointing.
Step 1 – Rinse with Warm Water
Start by rinsing the tiles with warm water to loosen surface dirt and soften any hardened residue. This prepares the tiles so the cleaning solution can penetrate and work more effectively. Warm water also opens up grime layers, making them easier to remove. Cover all areas, including corners and grout lines.
Step 2 – Apply Cleaning Solution
Apply your cleaning mixture evenly across all tile surfaces, ensuring every stained or dirty area is covered. Let the solution sit for 10–60 minutes so it can break down soap scum, mineral buildup, and grime. Do not let the solution dry on the surface; reapply lightly if needed to keep the area moist and the cleaner active. This waiting time is the key to making scrubbing easier and more effective.
Step 3 – Scrub Gently
Use a soft brush or sponge to scrub the tiles in circular motions, focusing on areas with visible buildup. Gentle scrubbing prevents damage to the tile surface while still removing dirt effectively. Pay extra attention to corners and edges where grime tends to collect. Consistent, even pressure works better than aggressive scrubbing.
Step 4 – Clean Grout Lines
Grout lines trap moisture and dirt, so they need special attention during cleaning. Use a small brush, such as an old toothbrush, to scrub along the grout carefully. Spending extra time on grout not only improves appearance but also prevents mold from establishing a stronghold in those porous channels. This step significantly improves the overall clean look of your tiles.
Step 5 – Rinse Thoroughly
Rinse all tiles thoroughly with clean water to remove any leftover cleaning solution and loosened dirt. Leaving residue behind can cause streaks or attract more grime later. Make sure no slippery or soapy film remains on the surface. Proper rinsing ensures a clean, streak-free finish.
Step 6 – Dry the Tiles
Finish by drying the tiles with a clean cloth or microfiber towel to prevent water spots and streaks. Drying also reduces moisture, which helps limit future buildup and mold growth. Focus on wiping down grout lines and edges where water tends to sit. This final step keeps your tiles looking shiny and well-maintained.
Best Cleaning Solutions for Shower Tiles
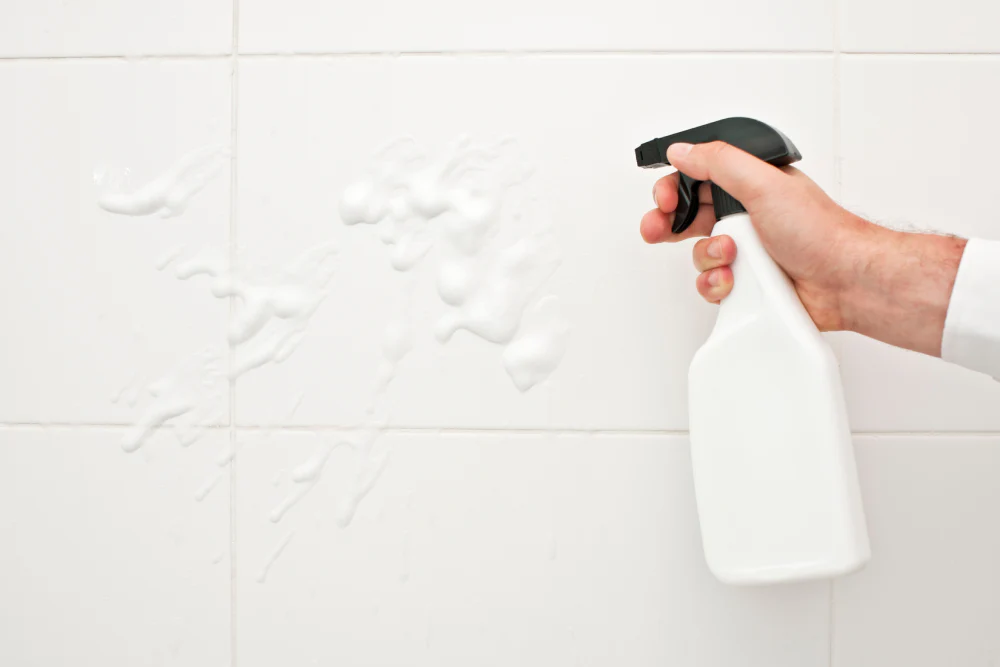
The cleaning solution you choose can make or break your results. Using the wrong product on the wrong tile type can cause permanent damage, while the right one lifts grime in minutes. Here are the most effective options based on buildup type and tile material:
Vinegar Solution (for soap scum and mineral deposits)
A 1:1 mixture of white vinegar and water works best for removing soap scum and mineral deposits from ceramic and porcelain tiles. Its natural acidity breaks down stubborn residue without harsh chemicals. Apply it evenly, allow it to sit for 15–30 minutes, then scrub and rinse. Ideal for regular weekly maintenance.
Baking Soda Paste (for grout stains)
Baking soda paste is especially useful for cleaning grout lines where dirt and stains accumulate. Its mild abrasive texture lifts embedded grime without damaging the tile or grout surface. Apply the paste directly onto grout, scrub gently with a toothbrush, then rinse. It also helps brighten grout, making tiles look cleaner overall.
Dish Soap Mix (everyday safe option)
A dish soap and warm water mixture is a gentle option for everyday cleaning of shower tiles. It effectively removes grease, light soap residue, and surface dirt without being harsh on tile finishes. This makes it suitable for delicate tile surfaces. Regular use helps prevent heavy buildup from forming between deeper cleaning sessions.
Commercial Cleaners (for heavy stains and limescale)
Commercial cleaners are designed to tackle tough stains including heavy limescale and deep-set grime. They often contain stronger active ingredients such as hydrochloric acid or sodium hypochlorite that work faster on stubborn buildup. Always use in a well-ventilated area and wear rubber gloves to protect your skin. These are best used occasionally when regular cleaning methods are not sufficient.
Steam Cleaning (chemical-free deep clean)
A steam cleaner uses high-temperature vapor to break down soap scum, kill mold spores, and sanitize grout lines — all without any chemicals. It is especially suitable for households with children, pets, or chemical sensitivities. Steam cleaning is excellent as a monthly deep-clean option and leaves no residue behind.
Natural vs Chemical Cleaners: Quick Comparison
| Type | Pros | Cons | Best For |
| Natural Cleaners (vinegar, baking soda) | Eco-friendly, affordable, non-toxic, safe for regular use | More time/effort needed; less effective on deep stains | Soap scum, light staining, regular maintenance |
| Chemical Cleaners (commercial products) | Strong and fast-acting; effective on tough stains and limescale | Can be harsh; may damage surfaces; strong fumes | Heavy stains, deep cleaning, mold and mildew removal |
| Steam Cleaning | No chemicals; kills bacteria and mold; safe for all tile types | Requires equipment investment; slower for large areas | Deep monthly cleaning; households avoiding chemicals |
How to Clean Different Types of Shower Tiles
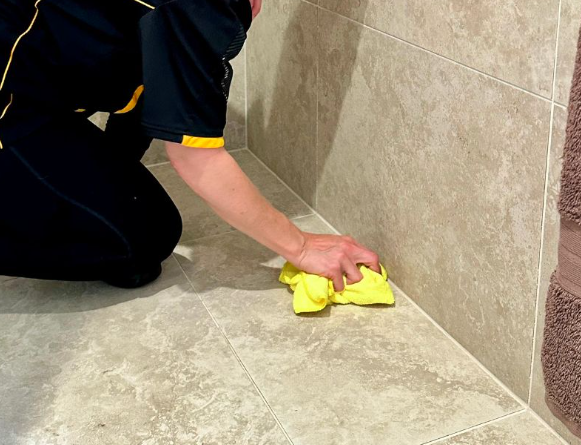
Cleaning methods vary depending on the tile material used in your shower. Using the wrong cleaner on the wrong tile type can cause permanent damage.
Ceramic and Porcelain Tiles: These are the most durable and low-maintenance shower tile types. They can safely handle acidic cleaners like diluted white vinegar (1:1 with water) to remove soap scum, mineral buildup, and light staining.
These surfaces are non-porous, making regular cleaning straightforward and effective.
Natural Stone Tiles (Marble, Travertine, Limestone, Slate): These are porous and highly sensitive to acidity. Always use a pH-neutral stone cleaner specifically labeled as safe for natural stone. Avoid vinegar, lemon juice, or any acidic product entirely, as they can cause permanent etching and dull spots. When in doubt, always opt for a pH-neutral cleaner.
| Grout Color Tip: If you have colored or dark grout, avoid bleach-based cleaners as they can permanently fade or discolor the grout. Use oxygen-based cleaners or baking soda paste instead, which brighten without stripping pigment. |
Common Mistakes to Avoid When Cleaning Shower Tiles
Even the best cleaning routine can backfire if you’re making these common mistakes. Some of them cause permanent tile damage — so it’s worth knowing them before you start.
Using Vinegar on Natural Stone
Vinegar’s acidity reacts with materials like marble, travertine, limestone, and slate, causing permanent etching and dull spots on the surface. Always use a pH-neutral cleaner for any natural stone tile to keep its finish intact.
Using Steel Scrubbers
Steel scrubbers may seem effective but they scratch tile surfaces and ruin their smooth finish. These scratches not only affect appearance but also create microscopic grooves where dirt and bacteria accumulate faster. Always use a soft brush, sponge, or microfiber cloth.
Skipping the Drying Step
Leaving moisture on tiles after cleaning allows water spots and mineral deposits to form quickly. Over time, trapped moisture in grout lines also accelerates mold growth — undoing all your cleaning effort within days. Dry tiles with a clean cloth immediately after rinsing.
Mixing Cleaning Products
Never mix bleach with vinegar or ammonia-based cleaners. The resulting fumes are toxic and can cause serious respiratory harm. Use one product at a time and rinse thoroughly before switching to a different cleaner.
Ignoring Grout Sealing
Most homeowners skip this step entirely. Unsealed grout is porous and absorbs stains, soap scum, and moisture rapidly. Applying a penetrating grout sealer once every 6–12 months creates a protective barrier that repels moisture, reduces staining, and slows mold growth significantly.
Tips to Keep Shower Tiles Clean Longer
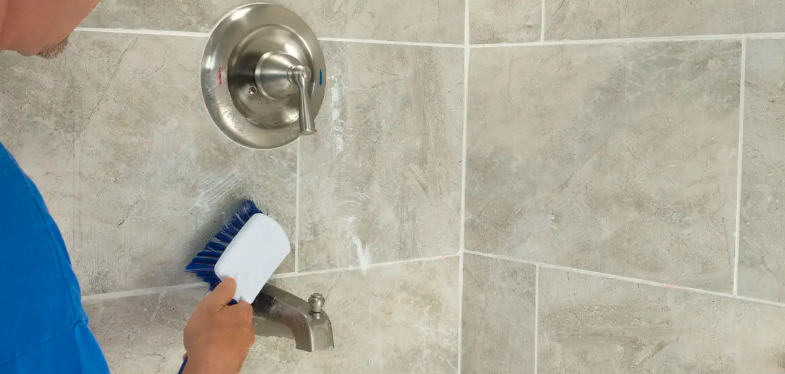
The secret to always-clean shower tiles isn’t more scrubbing — it’s smarter daily habits. These practices take less than two minutes each but prevent the kind of buildup that turns into a 30-minute cleaning job.
Remove Moisture Daily with a Squeegee
After each shower, use a squeegee to wipe down tiles and remove excess water. This prevents moisture from sitting on the surface, dramatically reducing soap scum and mineral deposit formation. It takes under 60 seconds and makes a significant difference over time.
Run the Exhaust Fan After Showering
Turn on the exhaust fan for 10–15 minutes after every shower to reduce humidity levels in the bathroom. Lower moisture prevents mold and mildew from developing, especially in grout lines. Proper ventilation keeps your bathroom environment dry and significantly cleaner between washes.
Spray Weekly with Vinegar and Water
Use a weekly spray of a 1:1 mix of white vinegar and water to stop soap scum from building up between cleaning sessions. Lightly apply it to tiles, allow it to sit for 5 minutes, then wipe or rinse. This regular maintenance keeps tiles looking clean without heavy scrubbing later.
Recommended Cleaning Schedule
| Frequency | Task | Tool / Product | Time Required |
| Daily | Squeegee tiles after each shower | Squeegee | 1–2 min |
| Daily | Run exhaust fan after showering | Exhaust fan | 10–15 min (passive) |
| Weekly | Spray vinegar-water solution on tiles | Spray bottle + cloth | 5 min |
| Weekly | Wipe down grout lines with damp cloth | Microfiber cloth | 3–5 min |
| Monthly | Deep clean with vinegar or commercial cleaner | Brush + cleaner | 20–30 min |
| Every 6–12 months | Reseal grout lines | Grout sealer + applicator | 45–60 min |
How Often Should You Clean Shower Tiles?
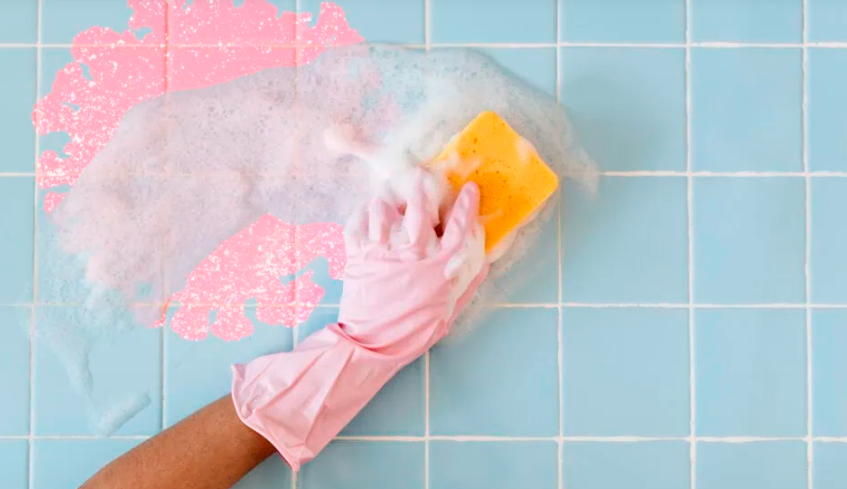
For most households, a thorough weekly cleaning is the minimum required to prevent soap scum and mineral deposits from hardening on tile surfaces. In areas with hard water or households with multiple daily users, consider cleaning twice a week for best results.
Regular weekly cleaning stops buildup from settling deeply into tiles and grout, reducing the need for aggressive scrubbing. It also maintains bathroom hygiene by limiting the conditions where mold can develop. Staying consistent with a weekly schedule — combined with daily squeegee and ventilation habits — makes each cleaning session faster and easier. Refer to the schedule table above for a full breakdown by task.
Conclusion
Clean shower tiles are within reach for every homeowner — with the right method, the right cleaner for your tile type, and a few consistent daily habits.
Start with the six-step cleaning process outlined above, choose your solution wisely (vinegar for ceramic and porcelain, pH-neutral for natural stone), and invest five minutes a week in preventative maintenance. Your shower will not only look better — it will also stay hygienic and mold-free for longer.
Ready to get started? Bookmark this guide and use the cleaning schedule table as your weekly reference. If you found this helpful, explore our related guides on bathroom grout cleaning, hard water stain removal, and natural stone tile care.
Frequently Asked Questions
How do you remove hard water stains from shower tiles?
Mix equal parts white vinegar and water, spray directly onto the stained area, and leave it for 15–30 minutes to dissolve the mineral deposits. Then scrub with a soft brush in circular motions and rinse thoroughly with warm water. For severe buildup, repeat the process or use a commercial limescale remover. Always test on a small inconspicuous area first before applying to the full surface.
Can vinegar damage shower tiles?
Yes, vinegar can permanently etch and dull natural stone tiles such as marble, travertine, limestone, and slate due to its acidity. It is safe to use on ceramic and porcelain tiles, which are non-porous and acid-resistant. If you are unsure of your tile type, always opt for a pH-neutral cleaner as the safer choice to avoid irreversible surface damage.
How do you prevent mold on shower tiles?
The most effective mold prevention strategy combines three daily habits: using a squeegee to remove moisture after every shower, running the exhaust fan for 10–15 minutes after bathing, and spraying tiles weekly with a diluted vinegar solution.
Sealing grout every 6–12 months also significantly reduces mold growth by closing off the porous channels where mold takes hold.
How do you clean shower tiles without scrubbing?
Spray an equal mixture of white vinegar and dish soap across all tile surfaces and allow it to sit for 30–60 minutes. The vinegar dissolves mineral buildup while the dish soap breaks down grease and soap residue. Rinse with warm water and most of the grime should come away without any scrubbing.
For heavier buildup, a commercial no-scrub shower spray cleaner delivers even better results with minimal effort.
Do you need to seal grout in shower tiles?
Yes, and most homeowners skip this step entirely. Grout is naturally porous, which means it absorbs soap scum, water, and staining agents rapidly. Applying a penetrating grout sealer once every 6–12 months creates a protective barrier that repels moisture, reduces staining, and slows mold growth considerably.
The process takes under an hour and significantly extends the time between deep cleaning sessions.
Is it safe to mix bleach and vinegar when cleaning tiles?
No, it is never safe to mix bleach and vinegar. The combination produces chlorine gas, which is toxic and can cause serious respiratory harm even in small concentrations. Always use one cleaning product at a time.
Rinse the surface thoroughly with water and allow it to dry before applying a different product. When in doubt, choose a single all-purpose tile cleaner instead.
Related Articles
18 Inch Deep Base Cabinets: A Smart Storage Solution for Every Kitchen
How to Clean and Store Kitchen Tools: The Complete Guide
Can You Paint Metal Roofing? The Complete Guide for Homeowners & Pros
24 Inch Kitchen Sink Drop In Complete Guide: Types, Benefits, Installation