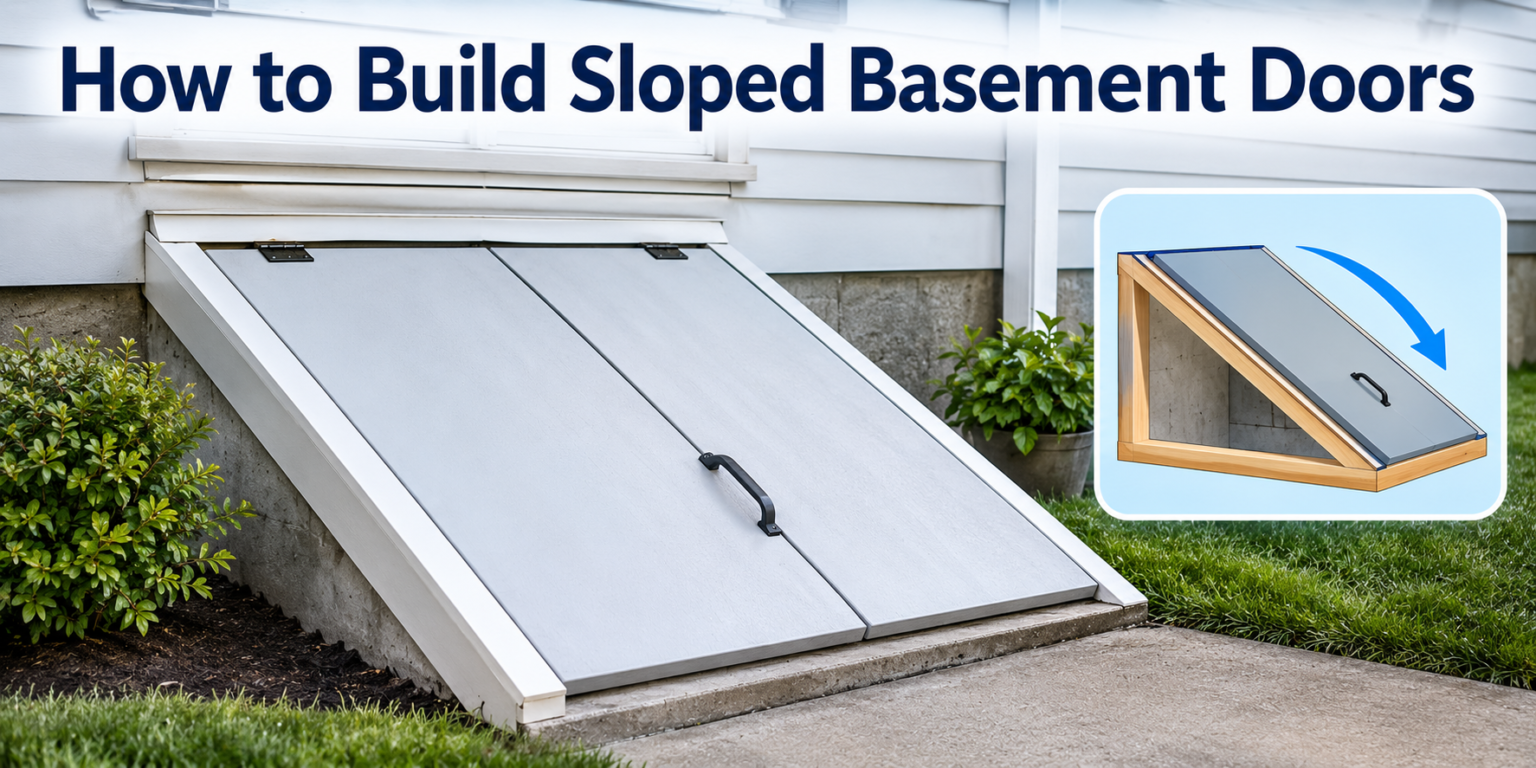

Sloped basement doors, also known as bilco doors or cellar doors, give homeowners a safe and weatherproof way to reach below-ground spaces. Learning how to build sloped basement doors from scratch helps you save on installation costs while letting you choose the exact size, angle, and material that suits your home.
This guide walks through every stage of the project, from early planning to final upkeep, using plain language that is easy to follow. Whether this is your first DIY project or your tenth, the steps below are broken down so nothing feels confusing or rushed.
By the end, you will know exactly how to build sloped basement doors that stay sturdy, dry, and secure for years. Each section below focuses on one part of the job so you can move through the project at a comfortable pace.
What Are Sloped Basement Doors and Why Build Them?
Sloped basement doors sit at an angle over a basement stairwell, forming a slanted barrier that keeps out rain while allowing easy entry from outside. Homeowners build them for practical reasons such as storage access, emergency exits, and better protection for the stairwell below.
Common Names You Should Know
These doors are called several different names depending on the region, including bilco doors, cellar doors, and Trapdoor. All three terms describe the same slanted structure over a basement entrance. Knowing these names helps when you are searching for parts or replacement hardware.
Key Benefits of Building Your Own
Building your own sloped doors gives you full control over size, wood quality, and locking hardware, which store-bought kits often limit. It also costs noticeably less than hiring a contractor for the same result. On top of savings, a custom build lets you match the door style to your home’s exterior finish.
Planning Before You Start the Project
Good planning prevents wasted material and rework later in the project. This stage covers checking rules, picking the right angle, and taking accurate measurements before any cutting begins.
Checking Local Codes and Permits
Many areas require a permit for structures attached to your home’s foundation, even small ones like basement doors. Contact your local building office before starting so the finished structure meets safety and drainage rules. Skipping this step can lead to fines or forced removal later.
Choosing the Right Slope Angle
Most sloped basement doors work best at an angle between 45 and 60 degrees from the ground. A steeper angle sheds water faster but takes up more yard space near the foundation. A flatter angle looks neater but needs stronger sealing to stop pooling water.
Measuring the Opening Correctly
Measure the width, depth, and height of your basement stairwell opening at least twice before ordering material. Note any uneven ground or foundation edges, since sloped doors need a flat, level base to sit on. Small measurement errors here often cause gaps once the doors are installed.
Materials and Tools You Will Need
This project needs weather-resistant wood, sturdy hardware, and a handful of common tools. Gathering everything before you start keeps the build moving without repeated trips to the store.
Wood and Panel Materials
Pressure-treated 2×6 or 2×8 lumber works well for the frame because it resists rot from constant ground moisture. For the door panels themselves, three-quarter-inch exterior-grade plywood offers the right balance of strength and weight. Reinforcing the underside of each panel with wood strips adds extra rigidity without adding much cost.
Hardware and Weatherproofing Supplies
You will need heavy-duty galvanized or stainless hinges strong enough to support the panel weight over time. Weatherstripping, waterproof caulk, and a hasp or deadbolt round out the hardware list. Concrete anchors are also necessary if the frame will bolt directly onto an existing foundation wall.
Tools Checklist
| Tool | Purpose |
| Circular saw | Cutting lumber and plywood to size |
| Drill/driver | Fastening hinges, hardware, and anchors |
| Level | Keeping the frame and panels even |
| Tape measure | Confirming all cuts and openings |
| Caulking gun | Applying waterproof sealant along seams |
Step-by-Step Construction Process
This is the core part of the project where the frame, panels, and hinges all come together. Following the order below keeps the structure square and prevents fitting problems later.
Building the Frame or Curb Wall
Start by constructing a pressure-treated frame that matches the slope angle you chose earlier, raised slightly above ground level. This raised edge, sometimes called a curb wall, stops surface water from running straight into the stairwell. Check the frame with a level on all sides before moving to the next step.
Cutting and Assembling Door Panels
Cut two plywood panels sized to overlap the frame opening evenly on both sides. Attach a wooden support frame to the underside of each panel to stop warping and add strength. Sand rough edges smooth so the panels sit flush once installed.
Installing Hinges and the Ridge Beam
Mount the heavy-duty hinges where the two panels meet at the top, often called the ridge line. A center ridge beam or slight overlap at this joint helps rainwater run off both sides instead of pooling in the middle. Test the swing of both panels before final tightening of the hinge screws.
Attaching Doors to the Foundation
Secure the completed frame to the foundation using concrete anchors along the base edge. Apply a bead of waterproof sealant between the frame and foundation before final tightening to block water seepage. Recheck that both panels open and close smoothly once the frame is fully anchored.
Weatherproofing and Sealing the Doors
Weatherproofing is what separates a door that lasts years from one that rots within a season. This stage focuses on sealing every gap and directing water safely away from the structure.
Weatherstripping and Caulking
Run weatherstripping along the panel edges where they meet the frame to block wind-driven rain. Follow this with a continuous bead of exterior caulk along every seam, including the ridge joint. Reapply caulk yearly, since sun and temperature changes can cause it to crack over time.
Drainage and Drip Edge
Slope the frame slightly away from the house so water naturally drains away from the foundation instead of toward it. Adding a small drip edge along the lower lip of each panel stops water from creeping back underneath. This simple addition prevents most of the wood rot issues homeowners run into later.
Adding Security and Hardware
A well-built basement door still needs strong hardware to keep the entrance secure from outside access. This section covers choosing locks and thinking through basic safety.
Choosing the Right Lock
A hasp paired with a padlock is the simplest option and works well for most homes. For added security, a weatherproof deadbolt mounted on the interior side offers stronger resistance against forced entry. Pick hardware rated for outdoor use so rust does not weaken it within the first year.
Safety Considerations
If children live in or visit the home, add a secondary latch high enough that they cannot reach it unsupervised. Keep the area around the doors clear of clutter so the panels can open fully in an emergency. Label the doors clearly if they double as an emergency exit route.
Finishing Touches for a Polished Result
Once construction and sealing are complete, apply exterior-grade paint or a waterproof wood sealant to protect against sun and moisture damage. Choosing a paint shade close to your home’s trim keeps the doors from looking like an afterthought.
A light coat of non-slip additive mixed into the paint also helps prevent slipping during wet weather, which is a small step many guides on how to build sloped basement doors skip entirely.
Maintenance Tips to Extend Door Life
Regular upkeep keeps sloped basement doors functional for many years without major repairs. A quick seasonal check goes a long way toward avoiding costly damage.
- Inspect hinges and hardware for rust twice a year and tighten loose screws.
- Reapply caulk and weatherstripping whenever cracks or gaps appear.
- Repaint or reseal the wood every two to three years depending on climate exposure.
- Clear leaves and debris from the frame edges after storms to keep drainage clear.
Common Mistakes to Avoid
Many first-time builders run into the same avoidable problems. The table below highlights the most common ones along with simple fixes.
| Mistake | Why It Happens | How to Avoid It |
| Wrong slope angle | Guessing instead of measuring the stairwell | Confirm angle with a level before cutting frame pieces |
| Poor drainage planning | Frame built flat instead of sloped away from the house | Add a slight outward tilt during frame construction |
| Using untreated wood | Choosing cheaper lumber to save money upfront | Always use pressure-treated wood for ground contact |
| Skipping permits | Assuming small structures don’t need approval | Check with local building office before starting |
Cost Breakdown for the Project
Costs vary based on material quality and whether you hire help for any part of the job.
| Approach | Estimated Cost Range | Notes |
| Full DIY build | Lower end of the range | Requires your own tools and time |
| DIY with hired help for anchoring | Middle of the range | Useful if unfamiliar with concrete anchors |
| Full professional installation | Higher end of the range | Includes labor, permits, and warranty |
DIY vs Hiring a Professional
Building the doors yourself makes sense if you are comfortable with basic carpentry and have a weekend to spare. Hiring a professional is worth considering if your foundation has uneven edges or if local permit rules require licensed installation.
Many homeowners choose a middle path, handling the woodworking themselves while hiring help only for anchoring into concrete.
Conclusion
Building sloped basement doors is a manageable weekend project once you break it into clear stages: planning, materials, construction, sealing, and security.
Compared to many generic guides online, this walkthrough keeps every step practical and avoids unnecessary filler, so you can move from measuring to a finished, weatherproof door without confusion.
With careful measuring, quality lumber, and proper sealing, your finished doors should protect the basement entrance reliably for many years.
FAQs
How long does building sloped basement doors usually take? Most DIY builders finish the frame, panels, and hardware installation within one to two full weekend days, depending on experience level.
Can I install new sloped doors without removing an old set first? It is best to remove old doors and inspect the frame underneath, since hidden rot or damage can affect how well the new structure seals.
What is the best wood type for long-lasting doors? Pressure-treated lumber for the frame paired with exterior-grade plywood panels offers the best balance of durability and cost.
Do I need a permit for this type of project? In many areas, yes, since the structure attaches to the home’s foundation, so it is worth checking with your local building office first.
Related Articles
How Long Does It Take for Bathroom Caulk to Dry? Complete Guide
How to Get Rid of Roof Rats: Complete Guide 2026
How Much Does It Cost to Remove Popcorn Ceiling? Complete Guide 2026
Roof Repairs Worcester: Your Complete Local Guide to a Safe and Lasting Roof