


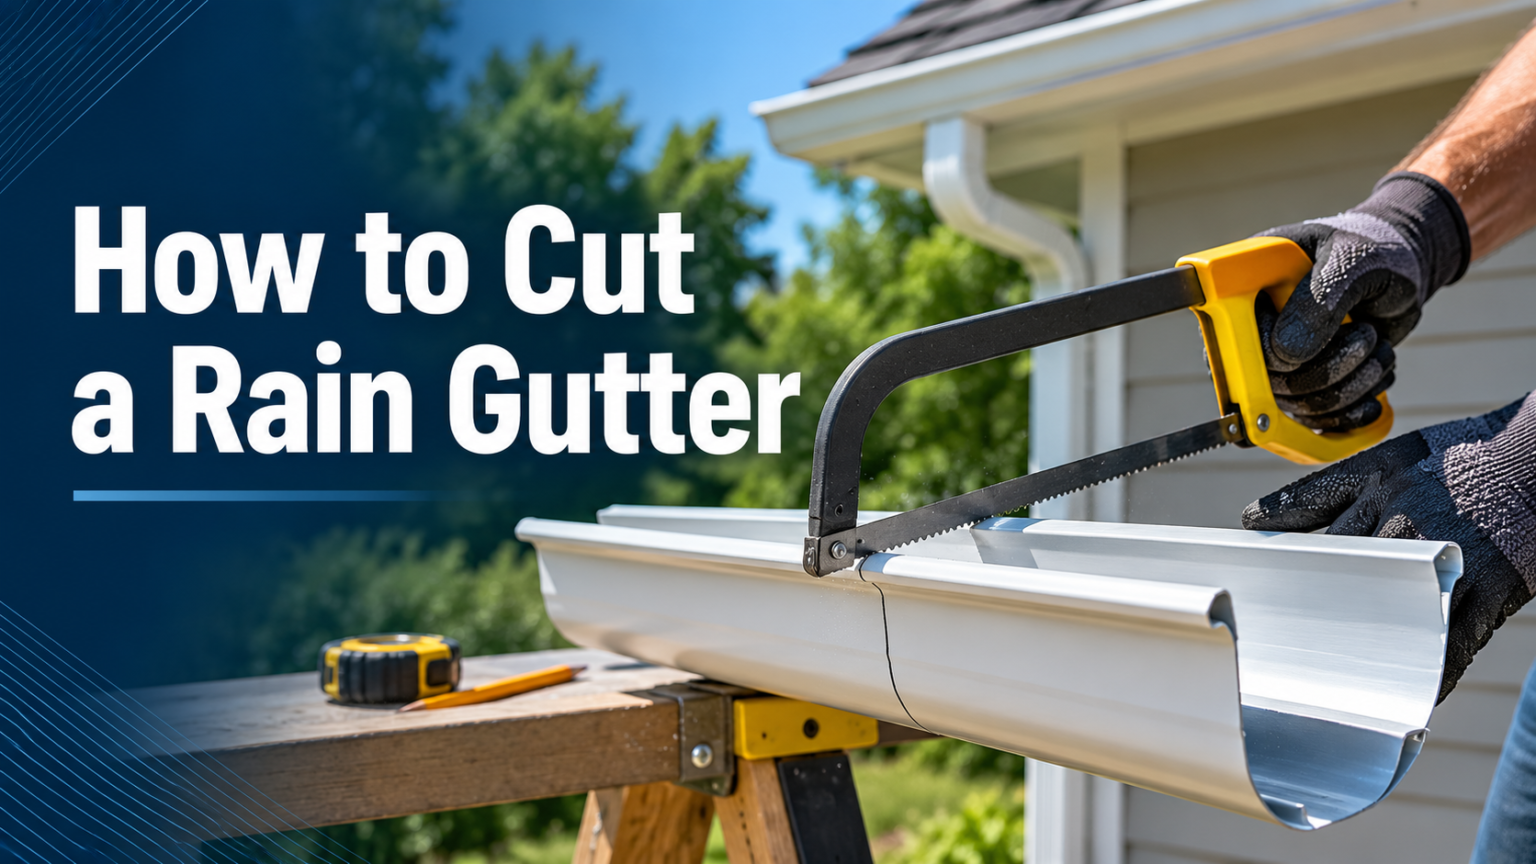

Rain gutters play a quiet but important role in protecting a home. They carry water away from the roof, walls, and foundation, preventing damage that can otherwise cost thousands of dollars to repair. At some point, almost every homeowner faces a situation where a gutter needs to be shortened, replaced, or custom-fitted around a corner. Learning how to cut a rain gutter properly is a skill that saves money on professional installation and gives you full control over the fit and finish of your drainage system.
This guide walks through everything from choosing the right tools to making clean, professional-looking cuts, whether you’re working with aluminum, vinyl, steel, or copper. It’s written for everyday homeowners and first-time DIYers, so no prior experience with sheet metal or roofing tools is assumed. By the end, you’ll understand not just the mechanics of cutting a gutter, but also how to avoid the small mistakes that lead to leaks, warped edges, or a sloppy-looking installation.
Understanding Rain Gutter Materials
Before picking up a saw, it helps to know what you’re actually cutting. Gutters are made from a handful of common materials, and each one behaves differently under a blade.
Aluminum is by far the most widely used gutter material in residential construction. It’s lightweight, resistant to rust, and easy to shape, which makes it the friendliest option for a first-time cutting project.
Vinyl (PVC) gutters are popular for their low cost and simple installation. They don’t corrode, but they can become brittle in cold weather, which affects how they should be cut.
Steel gutters, often galvanized, are heavier and more durable than aluminum but require sturdier tools to cut cleanly without bending the material.
Copper gutters are the premium option, prized for their appearance and longevity. They’re softer than steel but still need careful handling to avoid denting or distorting the channel shape during cutting.
Knowing your material in advance determines which blade, saw, and technique will give you the cleanest result — and it’s the single biggest factor in how easy or difficult the job feels.
Tools and Materials You’ll Need
Having the right tools laid out before you start makes the entire process faster and safer. Here’s what to gather:
- Tape measure and a straightedge or chalk line
- Marker or grease pencil for visible cut lines
- Hacksaw with a fine-tooth blade (18–32 TPI)
- Aviation tin snips (for aluminum and thin steel)
- Circular saw with a metal-cutting blade (optional, for long straight runs)
- Miter box, if you want precise angled cuts
- Heavy-duty gloves and safety glasses
- Metal file or sandpaper for smoothing edges
- Sawhorses or a stable workbench to support the gutter while cutting
The table below summarizes which cutting tools pair best with each gutter material.
| Gutter Material | Recommended Cutting Tool | Notes |
|---|---|---|
| Aluminum | Hacksaw or aviation tin snips | Lightweight, cuts cleanly with light pressure |
| Vinyl/PVC | Fine-tooth handsaw or hacksaw | Cut slowly to avoid cracking, especially in cold weather |
| Steel | Hacksaw with metal blade or angle grinder | Requires more force; support well to avoid bending |
| Copper | Hacksaw with fine-tooth blade | Cut gently to avoid denting the soft metal |
Safety Precautions Before You Start
Cutting gutters involves sharp metal edges, so a few basic precautions go a long way. Freshly cut aluminum and steel edges are often razor-sharp, so gloves aren’t optional — they’re essential. Safety glasses protect against metal shavings and debris that can fly up during cutting, especially when using a power saw.
If you’re working on a ladder to measure or test-fit a section on the roofline, always have someone nearby, keep three points of contact on the ladder, and avoid overreaching. Finally, make sure your gutter piece is fully supported on a flat surface before cutting; an unsupported gutter can vibrate, bend, or slip, leading to uneven cuts or injury.
Measuring Your Gutter Correctly
Accurate measurement is the foundation of a good cut. Start by measuring the total length of the roofline section where the gutter will be installed, using a tape measure stretched fully along the fascia board. If the run includes corners, downspout openings, or end caps, account for these separately rather than guessing at their length.
Once you have your measurement, transfer it to the gutter using a marker or grease pencil, drawing a straight line across the piece using a square or straightedge to keep the cut perpendicular. It’s worth measuring twice here, since a miscut gutter section is difficult to fix and often means starting over with a new piece. A good rule of thumb followed by many professionals is to cut slightly longer than needed and trim down gradually until the fit is exact.
Step-by-Step: How to Cut Aluminum Gutters
Aluminum is the most common material homeowners will encounter, and thankfully it’s also the easiest to cut cleanly.
- Place the gutter on sawhorses or a workbench so the cutting area is fully supported and doesn’t sag.
- Mark your cut line clearly using a square to ensure it’s straight.
- If using a hacksaw, position the blade at the mark and use smooth, even strokes rather than short, forceful ones — this reduces jagged edges.
- If using aviation tin snips, cut along the marked line in short, controlled bites, working from one edge to the other.
- Once cut, check the edge for straightness and burrs before moving to the finishing step.
Aluminum responds well to both hand tools, so choose based on comfort: tin snips are faster for thinner gauges, while a hacksaw gives more control for precise, straight cuts.
Step-by-Step: How to Cut Vinyl Gutters
Vinyl gutters cut easily but can crack or splinter if rushed, particularly in cold temperatures when the plastic becomes more rigid. A fine-tooth handsaw or hacksaw works best here.
Support the vinyl gutter fully along its length before cutting, since unsupported sections are prone to flexing and cracking under blade pressure. Cut slowly and steadily, letting the teeth of the saw do the work rather than forcing the blade through. If you’re working outdoors in cold weather, consider bringing the piece indoors briefly to warm slightly, as this reduces brittleness and the risk of a jagged break.
Step-by-Step: How to Cut Steel or Copper Gutters
Steel and copper require a bit more patience. Steel gutters, especially galvanized ones, are tougher on blades, so a hacksaw with a metal-specific blade or an angle grinder with a thin cutting wheel works well for longer runs. Move slowly and keep steady pressure to avoid warping the channel shape.
Copper, while softer than steel, is easy to dent if handled roughly. Use a fine-tooth hacksaw and light, even pressure, checking frequently that the gutter’s shape hasn’t been compressed by clamps or excessive force during the cut.
Cutting Corners, Miters, and Angles
Not every gutter run is a straight line. Corners and angled sections require slightly different handling. For inside corners, measure the angle where two gutter runs meet and mark both pieces to match before cutting. Outside corners follow the same principle but angle outward instead.
A miter box is particularly useful here, as it holds the gutter at a fixed angle while you cut, producing a much more consistent result than cutting freehand. Many DIYers find that practicing on a scrap piece of gutter before cutting the final angled section helps build confidence and avoids wasting material.
Finishing the Cut Edge
A clean cut isn’t complete until the edge has been finished. Freshly cut aluminum, steel, and copper often leave small burrs — thin, sharp slivers of metal along the cut line. Run a metal file or sandpaper along the edge to smooth these down, which not only makes the piece safer to handle but also helps end caps and connectors fit more snugly.
Before final installation, test-fit the piece against its intended location. This lets you catch any small measurement errors while there’s still room to make minor adjustments.
Common Mistakes to Avoid
Even experienced DIYers run into a few recurring issues when cutting gutters. Cutting without proper support is one of the most frequent problems, since an unsupported gutter tends to bend or vibrate, resulting in a wavy or uneven line. Rushing the measurement stage is another common pitfall — a single miscalculation can waste an entire section of material.
Using the wrong blade for the material is also a frequent cause of frustration; a blade meant for wood, for instance, will struggle and produce a rough edge on aluminum or steel. Finally, skipping the deburring step might seem like a shortcut, but it often leads to injury during handling or poor-fitting joints later on.
Tips for a Professional-Looking Result
A few small habits separate a rough DIY cut from a polished, professional-looking one. Cutting slightly longer than your measurement and trimming down gradually allows for a perfect fit without the risk of cutting too short. Sealing or painting the freshly cut edge, especially on steel, helps prevent rust from forming at the exposed metal.
If you’re repairing an existing gutter system rather than installing a new one, try to match the gutter’s profile (K-style, half-round, etc.) exactly, since mismatched profiles can create gaps that lead to leaks over time.
When to Call a Professional
While cutting a rain gutter is a manageable DIY task for most straight sections, some situations call for professional help. Complex rooflines with multiple angles, valleys, or unusual shapes can be difficult to measure and cut accurately without experience. Similarly, working at significant heights or on steep roofs introduces safety risks that may outweigh the benefits of doing it yourself.
Specialty materials like copper or custom-profile gutters can also be costly to replace if a cut goes wrong, so it may be worth hiring a professional installer for those situations, particularly on visible, decorative sections of a home.
Frequently Asked Questions
Can you cut gutters with a circular saw? Yes, a circular saw fitted with a metal-cutting blade can cut aluminum or steel gutters quickly, especially for long, straight runs. It’s less practical for tight corners or short pieces, where hand tools offer better control.
What’s the best blade for cutting aluminum gutters? A fine-tooth hacksaw blade, typically in the 18–32 teeth-per-inch range, gives the cleanest results on aluminum without excessive burring.
Do you need special tools for vinyl gutters? Not necessarily — a standard fine-tooth handsaw or hacksaw works well. The main consideration is cutting slowly to avoid cracking, particularly in cold weather.
How do you cut gutters without bending them? Full support along the entire length of the gutter is key. Resting the piece on sawhorses or a flat workbench, rather than letting it hang unsupported, prevents flexing and bending during the cut.
Conclusion
Learning how to cut a rain gutter comes down to a few consistent principles: choose the right tool for your material, measure carefully, support the gutter fully while cutting, and finish the edge properly before installation. Whether you’re working with lightweight aluminum, budget-friendly vinyl, sturdy steel, or premium copper, the same core techniques apply with small adjustments for each material’s characteristics.
Taking the time to measure twice and cut once will save both material and frustration, and a little extra care at the finishing stage — filing edges, test-fitting pieces, sealing exposed metal — is what separates an amateur result from a clean, professional-looking gutter system. With the right preparation, cutting your own gutters is a project well within reach for most homeowners.
Related Articles
How Often to Clean Bathroom: Daily, Weekly & Monthly Guide
How Long Does a Home Inspection Take? Complete Time Guide (2026)
How to Add a Bathroom to a Basement: A Complete Step-by-Step Guide