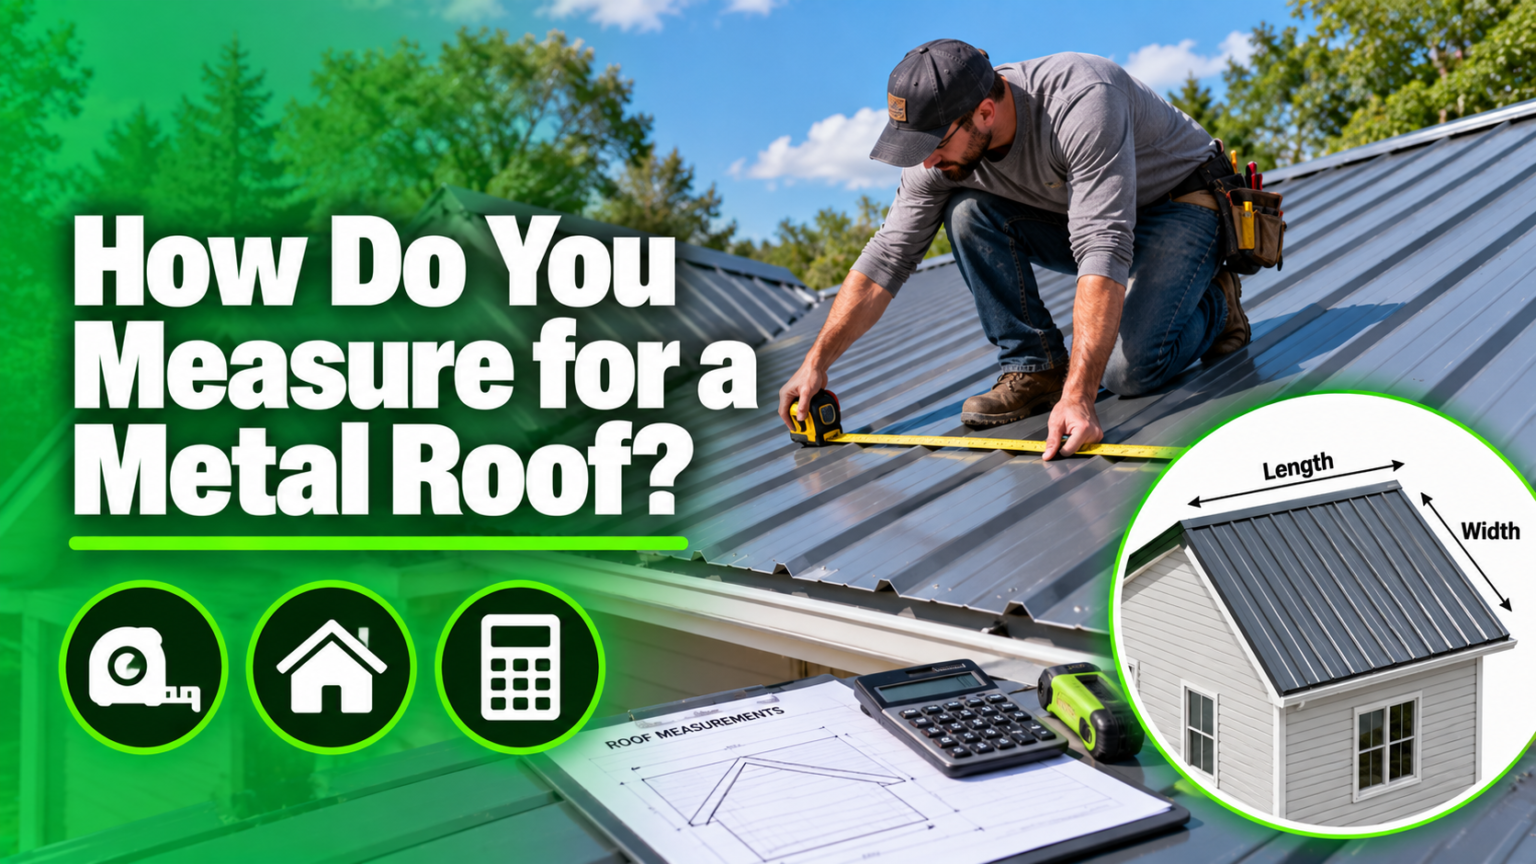

If you are planning a roofing project, one of the very first questions that comes to mind is how do you measure for a metal roof the right way. Getting this step correct is not just a small detail — it is the foundation of your entire project. A wrong measurement can lead to ordering too little material, which delays your installation, or ordering too much, which wastes your hard-earned money.
This guide is written for homeowners, DIY enthusiasts, and anyone getting ready to request quotes from roofing contractors. Even if you plan to hire a professional installer, understanding the measurement process helps you double-check their numbers, ask smarter questions, and avoid being overcharged. By the end of this article, you will have a clear, practical understanding of every step involved in measuring a roof for metal panels.
Why Accurate Metal Roof Measurement Matters
Before jumping into the steps, it helps to understand why precision matters so much when it comes to metal roofing specifically, more so than with some other roofing materials.
Avoiding Material Shortages
Metal roofing panels are usually custom-cut or ordered in specific lengths. Unlike asphalt shingles, which can be trimmed easily on-site, metal panels are harder to adjust once you are on the roof. Running short on panels mid-installation means waiting days or even weeks for a new order to arrive, especially if the panels are a custom color or profile.
Avoiding Overordering and Wasted Money
On the flip side, ordering too much material means spending extra money on panels, trims, and fasteners that will likely go unused. Metal roofing is a bigger investment than many other roofing types, so even a small percentage of overordering can add up to a significant amount.
Impact on Installation Timeline
Accurate measurements also keep your project on schedule. Contractors plan their labor and equipment around the expected scope of work. If measurements are off, it can cause delays, rescheduling, and additional labor costs.
Tools You’ll Need to Measure a Metal Roof
Before you start measuring, gather the right tools. Having the correct equipment makes the process faster, safer, and far more accurate.
| Tool | Purpose |
|---|---|
| Measuring tape or laser measure | Measures length, width, and linear footage of roof features |
| Ladder | Provides safe access to the roof edge |
| Safety harness | Protects you while working at height |
| Calculator or measurement app | Helps convert measurements and calculate square footage |
| Notepad or graph paper | Used to sketch the roof layout and record numbers |
| Pitch gauge or angle finder | Determines the slope of the roof |
If you are not comfortable getting on the roof yourself, many of these measurements can also be estimated from the ground or with satellite-based roof measurement tools, though on-site verification is always recommended for accuracy.
Understanding Roofing Measurement Terms
Before diving into the actual steps, it is useful to understand a few common terms used throughout the measuring process.
Square: In roofing, a “square” is a unit of measurement equal to 100 square feet. Roofing materials, including metal panels, are typically priced and ordered by the square rather than by square footage alone.
Roof pitch: This refers to the steepness or slope of the roof, usually expressed as a ratio such as 6/12, meaning the roof rises 6 inches for every 12 inches of horizontal run.
Eaves: The lower edges of the roof that overhang the walls of the house.
Rakes: The sloped edges of the roof running from the eave to the ridge on a gable-style roof.
Ridge: The horizontal line at the very top of the roof where two slopes meet.
Hips and valleys: Hips are the external angles where two roof slopes meet, while valleys are the internal angles where two slopes meet and direct water flow.
Understanding these terms will make the rest of the measuring process much easier to follow.
Step 1: Measure the Length and Width of Each Roof Plane
The first real step in learning how do you measure for a metal roof is breaking the roof down into individual sections, known as planes. Most roofs are not one single flat surface — they are made up of multiple rectangular or triangular sections.
Walk around the house, or use satellite imagery, and sketch a rough outline of the roof from a bird’s-eye view. Label each plane with a letter or number. Then measure the length and width of each section in feet. Multiply length by width to get the square footage of that individual plane. Once every plane has been measured and calculated, add all the individual square footage totals together to get the overall roof area.
For complex roofs with dormers, multiple gables, or unusual angles, it often helps to break the roof into simple rectangles and triangles, calculate each separately, and then combine the totals.
Step 2: Calculate Roof Pitch and Apply the Pitch Multiplier
Since a roof is sloped rather than flat, the measurements you took from the ground or from a flat sketch do not represent the true surface area of the roof. This is where the pitch multiplier comes in.
To find your roof’s pitch, you can use a pitch gauge on an accessible section of the roof, or measure the rise and run from the attic space if it is accessible. Once you know the pitch, refer to a standard pitch multiplier chart to adjust your flat square footage measurement into the true sloped surface area.
| Roof Pitch | Approximate Multiplier |
|---|---|
| 3/12 | 1.031 |
| 4/12 | 1.054 |
| 5/12 | 1.083 |
| 6/12 | 1.118 |
| 7/12 | 1.158 |
| 8/12 | 1.202 |
| 9/12 | 1.250 |
| 10/12 | 1.302 |
| 12/12 | 1.414 |
Simply multiply your flat, ground-measured square footage by the corresponding number to get a more accurate total that accounts for the slope.
Step 3: Account for Overhangs and Eaves
Most roofs extend slightly beyond the exterior walls of the home, and this overhang needs to be included in your measurements. Standard overhangs typically range from 6 to 12 inches, though some homes have wider eaves for style or climate reasons.
Measure the overhang distance on all sides of the roof and add it to your length and width calculations before determining square footage. Skipping this step is a common mistake that leads to underordering material, since the overhang area still needs to be covered by roofing panels and trim.
Step 4: Measure Panel Runs from Eave to Ridge
Metal roofing panels are different from shingles in one important way: they are usually manufactured and ordered as full-length pieces that run continuously from the eave to the ridge, without horizontal seams. This means you need to measure the exact eave-to-ridge distance for each roof plane.
Take this measurement carefully, as ordering panels that are too short will require overlapping seams, which increases the risk of leaks. Ordering panels that are too long results in unnecessary trimming and waste. Many suppliers can custom-cut panels to your exact measurement, so precision here directly affects both cost and performance.
Step 5: Determine Panel Coverage Width
Metal panels come in various widths, but they are usually sold based on their “effective coverage width” rather than their full physical width, since panels overlap slightly during installation.
A common panel size is 36 inches wide, with an effective coverage of around 34 to 35 inches once overlapped. To determine how many panels you need for a given roof plane, divide the width of that plane by the effective coverage width of your chosen panel.
For example, a roof plane that is 350 inches wide, using panels with a 35-inch effective coverage, would require 10 panels to cover that section.
Step 6: Measure Ridges, Hips, Valleys, and Rakes
Beyond the flat panel surface, metal roofs require trim and flashing along every ridge, hip, valley, and rake edge. These pieces protect the seams where water runoff is concentrated and give the roof a finished, weatherproof appearance.
Measure the linear footage of each of these features separately using your tape measure or laser measure. Record each measurement clearly, since trim pieces are usually ordered in fixed lengths and priced per linear foot rather than by square footage.
Step 7: Add a Waste Factor
Even with careful measuring, some material waste is unavoidable due to cutting, minor errors, and complex roof features. Industry standard practice is to add a waste factor of around 10 to 15 percent on top of your calculated material needs.
Simple roofs with few obstructions may only need a 5 to 10 percent buffer, while roofs with multiple valleys, dormers, or chimneys often require closer to 15 percent or slightly more. This extra allowance ensures you are not left short on materials partway through installation.
Step 8: Measure Roof Penetrations Separately
Any feature that penetrates the roof surface, such as chimneys, plumbing vents, skylights, or roof-mounted equipment, needs its own set of measurements. These areas require additional flashing to create a watertight seal around the penetration.
Measure the width and height of each penetration, along with the surrounding area that will need flashing coverage. These small sections are easy to overlook but are critical for preventing leaks once the roof is installed.
Step 9: Convert Total Square Footage into Roofing Squares
Once you have added together the square footage of every roof plane, including pitch adjustments and overhangs, the final step is converting that number into roofing squares. Since one square equals 100 square feet, simply divide your total square footage by 100.
For example, a total roof area of 2,400 square feet would equal 24 squares. This is the unit contractors and suppliers will use when providing quotes and ordering materials, so having this number ready makes the ordering process much smoother.
Common Mistakes to Avoid When Measuring a Metal Roof
Even experienced homeowners can make errors during the measurement process. Being aware of these common pitfalls can save you time, money, and frustration.
- Ignoring roof pitch: Using flat, ground-level measurements without applying a pitch multiplier leads to underestimating the true roof area.
- Forgetting the waste factor: Ordering the exact calculated amount with no buffer often results in running short during installation.
- Miscalculating panel overlap: Using the full panel width instead of the effective coverage width leads to ordering fewer panels than actually needed.
- Overlooking overhangs: Measuring only the wall footprint instead of the true roof edge underestimates the material required.
- Not accounting for penetrations: Skipping flashing measurements around chimneys and vents can leave gaps in the final material order.
When to Hire a Professional for Roof Measurement
While this guide gives you a solid understanding of how do you measure for a metal roof, there are situations where hiring a professional is the safer and smarter choice.
Complex roof designs with multiple angles, steep pitches, or unusual architectural features can be difficult to measure accurately without experience. Safety is also a major concern, since working at height requires proper equipment and training. Finally, professional measurements are often required by suppliers or contractors to generate an accurate, binding quote for your project.
Frequently Asked Questions (FAQs)
How much does a metal roof cost per square? Costs vary widely based on material type, panel style, region, and labor rates, so it is best to request quotes from local suppliers or contractors for an accurate estimate based on your specific roof size.
Can I measure my roof without going on it? Yes, partial measurements can be taken from the ground, attic space, or satellite imagery tools, though climbing onto the roof or hiring a professional typically provides the most accurate results.
How accurate do measurements need to be? Measurements should be as precise as possible, ideally within a few inches, since metal panels are often custom-ordered and difficult to adjust once cut.
What is the standard panel length for metal roofing? Panel lengths vary by manufacturer and are typically custom-cut to match the exact eave-to-ridge measurement of each roof plane, rather than sold in fixed standard lengths like shingles.
Conclusion
Understanding how do you measure for a metal roof involves more than just calculating square footage. From accounting for pitch and overhangs to measuring panel runs, trim, and penetrations, each step plays an important role in ensuring your roofing project goes smoothly. Taking the time to measure carefully, or double-checking a contractor’s numbers using this guide, can help you avoid costly mistakes and material shortages.
If your roof has a complex design or you are unsure about any part of the measuring process, do not hesitate to consult a professional roofer to confirm your measurements before placing a material order.
Related Articles
Does a Bathroom Remodel Require a Permit?
How to Clean Wicker Furniture: Easy Step-by-Step Guide
How to Install a Ceiling Medallion: Complete Step-by-Step Guide (2026)