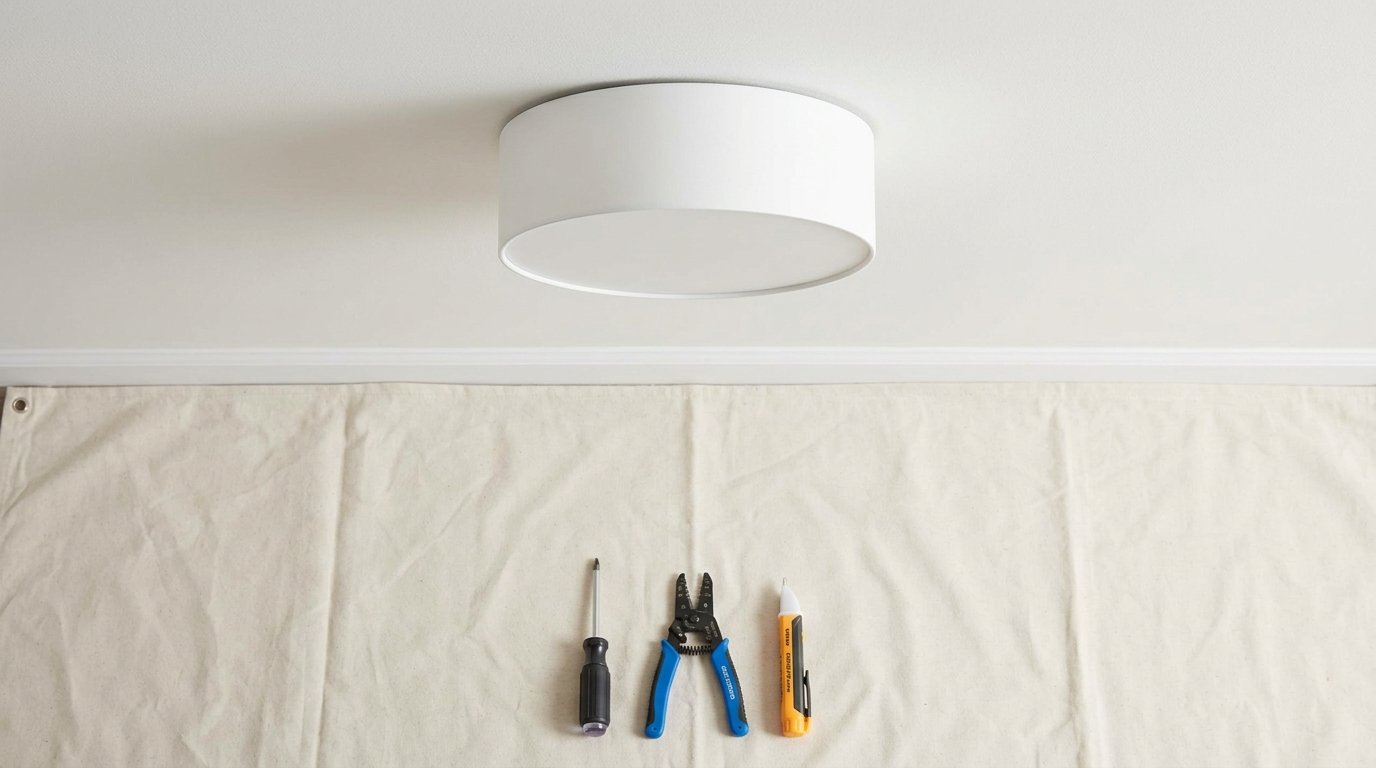

How to Install a Ceiling Medallion
Installing a ceiling medallion involves measuring the fixture opening, preparing the medallion for a proper fit, and securing it flush against the ceiling using adhesive or screws. The process is generally manageable for homeowners with basic tools, whether installing around an existing fixture or as part of new construction.
Overview of the Installation Process
The typical process starts with selecting a medallion sized appropriately for the ceiling fixture, followed by cutting or splitting the medallion if it needs to fit around an already-installed fan or light. Once prepared, the medallion is attached using construction adhesive, screws, or a combination of both depending on its weight and material. Finishing touches include caulking gaps and painting to blend the medallion seamlessly with the ceiling.
Choosing the Right Ceiling Medallion
Selecting an appropriately sized and weighted medallion before starting installation makes the entire process significantly easier and ensures a better final appearance.
Medallion Size and Proportion
Choosing the correct size medallion depends largely on the size of the room and the fixture it will surround, since an undersized medallion can look out of place while an oversized one may overwhelm a smaller ceiling. A general guideline suggests the medallion diameter should be roughly proportional to the room’s dimensions, with larger rooms accommodating larger medallions comfortably. Measuring the ceiling fixture opening and surrounding space beforehand helps narrow down suitable size options.
Medallion Material Options
Ceiling medallions come in several material types, each offering different installation requirements and weight considerations that affect mounting method.
| Material Type | Weight | Installation Method | Best For |
| Polyurethane | Lightweight | Adhesive primarily | Most standard installations |
| Plaster | Heavy | Screws plus adhesive | Traditional or historic homes |
| PVC | Lightweight | Adhesive primarily | Moisture-prone rooms |
| Wood | Moderate | Screws recommended | Custom or rustic designs |
Lightweight materials like polyurethane and PVC are generally easier for do-it-yourself installation since they can typically be secured with adhesive alone, while heavier plaster medallions often require additional screw support for long-term stability.
Preparing for Installation
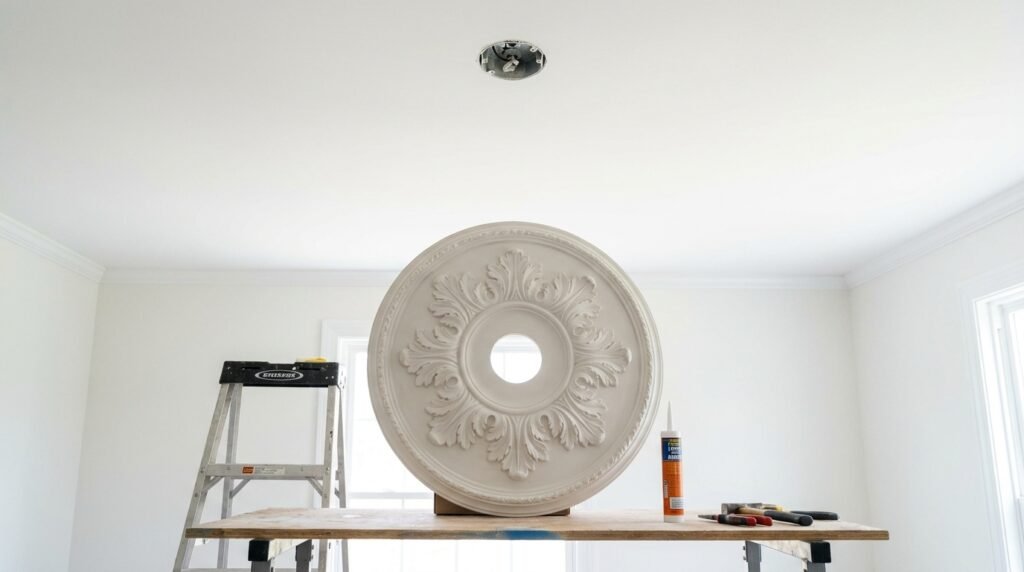
Proper preparation ensures the medallion fits correctly and adheres securely, reducing the chances of gaps or the medallion coming loose over time.
Gathering Necessary Tools and Materials
Before starting, it helps to have all necessary tools and materials organized and within reach to avoid interruptions during the process. Common items needed for a typical installation include the following:
- Construction adhesive rated for ceiling use
- A caulking gun for applying adhesive smoothly
- A fine-toothed saw for cutting the medallion if needed
- Painter’s caulk for filling gaps around the edges
- A stud finder if screws will be used for additional support
- Sandpaper for smoothing cut edges
Having these items ready beforehand allows the installation to proceed smoothly from start to finish without unnecessary delays.
Measuring the Fixture Opening
Accurate measurement of the existing ceiling fixture, whether a light or fan, ensures the medallion’s center hole will fit properly around it without visible gaps. Most medallions come with a pre-cut center hole sized for standard fixtures, though some may need slight trimming to accommodate specific fixture bases. Taking careful measurements at this stage prevents having to redo cuts later in the process.
Deciding Whether to Split the Medallion
If a light fixture or fan is already installed and cannot be removed easily, the medallion will likely need to be split into two pieces to fit around the existing fixture stem. This involves cutting the medallion in half along a line that can be hidden later with adhesive and paint. Choosing to remove the fixture first, when possible, allows for a cleaner one-piece installation without visible seams.
Step-by-Step Installation Method
Once materials are prepared and measurements are confirmed, the actual installation follows a consistent sequence that applies to most medallion types and sizes.
Cutting the Medallion if Necessary
If splitting the medallion is required, a fine-toothed saw should be used to make a clean, straight cut through the center point where the fixture stem will sit. Sanding the cut edges afterward helps ensure a smoother, tighter fit when the two halves are rejoined around the fixture. Taking time with this step results in a nearly invisible seam once the medallion is painted.
Removing the Fixture Temporarily if Possible
Whenever feasible, temporarily removing the light fixture or fan makes the installation considerably easier since the medallion can be installed as a single piece and slid into place before reattaching the fixture. This approach eliminates the need for cutting and produces a cleaner overall result. After the medallion is secured, the fixture is simply reinstalled following its original wiring connections.
Applying Adhesive and Positioning the Medallion
Construction adhesive should be applied in a zigzag pattern across the back of the medallion, ensuring even coverage without excessive buildup that could create gaps. The medallion is then pressed firmly against the ceiling, centered around the fixture opening, and held in place briefly to allow the adhesive to begin setting. Checking alignment carefully at this stage prevents having to reposition the medallion after the adhesive has started curing.
Adding Screws for Additional Support
For heavier medallions or those installed on textured ceilings where adhesive alone may not hold securely, adding a few screws through pre-drilled or discreetly placed holes provides extra stability. Screws should be driven into ceiling joists where possible for the strongest hold, which may require using a stud finder beforehand. Once secured, screw heads can be filled with spackle and painted over to blend seamlessly with the medallion’s surface.
Sealing Gaps and Finishing Touches
After the medallion is firmly attached, painter’s caulk should be applied around the edges where the medallion meets the ceiling to close any small gaps and create a seamless transition. This step is particularly important on textured ceilings where slight unevenness can leave visible gaps without caulking. Once the caulk has dried, the medallion can be painted to match the ceiling or highlighted with a contrasting color for decorative effect.
Common Mistakes to Avoid
Being aware of frequent installation errors helps ensure a cleaner result and prevents having to redo portions of the project.
Using Insufficient Adhesive
Applying too little adhesive is one of the most common reasons medallions eventually loosen or fall, particularly with heavier materials like plaster. Ensuring even, adequate coverage across the entire back surface of the medallion provides a much stronger and longer-lasting bond. It’s better to use a bit more adhesive than necessary rather than risk insufficient hold.
Skipping the Caulking Step
Leaving gaps unsealed between the medallion and ceiling creates a noticeably unfinished appearance, especially once paint is applied and any inconsistencies become more visible. Caulking not only improves appearance but also helps secure the edges further, adding to the overall stability of the installation. This step is quick but makes a significant difference in the final look.
Ignoring Ceiling Texture Compatibility
Textured ceilings, such as popcorn texture, can create uneven surfaces that make it harder for the medallion to sit flush without proper adjustment. In these cases, additional adhesive or screws may be necessary to compensate for the texture, and extra caulking helps mask any remaining gaps. Failing to account for texture differences often results in a medallion that doesn’t sit as flush as expected.
Comparing This Guide to Other Resources
Most home improvement resources on ceiling medallion installation agree on the core sequence of measuring, preparing, securing with adhesive, and finishing with caulk and paint, which matches the approach outlined above. Some sources place additional emphasis on selecting decorative styles based on architectural period, which is a helpful consideration for homeowners focused on matching a specific design aesthetic. Overall, the fundamental installation steps and safety considerations remain consistent across trusted sources covering this topic.
Frequently Asked Questions
Do I need to remove my ceiling fan to install a medallion?
Removing the fan makes installation easier and cleaner, though it’s possible to install a split medallion around an existing fan if removal isn’t practical.
What adhesive works best for ceiling medallions?
A high-quality construction adhesive designed for ceiling or overhead use provides the strongest hold, especially when paired with screws for heavier materials.
Can a ceiling medallion be installed on a textured ceiling?
Yes, though extra adhesive, screws, and caulking are often needed to account for the uneven surface and ensure a flush, secure fit.
How long does it take to install a ceiling medallion?
A straightforward installation with an accessible fixture typically takes about one to two hours, including preparation, mounting, and caulking time.
Conclusion
Installing a ceiling medallion is a manageable project that involves careful measuring, proper adhesive application, and attention to finishing details like caulking and paint. Following the correct sequence, from preparation through mounting, results in a polished, professional-looking addition to any ceiling fixture.
Related Articles
Joist Tape for Decking: The Complete Guide to Protecting Your Deck’s Substructure
Why Is My Toilet Bubbling? 7 Real Causes and How to Fix Them
What Is an Asbestos Stucco Ceiling? Learn the risks and stay safe.
Soft Wash Roof Cleaning: The Safe Way to Clean Your Roof
Can You Use Ceiling Paint on Walls? The Surprising Benefits and Drawbacks