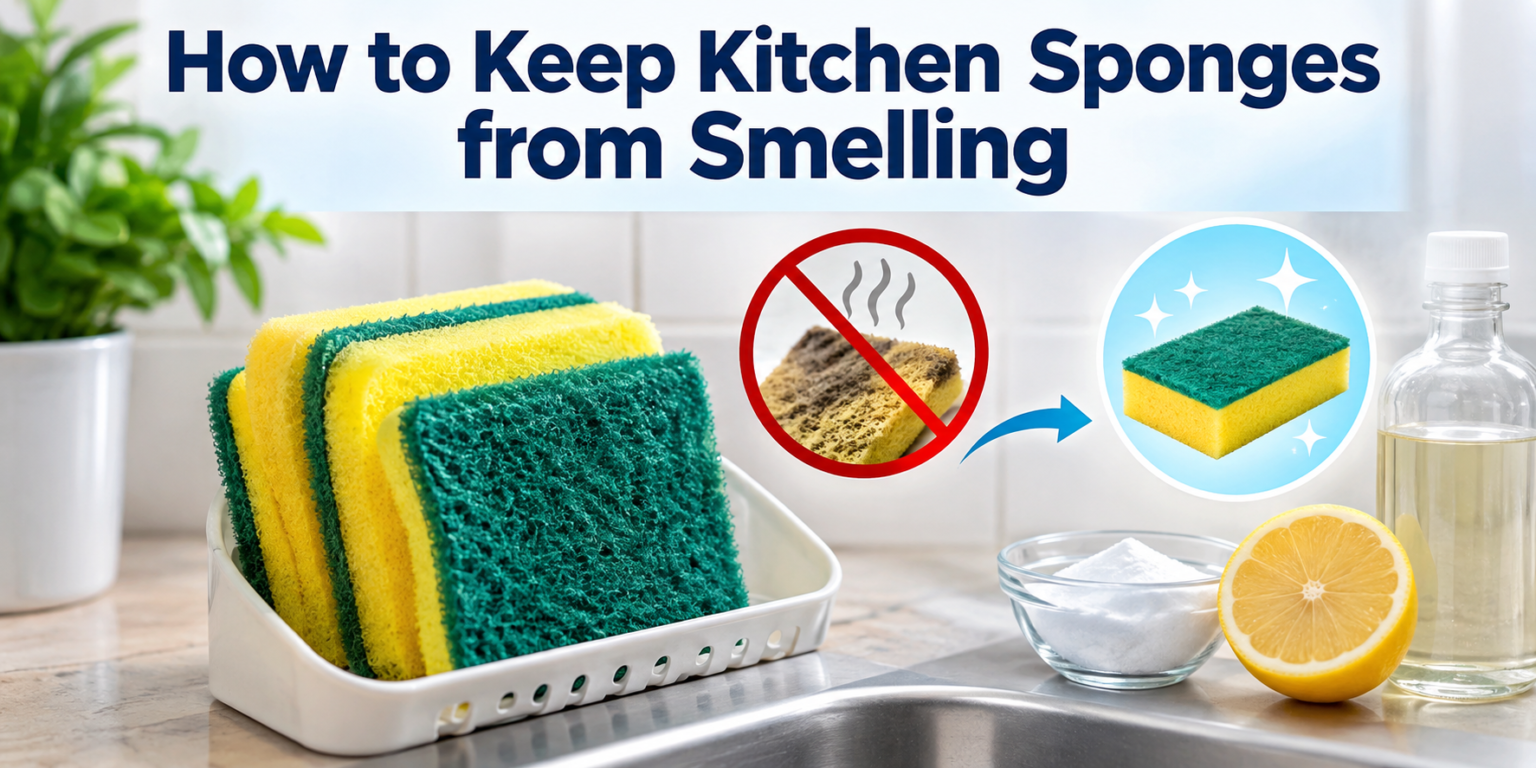

A kitchen sponge is one of the hardest-working tools in any home, yet it is often the first thing to develop an unpleasant odor. Within just a day or two of regular use, a sponge can start to smell sour, damp, or even rotten. This happens because the sponge sits in warm, wet conditions that are perfect for bacteria to multiply.
Learning how to keep kitchen sponges from smelling does not require expensive products or complicated routines. A few small changes in how you use, store, and clean your sponge can make a noticeable difference within days. This guide walks through why sponges smell, the daily habits that prevent odor, proven sanitizing methods, and simple signs that tell you when it is time to replace your sponge for good.
Why Do Kitchen Sponges Smell So Quickly?
Before fixing the smell, it helps to understand what causes it in the first place. The reasons below explain how a clean-looking sponge can quickly become a breeding ground for odor-causing bacteria.
Bacteria and Moisture Buildup
Sponges are made of porous material that traps water long after you finish washing dishes. This constant moisture creates a warm, damp environment that bacteria thrive in. As bacteria multiply inside the sponge, they release waste that produces the sour smell most people notice within a day or two.
Trapped Food Particles
Tiny bits of food, grease, and soap residue often get stuck deep inside the sponge fibers, even after rinsing. These leftover particles act as a food source for bacteria, allowing them to grow faster and in larger numbers. Over time, this buildup is what gives an old sponge its distinct, unpleasant smell.
Poor Ventilation or Storage
Where you place your sponge between uses matters just as much as how you clean it. A sponge left flat in a puddle of water, tucked inside a closed container, or squeezed into a corner of the sink cannot dry properly. Without airflow, moisture stays trapped, giving bacteria even more time to multiply.
Daily Habits to Prevent Sponge Odor
Small daily habits make the biggest difference in keeping a sponge fresh. The three habits below are simple enough to fit into your normal dishwashing routine.
Rinse and Wring Thoroughly After Each Use
After washing dishes, always rinse the sponge under running water to remove leftover soap, grease, and food particles. Follow this by squeezing out as much water as possible, since excess moisture is the main reason bacteria multiply so quickly. This simple two-step habit only takes a few seconds but significantly slows down odor buildup.
Store the Sponge Upright, Not in a Puddle
How you position your sponge after washing plays a big role in how fast it dries. Placing it upright in a small holder or rack allows air to circulate around all sides, speeding up the drying process. Leaving it flat in a puddle of water, on the other hand, keeps the underside constantly wet and encourages bacterial growth.
Avoid Leaving It in a Wet Sink Overnight
Sinks tend to stay damp overnight, especially if dishes are left soaking or water collects near the drain. A sponge left in this environment has no chance to dry out before its next use. Moving the sponge to a dry, open spot away from standing water helps it stay fresher for longer.
Sanitizing Methods That Actually Work
Along with daily habits, sanitizing your sponge every few days helps kill bacteria that regular rinsing cannot remove. The table below compares the most common and effective methods.
| Method | Time Needed | Effectiveness | Notes |
| Microwave (damp sponge) | 1–2 minutes | High | Only works on sponges with no metal or scouring pad attached |
| Dishwasher (hot-dry cycle) | One full cycle | High | Place sponge in the utensil basket for even heat exposure |
| Boiling in water | 5 minutes | High | Use tongs to remove the sponge safely once boiling finishes |
| White vinegar soak | 5 minutes | Moderate | Dilute vinegar with water; rinse well before next use |
| Diluted bleach soak | 5 minutes | High | Use a small amount in water and rinse thoroughly afterward |
How Often Should You Replace a Sponge?
Even with regular cleaning, no sponge lasts forever. Knowing when to let go of an old one is just as important as sanitizing it.
Signs It’s Time to Toss It
A sponge that continues to smell bad even right after cleaning has likely reached the end of its useful life. Fraying edges, a mushy texture, or visible mold spots are also clear signs that it should be thrown out immediately. Continuing to use a sponge in this condition can spread bacteria onto dishes and countertops instead of cleaning them.
Recommended Replacement Schedule
As a general guideline, most kitchen sponges should be replaced every one to two weeks, even if they still look usable. Households that use their sponge heavily, such as for daily cooking and dishwashing, may need to replace it closer to the one-week mark. Setting a simple reminder can help make this an easy habit to maintain.
Alternatives to Traditional Sponges
If odor keeps returning no matter how carefully you clean, switching to a different tool altogether may be worth considering.
Dish Brushes
Dish brushes dry much faster than sponges because their bristles allow air to pass through easily rather than trapping water. This reduced moisture makes it harder for bacteria to build up between uses. Many brushes also last significantly longer than sponges before needing replacement.
Silicone Scrubbers
Silicone scrubbers are naturally resistant to bacteria because the material does not absorb water or food particles the way traditional sponges do. They are easy to rinse clean and can often go straight into the dishwasher for a deeper clean. While they may take a little getting used to, they largely eliminate the smell problem altogether.
FAQs
Can a smelly sponge still be used safely?
A mild smell can often be removed through sanitizing, but a strong or persistent odor usually means it is time to replace the sponge rather than continue using it.
Is it better to microwave or boil a sponge?
Both methods work well, but boiling is a safer choice for sponges that contain any metal fibers or attachments that should not go in a microwave.
Does dish soap alone prevent sponge odor?
Dish soap helps clean the surface, but it does not fully remove bacteria trapped inside the sponge, which is why regular sanitizing is still necessary.
Conclusion
Keeping a kitchen sponge smelling fresh comes down to a few consistent habits rather than any single fix. Rinsing and wringing the sponge after every use, storing it upright in a dry spot, and avoiding wet sinks overnight all reduce the moisture that bacteria depend on. Adding a regular sanitizing routine, whether through microwaving, boiling, or a diluted vinegar or bleach soak, clears out bacteria that daily rinsing alone cannot reach.
Even with the best care, sponges do not last forever, so replacing one every one to two weeks keeps your kitchen cleaner and safer. For anyone who wants to avoid the issue altogether, dish brushes and silicone scrubbers offer low-maintenance alternatives that resist odor by design. With these simple steps, a smelly sponge does not have to be a recurring kitchen problem.
Related Posts
Cedar Fence Panels: Complete Buying and Installation Guide
Roof Repairs Worcester: Your Complete Local Guide to a Safe and Lasting Roof
How to Manually Flush a Toilet: Complete guide 2026