


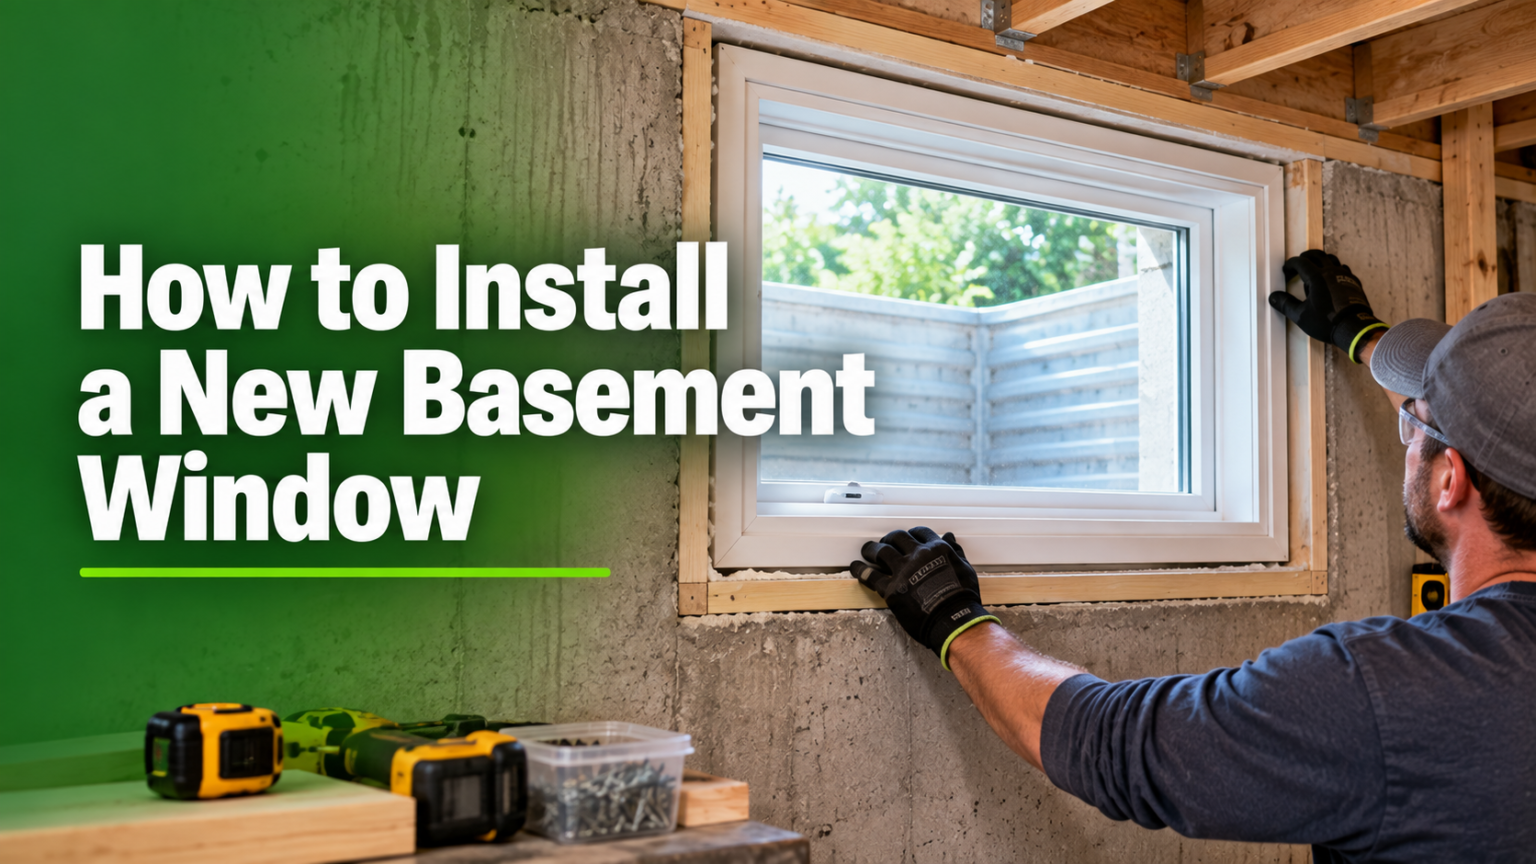

A basement that feels dark, damp, or stuffy usually has one thing in common: outdated or poorly fitted windows. Whether you’re upgrading an old, rusted frame or adding a brand-new opening for extra light and airflow, learning how to install a new basement window is one of the most rewarding home improvement projects you can take on. It doesn’t just improve looks — it can boost energy efficiency, meet safety codes, and even raise your home’s resale value.
This guide walks through the entire process from start to finish, written in plain language so that both first-time DIYers and experienced homeowners can follow along. We’ll also touch on when it makes more sense to call in a professional, since basement window work sometimes involves cutting through concrete or block foundations.
Understanding Basement Windows
Before picking up a single tool, it helps to know what you’re working with. Basement windows come in several styles, and the right choice depends on your home’s foundation, your climate, and whether the window needs to serve as an emergency exit (called an egress window).
| Window Type | Best For | Notes |
|---|---|---|
| Hopper | Small openings, ventilation | Opens inward from the top |
| Slider | Wide openings | Simple operation, budget-friendly |
| Awning | Rainy climates | Opens outward, hinged at top |
| Glass Block | Security-focused basements | Little to no ventilation |
| Egress Window | Bedrooms or living spaces | Required by code for emergency exit |
Materials also matter. Vinyl frames resist moisture and require little upkeep, wood offers a classic look but needs more maintenance, fiberglass is extremely durable, and aluminum is lightweight but can conduct cold. Since basements already tend to battle moisture, most homeowners lean toward vinyl or fiberglass for long-term performance.
It’s also worth checking local building codes early. Many regions require a minimum window size and a window well with a specific depth if the basement is used as a living space. Skipping this step is one of the most common (and costly) mistakes people make.
Planning the Project
Good planning saves time, money, and frustration later. Start by inspecting your current window opening or the section of the foundation wall where you want to add one. Look for cracks, water stains, or soft material around the frame — these are signs of deeper issues that should be addressed before installation.
Next, decide on the window size and style based on your goals: more natural light, better airflow, or code-required egress. Once you know the type, measure carefully (more on that below) and order the exact size — basement windows are rarely a “one size fits most” purchase.
Before starting any physical work, check whether your municipality requires a permit. Cutting into a foundation almost always does. It’s a quick call to your local building department that can prevent headaches down the road.
Tools and materials checklist:
- Tape measure and level
- Reciprocating saw or concrete saw (for new openings)
- Hammer drill (for masonry anchors)
- Pry bar and utility knife
- Shims
- Exterior-grade caulk and expanding spray foam
- Flashing tape or metal flashing
- Screws or masonry anchors
- Window well kit (if applicable)
- Safety gear: gloves, goggles, dust mask
Preparing for Installation
Safety comes first. Basement window work often involves dust, sharp metal edges, and sometimes old caulking or sealant that may contain hazardous materials in older homes. Wear gloves, eye protection, and a dust mask throughout the process.
Accurate measuring is the single most important step in the entire project. Measure the width and height of the rough opening in three places (top, middle, bottom for height; left, middle, right for width) and use the smallest measurement to avoid ordering a window that doesn’t fit. Double-check manufacturer specifications, since basement windows sometimes have unique frame depths to match thicker foundation walls.
Removing the Old Window (If Replacing)
If you’re swapping out an existing window, begin by removing the interior and exterior trim carefully with a pry bar, keeping pieces intact if you plan to reuse them. Once the trim is off, remove any screws or fasteners holding the old frame in place, then gently work the frame free.
While the opening is exposed, inspect the surrounding area for rot, mold, or crumbling concrete. This is your only chance to address these issues before the new window goes in, so don’t skip it even if it adds a bit of extra time.
Cutting a New Opening (If Installing Where None Exists)
Adding a basement window where one didn’t exist before is more involved, since it usually means cutting through solid concrete or block. Start by marking the exact opening dimensions on the interior and exterior foundation wall, double-checking that the position clears any interior framing or utility lines.
Cutting through concrete block is typically done with a masonry saw or angle grinder fitted with a diamond blade, while poured concrete may require a core drill or professional concrete-cutting service. Once the opening is cut, frame it out with a wood or metal buck to give the window something secure to attach to. If the wall is load-bearing or the opening is large, it’s wise to consult a structural engineer or contractor before cutting, since improper cuts can compromise the foundation.
Installing the Window Frame/Well
With the opening ready, set the window buck (a rough wooden frame) into place, ensuring it is square and securely anchored to the foundation. If the window sits below ground level, you’ll also need a window well — a curved or straight metal, plastic, or composite barrier that holds back soil and allows light in.
Proper drainage is critical here. Add a layer of gravel at the base of the well and, where possible, connect it to a drainage system or French drain to prevent water pooling against the window during heavy rain.
Setting the Window
Now comes the moment the window actually goes into the opening. Carefully lift it into place, checking that it sits level and plumb using a spirit level on both the horizontal and vertical edges. Even a slight tilt can cause operational issues or water infiltration later.
Insert shims at even intervals around the frame to hold it steady and maintain a consistent gap for insulation. Once level, secure the window using screws or masonry anchors through the pre-drilled holes in the frame, tightening evenly to avoid warping the frame.
Weatherproofing and Insulation
This step determines whether your new window will last for decades or start leaking within a year. Apply flashing tape or metal flashing above the window to direct water away from the frame. Around the edges, fill gaps with low-expansion spray foam designed for windows and doors — regular foam can expand too aggressively and bow the frame inward.
Once the foam cures, trim any excess and apply a bead of high-quality exterior caulk around the entire perimeter, both inside and outside. This dual-layer approach (foam plus caulk) is the most reliable way to block drafts and moisture.
Finishing Touches
With the window secure and sealed, reinstall or replace the interior and exterior trim for a clean, finished appearance. If you removed old trim pieces earlier, now is a good time to swap them for new, moisture-resistant material, especially on the exterior side.
If a window well was installed, consider adding a clear or metal well cover to keep out debris, leaves, and rainwater, while still allowing sunlight through.
Testing and Quality Check
Before calling the job done, test everything. Open and close the window several times to confirm smooth operation. On a sunny day, check inside for any visible light gaps around the frame, which can indicate a sealing issue. If it’s raining, take a look from inside during or after the storm to confirm no water is seeping through.
A simple final checklist:
- Window opens and closes without sticking
- No visible gaps or light leaks around the frame
- Caulking is smooth and fully sealed
- Window well (if used) drains properly
- Trim is secure and finished neatly
Maintenance Tips
Basement windows face more moisture exposure than most other windows in the house, so a little seasonal maintenance goes a long way. Clean debris out of the window well every few months, especially after storms or in the fall when leaves pile up. Inspect the caulk line once or twice a year and reapply if you notice cracking or peeling. If the window has weep holes for drainage, make sure they stay clear of dirt and debris.
Common Mistakes to Avoid
Even careful DIYers can run into trouble. Some of the most frequent basement window installation mistakes include:
- Measuring only once instead of multiple points on the opening
- Skipping the permit process in areas where one is required
- Using regular expanding foam instead of window-specific low-expansion foam
- Failing to plan for proper window well drainage
- Not checking local egress requirements for bedrooms or living spaces
Avoiding these pitfalls up front is far easier than fixing water damage or code violations after the fact.
Cost Breakdown
Costs vary widely depending on whether you’re replacing an existing window or cutting a brand-new opening, as well as your local labor rates and window materials.
| Project Type | DIY Cost Estimate | Professional Installation Estimate |
|---|---|---|
| Replace existing window (no cutting) | $150–$400 | $400–$800 |
| New opening + window (block foundation) | $500–$900 | $1,200–$2,500 |
| New opening + window (poured concrete) | $700–$1,200 | $1,800–$3,500 |
| Egress window with well | $900–$1,800 | $2,500–$5,500 |
These figures are general estimates and can shift based on window brand, well material, and regional labor costs, so it’s a good idea to get a few local quotes if you’re leaning toward hiring a professional.
Conclusion
Installing a basement window is a project that rewards patience and careful preparation. From measuring the rough opening to sealing the final bead of caulk, each step plays a part in making sure the window performs well for years without leaks or drafts.
For straightforward replacements, most confident DIYers can handle the job over a weekend. For projects involving cutting through concrete, structural changes, or egress code requirements, bringing in a licensed contractor is often the safer and more cost-effective choice in the long run.
Whichever route you choose, following this guide on how to install a new basement window step by step will help you avoid common pitfalls and end up with a window that’s both functional and built to last.
Related Articles
Can Gutter Hangers Prevent Gutter Damage from Roof Avalanche?
How to Clean Bathroom Drain: A Complete Guide 2026
Average Door Thickness: A Complete Guide to Standard Sizes and Measuring Tips