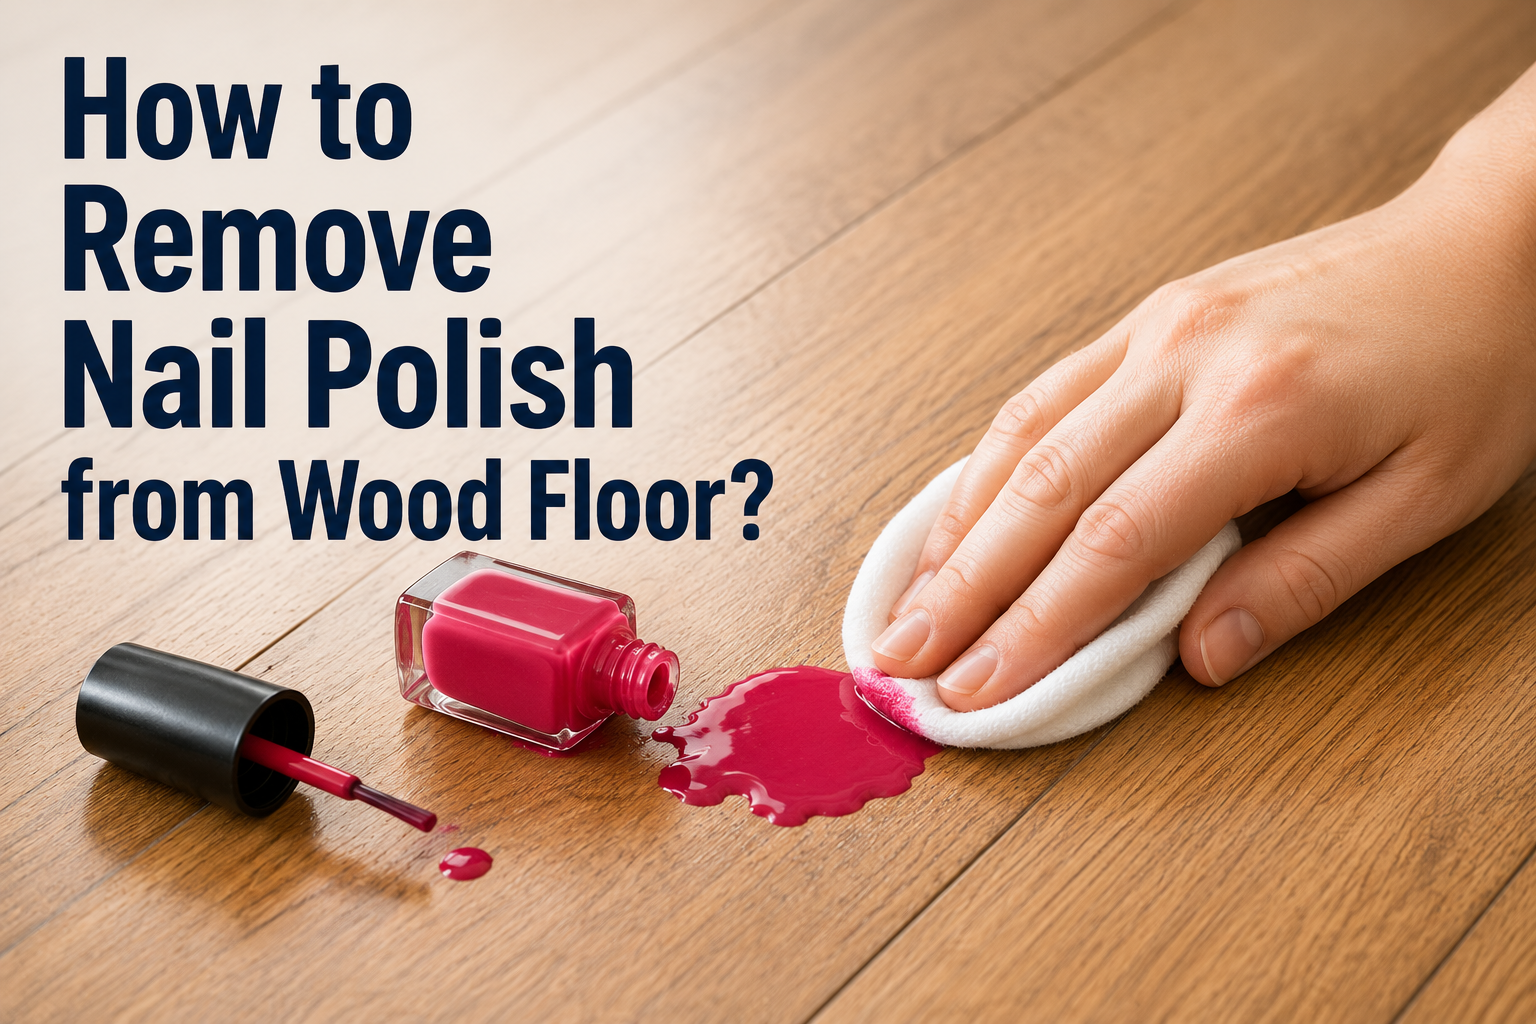

A nail polish spill on a wood floor can feel like a small disaster, especially if the color is dark and the floor is freshly finished. The good news is that most spills can be treated at home without damaging the wood, as long as you act with the right method instead of rushing in with harsh scrubbing.
This guide walks you through exactly how to remove nail polish from wood floor surfaces, whether the polish is still wet or has already dried into a hard patch. You will also learn how to protect your floor’s finish while you clean, and how to bring back its natural shine once the stain is gone.
Understanding Your Wood Floor Finish
Before you attempt any cleaning method, it helps to know what kind of finish covers your floor, since this changes how the wood reacts to solvents. The sections below explain the common finish types and a simple way to test which one you have.
Types of Finishes
Most modern wood floors are sealed with polyurethane, which forms a hard protective layer over the wood and generally resists mild solvents reasonably well. Older floors may instead be finished with wax, which is softer and can be dulled or stripped by acetone-based removers.
Some floors, particularly antique or hand-finished ones, may have oil-based treatments or be left as raw, unfinished wood, both of which absorb liquids much faster and need extra caution.
Why Finish Type Changes Your Approach
A sealed polyurethane floor can usually tolerate a small amount of non-acetone remover without lasting damage, since the coating acts as a barrier between the solvent and the wood underneath.
Waxed or oiled floors are more vulnerable, because the remover can strip away the protective layer along with the polish, leaving a dull patch that needs re-waxing. Knowing your finish type in advance prevents you from choosing a product that causes more damage than the original spill.
How to Identify Your Floor’s Finish
A simple way to check is to place a few drops of water on an inconspicuous area of the floor and watch what happens over a couple of minutes. If the water beads up and sits on the surface, your floor likely has a polyurethane or similar hard finish.
If the water soaks in and darkens the wood, you are probably dealing with a wax, oil, or unfinished surface, which means you should use gentler products and test carefully before treating the actual stain.
What You’ll Need
Having the right materials ready before you start makes the entire process faster and reduces the risk of spreading the stain. The table below lists the essential items and what each one is used for.
| Item | Purpose |
| Non-acetone nail polish remover | The safest first product to try; gentler on most wood finishes |
| Acetone-based remover | A stronger backup option for stubborn or dried stains |
| Cotton balls | Used to apply and hold remover directly on the stain |
| Plastic scraper or old gift card | Lifts dried, flaking polish without scratching the wood |
| Soft cloths | For blotting the stain and drying the area afterward |
| Mild soap and water | Cleans remover residue off the floor once the stain is gone |
| Floor wax or polish | Restores shine to the treated spot after cleaning |
Tools to Avoid
Metal scrapers, steel wool, and abrasive scrub pads should stay out of this job, since they can scratch the finish or gouge the wood itself, creating a bigger problem than the nail polish.
Harsh household chemicals like bleach or ammonia-based cleaners should also be avoided, as they can discolor the wood or react badly with the existing finish. Sticking to the gentler materials listed above keeps the repair contained to the stain itself.
Safety and Precautions Before You Start
A few quick precautions can save your floor from accidental damage while you focus on removing the polish. The three points below cover ventilation, testing, and working carefully near the edges of the stain.
Ventilating the Room
Nail polish remover produces strong fumes, so open a window or turn on a fan before you begin working. Good airflow makes the process more comfortable and also helps the treated area dry faster once you are finished. This is especially important if you are working in a small room or a space without much natural ventilation.
Testing Products on a Hidden Area
Every wood floor reacts a little differently, so it is worth testing your remover on a hidden spot such as inside a closet or under a rug before applying it to the visible stain.
Apply a small amount, wait a minute, and check whether the finish looks cloudy, sticky, or discolored. If the test spot stays clear, you can move on to the actual stain with more confidence.
Keeping Remover Away From Seams and Edges
Wood floors often have small seams or gaps between boards, and liquid remover can seep into these spaces and reach unfinished wood underneath. Try to work only on the stained surface itself rather than pouring liquid generously over the area.
Using a cotton ball to apply small amounts gives you much better control than pouring remover directly onto the floor.
Step-by-Step Removal Process
This is the core method for how to remove nail polish from wood floor surfaces, broken into small steps so nothing gets rushed. Each step below explains exactly what to do and why it matters.
Step 1: Act Quickly
If the polish is still wet, grab a paper towel and gently blot it up right away instead of wiping, which would only spread the color further across the floor. Wet polish comes up far more easily than dried polish, so speed matters more than any product you use.
If the polish has already dried into a hard film, don’t worry, the following steps are designed to handle that too.
Step 2: Scrape Off Excess Dried Polish
For dried spots, use a plastic scraper, an old gift card, or a plastic putty knife to gently lift the raised edges of the polish without pressing hard into the wood.
Work slowly and stop as soon as the polish stops flaking off easily, since forcing it can scratch the finish. This step reduces the amount of polish left for the remover to dissolve, which shortens the rest of the process.
Step 3: Apply Non-Acetone Remover First
Soak a cotton ball with non-acetone nail polish remover and press it directly onto the stain, holding it in place for about thirty seconds so the liquid can start breaking down the polish.
Non-acetone formulas are gentler on wood finishes than pure acetone, which makes them the safer starting point. In many cases this alone is enough to loosen the stain completely.
Step 4: Blot, Don’t Rub
Once the polish begins to soften, blot it gently with a clean part of the cotton ball or a soft cloth, working from the outer edge of the stain toward the center.
Rubbing in circles tends to spread the color outward and can also wear down the finish faster than blotting does. Patience here produces a much cleaner result than trying to force the stain out quickly.
Step 5: Escalate to Acetone Only if Needed
If the non-acetone remover does not fully clear the stain after a couple of attempts, you can move on to acetone-based remover, but only after testing it on a hidden spot first as explained earlier.
Apply it the same way, with a soaked cotton ball held briefly on the stain, then blotted rather than scrubbed. Use acetone sparingly, since repeated or heavy use is more likely to dull a wax or oil finish.
Step 6: Clean the Area With a Damp Cloth
Once the polish is gone, wipe the spot with a cloth lightly dampened with water or a mild soap solution to remove any leftover remover residue.
This step prevents the solvent from sitting on the finish longer than necessary, which could otherwise cause a faint dull mark over time. A light touch is all that’s needed here.
Step 7: Dry Thoroughly
Finish by drying the area completely with a clean, dry cloth, since any leftover moisture can seep into seams and cause swelling or warping over time.
Make sure the spot feels completely dry to the touch before walking on it or placing furniture back in the area. This final step protects the wood from any long-term moisture damage.
Removing Nail Polish from Different Floor Types
The steps above work as a general method, but small adjustments help depending on exactly what kind of wood surface you’re treating. The following sections break this down by floor type.
Sealed or Polyurethane Floors
These floors are the most forgiving, since the hard topcoat creates a barrier between the solvent and the actual wood. You can generally follow the full step-by-step process above without much extra caution, though it’s still smart to dry the area promptly. A quick buff with a soft cloth afterward usually restores any lost shine.
Waxed Floors
Wax finishes are more delicate, so stick to non-acetone remover whenever possible and use it sparingly. After the stain is gone, the treated spot will often look duller than the surrounding floor because some of the wax layer has been removed along with the polish. A fresh coat of floor wax applied to just that area, then buffed in, usually blends the spot back in.
Unfinished or Antique Wood Floors
Raw or antique wood absorbs liquid quickly, so speed and a very light touch matter even more here. Consider skipping acetone altogether and relying on gentle scraping plus a small amount of non-acetone remover, testing constantly as you go. For valuable or historic flooring, it’s often worth calling in a specialist rather than risking permanent discoloration.
Laminate vs. Solid Hardwood
Laminate flooring has a printed layer under a protective coating, and strong solvents can sometimes cause that top layer to peel or cloud if used too aggressively.
Solid hardwood is generally more durable against occasional solvent contact since it’s a single material all the way through. Regardless of which one you have, testing in a hidden spot remains the safest starting point.
Dealing with Stubborn or Dried Stains
Old polish stains that have sat for days or weeks need a little extra patience compared to fresh spills. The sections below cover how to soften old stains and when to try a different product entirely.
Re-Softening Old Polish
For polish that has hardened significantly, lay a remover-soaked cotton ball directly on the stain and let it sit for a minute or two before attempting to blot or scrape again.
The extended contact time gives the solvent a chance to penetrate the hardened layer rather than just sitting on the surface. Repeat this soak-and-blot cycle a few times if the first attempt only partially works.
Using Rubbing Alcohol as an Alternative
Isopropyl rubbing alcohol can work as a gentler alternative to acetone, particularly on finishes that react poorly to stronger solvents.
Apply it the same way, with a soaked cotton ball held on the stain and then blotted, and test it in a hidden area first just like any other product. It won’t always be as fast as acetone, but it’s a safer first attempt on more delicate finishes.
When to Repeat the Process
It’s completely normal for a stubborn stain to need two or three rounds of soaking, blotting, and gentle scraping before it fully disappears.
Trying to rush a deeply set stain in one aggressive attempt is more likely to damage the finish than to speed up the result. Slow, repeated, gentle treatment consistently outperforms one harsh scrubbing session.
Restoring the Floor’s Shine After Cleaning
After the stain is gone, the treated spot can sometimes look flatter or duller than the rest of the floor. The sections below explain why this happens and how to fix it.
Why the Spot May Look Dull
Solvents can strip away a thin layer of wax or gloss along with the nail polish, leaving that specific patch looking less shiny than the surrounding wood.
This is a cosmetic effect rather than damage to the wood itself, and it’s usually simple to correct. It becomes more noticeable on waxed floors than on sealed polyurethane ones.
Applying Floor Polish or Wax
Choose a floor polish or wax that matches the type already on your floor, and apply a small amount directly to the treated spot using a soft cloth. Follow the product’s instructions for drying time before walking over the area again. This step blends the treated patch back into the rest of the floor’s finish.
Buffing Techniques
Once the polish or wax has dried according to the product instructions, buff the spot gently in small circular motions with a clean, soft cloth until the sheen matches the surrounding floor. Light pressure works better than heavy pressure, since the goal is an even shine rather than removing more product. This final touch usually makes the spot completely unnoticeable.
Common Mistakes to Avoid
A handful of simple mistakes are responsible for most of the floor damage that happens during nail polish removal. Knowing them in advance helps you avoid turning a small stain into a bigger repair job.
- Rubbing instead of blotting: this spreads the stain outward and wears down the finish faster than gentle blotting.
- Using metal tools: metal scrapers and steel wool can scratch or gouge the wood surface permanently.
- Skipping the patch test: applying remover directly to the visible stain without testing first risks unexpected discoloration.
- Overusing acetone: repeated heavy use strips wax and gloss well beyond the actual stain area.
When to Call a Professional?
Most nail polish stains can be handled safely at home, but a few situations call for expert help instead. The sections below outline when it’s worth stepping back and calling someone in.
Deep-Set Stains
If polish has soaked deep into unfinished wood or into a crack between boards, home methods may only remove the surface layer while color remains trapped underneath. A flooring professional has access to sanding and refinishing techniques that can fully resolve this kind of deep staining. Trying to force it out with more solvent usually just damages the surrounding area.
Discoloration or Finish Damage
If the treated area develops a white haze, a sticky residue that won’t lift, or a noticeable color change compared to the rest of the floor, further home treatment is unlikely to help and could make things worse. At this point, a professional refinisher can assess whether the spot needs a localized touch-up or a broader refinish. It’s better to pause and get an opinion than to keep experimenting with different products.
Antique or High-Value Flooring
Antique wood floors or those with significant historic or monetary value are simply not worth risking with trial-and-error home remedies. A specialist familiar with restoring older wood can choose products and methods specifically suited to that flooring’s age and finish. This protects both the appearance and the value of the floor.
Preventing Future Nail Polish Spills
A little preparation goes a long way toward avoiding this cleanup altogether next time. The sections below cover simple habits that reduce the chance of another spill.
Doing Manicures Away from Wood Floors
Whenever possible, do at-home manicures on a tiled bathroom counter, kitchen table, or another surface that isn’t porous wood. This one habit alone eliminates most of the risk, since accidental drips land somewhere far easier to clean. It’s a small change that saves a lot of potential stress later.
Using Mats or Trays
If you do need to paint your nails near a wood floor, place a plastic tray, an old towel, or a disposable mat underneath the work area first. This creates a barrier that catches drips before they ever reach the wood. It takes only a few seconds to set up but prevents the entire cleanup process described in this guide.
Keeping Cleanup Supplies Handy
Keep a small stash of cotton balls and non-acetone remover somewhere easy to reach, such as a bathroom drawer, so you can react within seconds if a spill happens. The faster you can respond to wet polish, the less likely it is to set into the wood at all. This small habit turns a potential disaster into a two-minute fix.
Conclusion
Knowing how to remove nail polish from wood floor surfaces comes down to acting quickly, choosing the gentlest effective product, and working patiently with blotting rather than scrubbing.
Most spills, whether fresh or dried, respond well to non-acetone remover followed by careful cleaning and drying, with acetone reserved as a backup for tougher stains. A little shine restoration afterward and a few simple prevention habits will keep your wood floor looking its best going forward.
FAQs
Does acetone always damage wood floors?
Not always. Sealed polyurethane floors usually tolerate brief, careful use of acetone without lasting harm, while waxed or unfinished floors are more sensitive and should be tested first.
Can I use hairspray to remove nail polish stains?
Some people use hairspray in a pinch since it contains mild solvents, but results are inconsistent and non-acetone remover generally works better and more predictably.
How long can nail polish sit before it becomes permanent?
There’s no fixed timeline, but stains that sit for weeks are harder to fully lift than fresh ones, so treating a spill as soon as you notice it gives the best results.
Related Articles
18 Inch Deep Base Cabinets: A Smart Storage Solution for Every Kitchen
Soft Wash Roof Cleaning: The Safe Way to Clean Your Roof
Garage Door Bottom Seal Replacement: Complete Guide for Homeowners