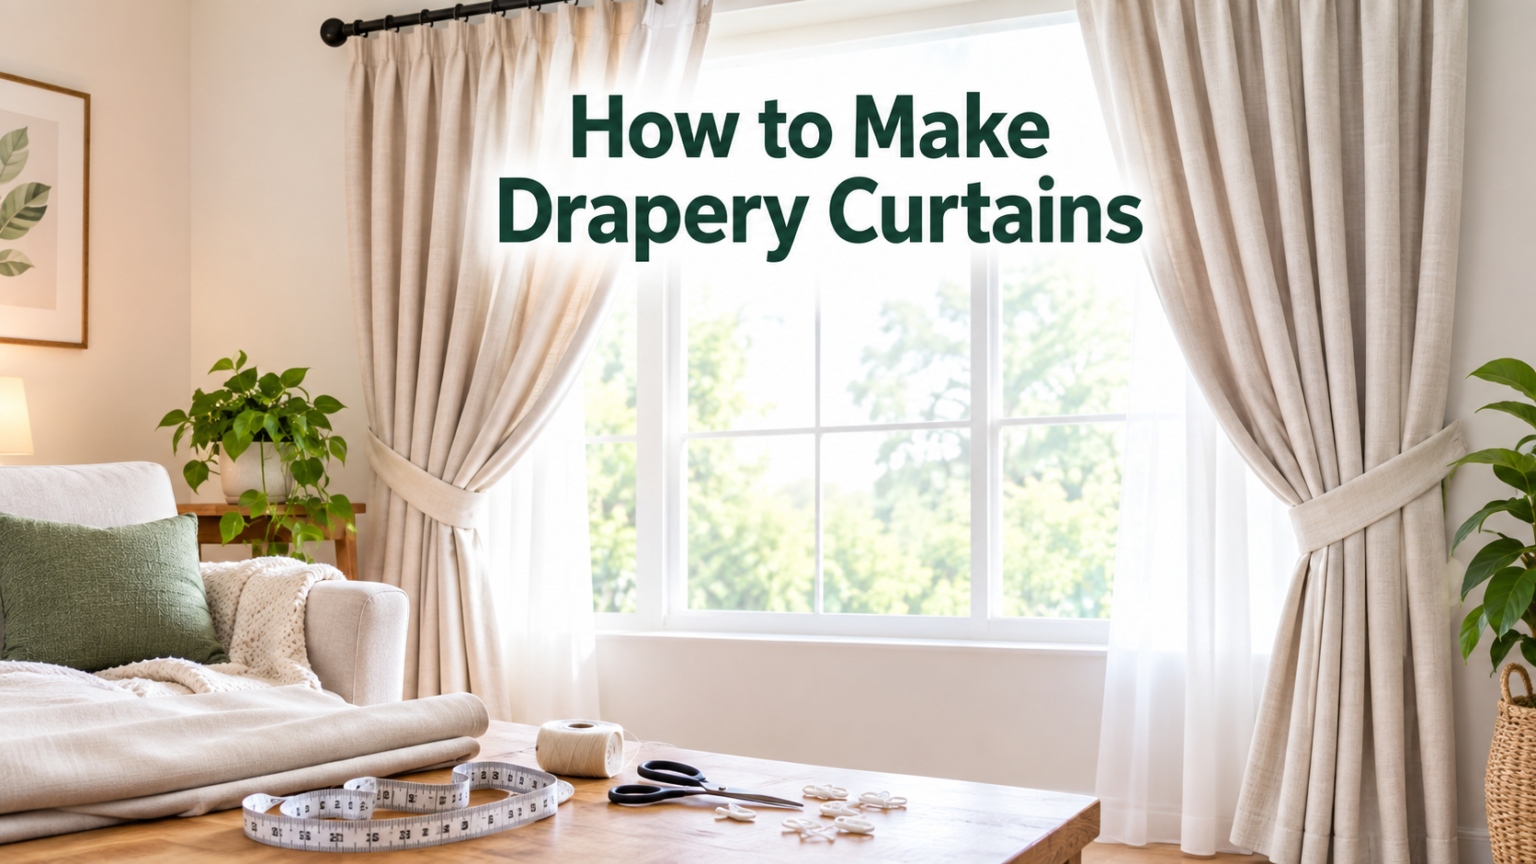

Learning how to make drapery curtains at home is a rewarding skill that saves money and lets you customize your window treatments exactly the way you want.
This guide walks you through every stage, from choosing fabric to hanging the finished panels, using simple language that even beginners can follow.
Whether you want a formal pleated look or a casual rod pocket style, the process becomes manageable once broken into clear steps. By the end, you will have the confidence and know-how to create professional-looking drapes for any room in your home.
What Are Drapery Curtains?
Drapery curtains are heavier, more structured window coverings than standard curtains, often lined for better insulation and light control. They typically hang in soft folds and are used to add elegance to living rooms and bedrooms.
Drapery vs Regular Curtains
Drapery panels are usually made from thicker fabrics like velvet, jacquard, or heavy cotton, while regular curtains use lighter materials such as sheer voile. Drapes often include lining for structure and privacy, whereas curtains may hang unlined. This difference affects how each style falls and functions on a window.
Why Make Your Own Drapery Curtains?
Making your own drapery curtains allows you to control fabric choice, length, and fullness according to your exact window size. It also costs significantly less than buying custom-made panels from a retailer. Many people also find the process satisfying as a creative home project.
Understanding Drapery Basics Before You Start
Before cutting any fabric, it helps to understand the different header styles and fabric options available. This knowledge ensures your finished curtains match the room’s overall design and function properly on your existing curtain rod.
Common Drapery Header Styles
Several header styles are popular among home sewers, each offering a different visual effect. The table below summarizes the most common options.
| Header Style | Look | Best For |
| Rod Pocket | Simple gathered look | Beginners, casual rooms |
| Pencil Pleat | Tight, even pleats | Formal living rooms |
| Pinch Pleat | Tailored, structured folds | Traditional decor |
| Eyelet/Grommet | Modern, relaxed folds | Contemporary spaces |
| Tab Top | Loops hanging from rod | Casual or rustic decor |
Choosing Between Lined and Unlined Drapes
Lined drapery curtains offer better insulation, light blocking, and a more polished drape, while unlined panels are lighter and easier to sew. Bedrooms often benefit from lined or blackout-lined curtains for better sleep quality. Living rooms may use lighter unlined fabric if privacy is less of a concern.
Tools and Materials You Will Need
Gathering the right tools before starting saves time and prevents mid-project interruptions. Most items are inexpensive and can be found at any fabric or hardware store.
A basic supply list includes a sewing machine, fabric scissors, measuring tape, pins, thread matching your fabric color, an iron, and your chosen curtain rod with rings or hooks. Optional items such as lining fabric, curtain weights, and interlining can be added depending on the style you choose.
How to Measure Your Window Correctly?
Accurate measurements are the foundation of well-fitting drapery curtains, so this step deserves careful attention. Getting the width and length right the first time prevents wasted fabric and uneven hanging later.
Measuring Width for Fullness
Measure the width of your curtain rod, then multiply by 1.5 to 2.5 times depending on how full you want the drape to appear. Fuller drapes look more luxurious but require more fabric. Divide the total width by the number of panels you plan to make.
Measuring Length and Drop
Measure from the top of the rod to where you want the curtain to end, whether that is sill length, floor length, or puddling on the floor. Add extra length for the header fold and bottom hem, typically around 20 to 25 centimeters combined. Double-check measurements on both sides of the window since walls are not always perfectly level.
Choosing and Preparing Your Fabric
Selecting the right fabric affects both the appearance and durability of your finished drapery curtains. This stage also involves prepping the material so it behaves predictably during sewing.
Calculating Fabric Yardage
Multiply your desired panel width by the number of panels, then add your total length measurement plus hem allowances. Always round up slightly to account for pattern matching or shrinkage. Buying a little extra fabric prevents running short mid-project.
Pre-Washing and Cutting Fabric
Pre-wash and iron your fabric before cutting to prevent shrinkage after the curtains are hung. Lay the fabric flat and cut along the grainline using sharp scissors for clean edges. Accurate cutting at this stage makes the sewing process much smoother.
Step-by-Step Sewing Instructions
This is the core stage where fabric transforms into finished drapery panels. Working through each step patiently produces cleaner, more professional results.
Hemming the Side Edges
Fold each side edge inward about 2 to 3 centimeters twice, press flat with an iron, and stitch close to the folded edge. This double-fold method hides raw edges and adds weight for better draping. Repeat on both sides of each panel.
Hemming the Bottom Edge
Fold the bottom edge up by 5 to 7 centimeters, then fold again to conceal the raw edge before pressing and stitching. A wider bottom hem adds weight, helping the curtain hang straight. Take care to keep the hem line even across the entire width.
Creating the Header
For a rod pocket style, fold the top edge down to create a pocket wide enough for your rod to pass through, then stitch along the bottom of the fold. For pleated or eyelet styles, specialized tape or grommet kits are attached instead, following the manufacturer’s spacing instructions. This step determines how the finished curtain will hang and move on the rod.
Adding Lining
If using lining, sew it as a separate panel matching the main fabric’s width and length, then join the two layers at the top header seam. Smooth both layers flat before stitching to avoid puckering. This step is optional but recommended for bedrooms or formal spaces.
Adding Special Touches to Your Drapery
Small finishing details can elevate the overall appearance of handmade drapery curtains. These additions are optional but worth considering for a polished result.
Using Curtain Weights
Small fabric or metal weights sewn into the bottom hem corners help curtains hang straight and resist billowing from drafts. They are especially useful for lightweight fabrics. This simple addition noticeably improves how the finished drape looks.
Trim, Tiebacks, and Blackout Lining
Decorative trim along the leading edge adds a custom, tailored look to plain fabric panels. Tiebacks allow curtains to be pulled back neatly during the day. Blackout lining is particularly useful in bedrooms where full darkness is preferred for sleeping.
Hanging Your Finished Drapery Curtains
Once sewing is complete, proper installation ensures the curtains function and look their best. This final stage brings the entire project together.
Installing the Rod and Attaching Panels
Mount the curtain rod at the appropriate height above the window frame, then slide panels onto the rod through the pocket, rings, or grommets. Adjust the panels evenly on both sides for a balanced look. Step back periodically to check symmetry as you work.
Adjusting Folds for a Polished Look
Gently arrange the fabric folds by hand and allow the curtains to hang for a day or two so gravity helps set the drape naturally. Steaming lightly can help relax stubborn wrinkles without damaging the fabric. This small step makes a noticeable difference in the finished appearance.
Common Mistakes to Avoid
Certain errors are common among first-time drapery makers and can usually be prevented with a bit of extra care. Incorrect measurements, insufficient fullness, and skipping the pre-wash step are among the most frequent issues.
Uneven hems and mismatched panel widths also detract from the finished look, so double-checking each stage before moving forward is always worthwhile.
Maintenance and Care Tips
Regular care keeps handmade drapery curtains looking fresh for years. Vacuuming with a brush attachment removes dust between washes, while following the fabric care label prevents shrinkage or color fading. Seasonal curtains should be folded neatly and stored in a breathable bag to avoid creases and moisture damage.
Conclusion
Making your own drapery curtains is a manageable project once broken into measuring, cutting, sewing, and hanging stages. With basic tools and careful attention to detail, anyone can achieve professional-looking results at home. This guide provides a solid foundation for tackling the project confidently and customizing curtains to match any room’s style.
FAQs
Can I make curtains without a sewing machine?
Yes, fabric glue or hemming tape can be used as no-sew alternatives, though stitching typically gives a more durable finish.
How much fabric do I need for a standard window?
Most standard windows require 1.5 to 2.5 times the rod width in fabric, plus extra for hems and headers.
What is the difference between drapes and curtains?
Drapes are typically heavier, often lined, and more formal, while curtains are lighter and more casual.
How do I add lining to existing curtains?
Sew a separate lining panel matching the curtain’s dimensions and attach it along the top header seam.
Related Posts
What Color Carpet With Gray Walls? Complete Guide
What Type of Paint for Bathroom Walls? Complete Guide 2026
How to Measure Ceiling Fan Blades: A Complete Step-by-Step Guide
How to Get Rid of Mold in the Bathroom: Complete Step-by-Step Guide
What is an Acoustic Ceiling? Meaning, Types, Benefits & Uses Explained