


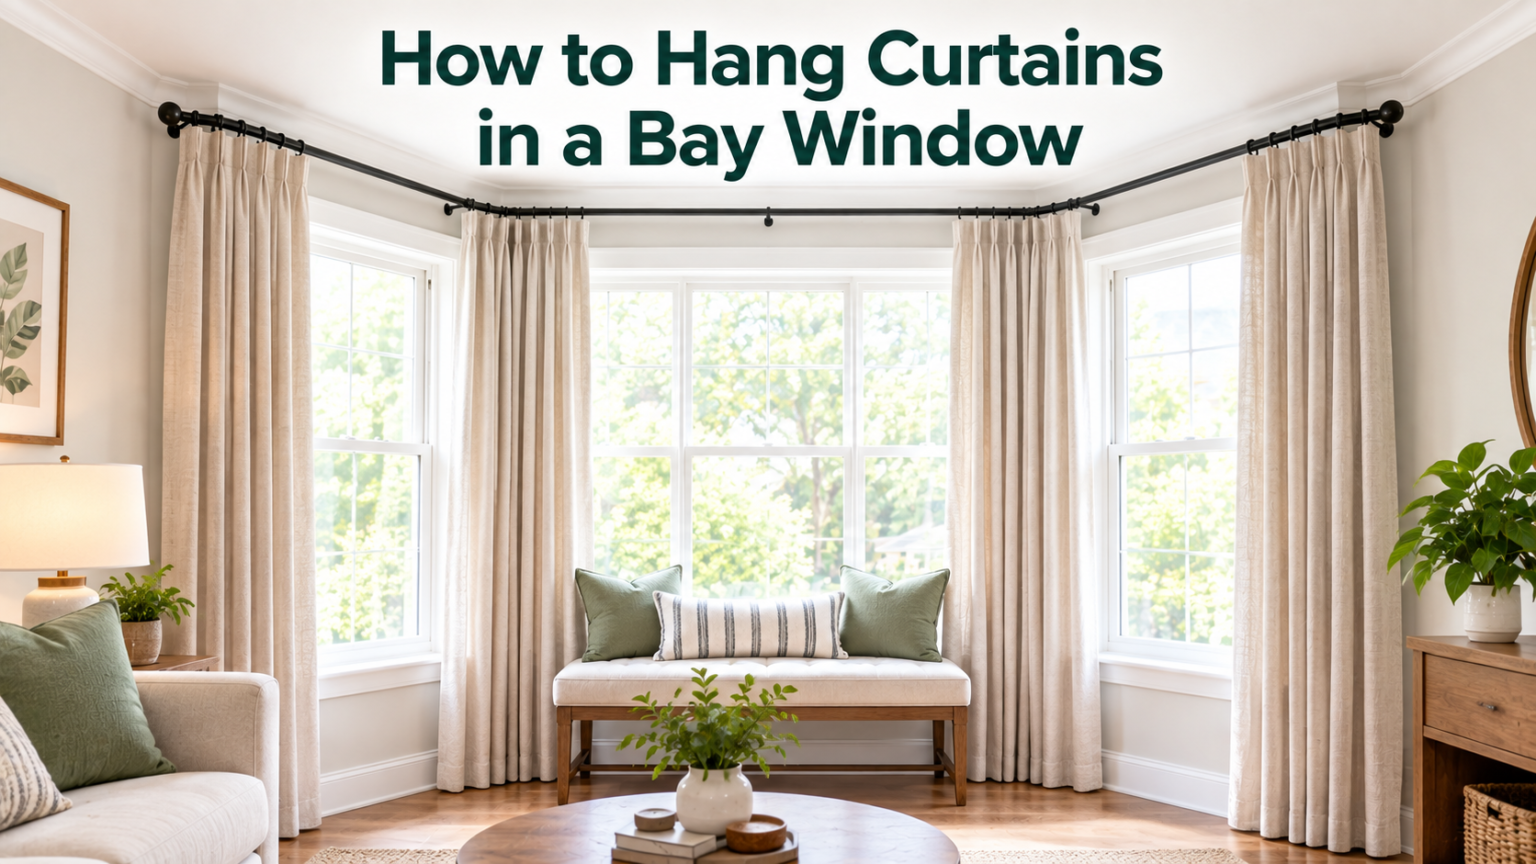

If you have ever asked yourself how do you hang curtains in a bay window, the answer is that it takes a slightly different approach than a regular flat window. Bay windows project outward from the wall in two or three connected panels, so a single straight rod will not follow the shape of the glass.
Instead, you need a track or rod that can bend, angle, or split across sections so the fabric wraps around the window without leaving gaps. Once you understand your window’s layout and pick the right hardware, the installation itself is manageable for most homeowners.
This guide walks through the full process, from identifying your window type to mounting the final bracket, so you can finish with a clean, professional result.
Key Takeaways
- A curved or angled track is usually the easiest way to cover a bay window without corner gaps.
- Accurate measuring of each panel and the angles between them is the most important step before buying hardware.
- Ceiling mounts work best for heavy curtains, while wall brackets suit lighter fabrics.
- Ready-made bay window rods with adjustable joints are widely available and beginner-friendly.
- Spacing brackets too far apart is the most common installation mistake.
What Makes Bay Windows Different for Curtain Installation?
Bay windows are not one flat pane of glass; they are made up of two, three, or more window sections joined at angles to create a bump-out in the wall. Because of this shape, a standard straight rod cannot sit flush against the window without leaving gaps at the corners. Knowing the specific shape of your bay window before buying hardware saves you from returning the wrong product later.
Types of Bay Windows
Most homes have a box bay, a bow bay, or an angled bay window, and each affects how curtains hang. A box bay has sharp 90-degree corners, making it easier to fit rigid angled rods with clean joints. A bow bay curves gently across four or five panels, so it usually needs a flexible track that bends smoothly rather than a rod with fixed angles. An angled bay typically has slanted side panels set at 30 or 45 degrees, calling for adjustable joint hardware locked at the correct angle during installation.
Why Do Standard Rods Not Work Well?
A single straight rod mounted across a bay window only covers the front-facing pane, leaving the angled side sections exposed to light and drafts. This is why manufacturers design bay-specific tracks and rods with joints or flexible sections built in. Skipping this detail is a main reason bay window curtains fail to close properly or leave a gap where panels meet the wall.
Curtain Hanging Options for Bay Windows
There is no single correct hardware choice for every bay window, since the best option depends on the window’s shape, curtain fabric weight, and whether you prefer a wall-mounted or ceiling-mounted look. The four methods below cover most situations a homeowner is likely to encounter.
Curved or Bendable Track
A flexible metal or heavy-duty plastic track can be manually bent to follow the shape of your bay window before installation. This lets one continuous curtain glide around all the panels without a break at the corners, which many homeowners prefer for a seamless look. It works especially well for bow-shaped bay windows where the curve is gradual rather than sharply angled.
Angled or Jointed Bay Window Rod
These rods come pre-fitted with adjustable corner joints set to match your bay window’s angle, commonly 90, 120, or 135 degrees. They are popular because they are sold as a single kit with brackets included, simplifying the buying process compared to sourcing a custom track. This style works especially well for box bay windows with clearly defined corners.
Separate Rods per Panel
Instead of one continuous track, you can install a short, straight rod above each panel and hang a separate curtain on each. This is the simplest method since it uses standard hardware, but it leaves a visible gap at each corner where panels meet, letting some light through. It suits rooms where fully sealed, blackout-style coverage is not a priority.
Ceiling-Mounted Track
When curtains are heavy, floor-length, or you want full wraparound coverage without relying on wall strength, a ceiling-mounted track is often the sturdiest choice. The track is fixed directly into the ceiling joists following the angles of the window below, which also creates the illusion of a taller window. This option needs more precise planning since ceiling joists are not always positioned conveniently above the bay.
Tools and Materials You Will Need
Before starting, it helps to gather every tool in advance rather than pausing halfway through to search for something. The table below outlines the most common items used for a bay window curtain project, along with their purpose and an approximate price range.
| Item | Purpose | Approximate Price Range |
| Curved or bendable curtain track | Creates one continuous line around the bay window | $25 – $70 |
| Angled/jointed bay window rod kit | Pre-set corner joints for box or angled bays | $30 – $90 |
| Wall or ceiling mounting brackets | Secures the track or rod to the structure | $8 – $20 per bracket |
| Power drill with drill bits | Creates pilot holes for screws and anchors | $40 – $120 |
| Tape measure | Measures panel width, drop length, and angles | $5 – $15 |
| Spirit level | Ensures brackets are aligned evenly | $8 – $25 |
| Wall anchors or toggle bolts | Adds extra hold in drywall or plaster | $5 – $12 per pack |
| Angle finder or protractor | Measures the exact corner angle of the bay | $10 – $20 |
Having these items ready before you begin measuring lets you move directly from planning to installation without unnecessary delays.
How to Measure a Bay Window for Curtains?
Measuring correctly is the single most important part of this project, because even the best hardware will not sit properly if the dimensions are wrong. Take your time, and where possible measure everything twice before ordering any track or rod, since a small angle error can leave a visible gap once installed.
Measuring the Width of Each Panel
Measure the width of each window panel separately rather than measuring the entire bay in one straight line, since the panels are not aligned on the same plane. Label each measurement, for example left panel, center panel, and right panel, so you do not confuse them later when ordering or cutting your track.
Measuring the Angles or Corners
Use an angle finder or a simple protractor to measure where two panels meet, since this determines whether you need a 90, 120, or 135-degree joint on your rod. Most bay windows fall into one of these standard categories, but confirming the exact figure prevents buying a jointed rod that does not sit flush against the corner.
Measuring the Drop Length
Decide whether your curtains will sit below the windowsill, at the floor, or slightly pooling on the ground, then measure from the planned bracket height down to that point. Measure this drop on each panel separately too, since bay windows are sometimes installed at slightly different heights that are not always obvious to the eye.
Step-by-Step Installation Guide
Once your measurements and hardware are ready, installation follows a logical order that keeps the process organized and reduces mistakes. Following these steps in sequence, rather than skipping ahead, makes it easier to correct small errors before they become permanent.
Marking the Bracket Positions
Using your measurements, mark the exact position for each bracket with a pencil, checking the marks are level with a spirit level before drilling. Hold the track or rod against the wall or ceiling first to visually confirm the spacing looks correct.
Installing Wall or Ceiling Mounts
Drill pilot holes at your marked points, insert wall anchors if working with drywall or plaster, then screw the brackets firmly into place. For ceiling mounts, try to hit a joist where possible, since this gives significantly more support for heavier fabric over time.
Attaching the Track or Rod
Fit the curved track, jointed rod, or straight rods into the installed brackets, adjusting any angle joints to match the corner measurements you took earlier. Tighten every connection point fully, since a loose joint is a common reason a bay window curtain track sags after a few weeks.
Hanging and Adjusting the Curtains
Slide the curtain hooks, rings, or eyelets onto the track or rod, distributing the fabric evenly across each panel so the folds look consistent from corner to corner. Open and close the curtains a few times to confirm they glide smoothly around the angles without catching on the joints.
Choosing the Right Curtain Style for Bay Windows
The curtain heading style you choose affects how smoothly fabric moves around the angled sections of a bay window, so it is worth considering before you shop for fabric.
Rod-Pocket, Eyelet, or Hook Styles
Rod-pocket curtains slide directly onto a rod but can bunch up at sharp angles, making them less ideal for box bay windows with tight corners. Eyelet curtains move more freely and glide better around gentle curves, while hook-and-ring styles paired with a curved track usually offer the smoothest motion around any bay shape.
Lightweight versus Heavy Fabric
Lightweight fabrics such as voile or linen blend work well with wall-mounted brackets since they place minimal strain on the hardware. Heavier fabrics like blackout curtains or thick velvet suit ceiling-mounted tracks anchored into joists, which can support the added weight without sagging over time.
Common Mistakes to Avoid
Many bay window curtain installations run into similar avoidable problems, and knowing these in advance saves you from redoing work later.
Gaps at the Corners
Gaps where panels meet usually result from using separate straight rods instead of a jointed or curved option, or from measuring the corner angle inaccurately before buying hardware.
Incorrect Bracket Spacing
Placing brackets too far apart causes the track or rod to bow under curtain weight, particularly with heavier fabrics, so add an extra support bracket at the center of each panel when the span is wide.
Maintenance and Adjustment Tips
Check bracket screws every few months, since the constant motion of opening and closing curtains can gradually loosen them, especially on wall-mounted setups.
If a jointed rod starts to sag at a corner, retightening the angle joint is usually enough to restore it without needing to replace the entire piece. Cleaning the track occasionally with a dry cloth also helps curtain hooks glide more smoothly around the angles over time.
Frequently Asked Questions
Do bay window curtains need special hardware? Yes, most bay windows benefit from a curved track or an angled jointed rod rather than a standard straight rod, since this allows the curtain to follow the shape of the window without leaving gaps at the corners.
Can I use one curtain for the whole bay window? Yes, a single continuous curtain on a curved track or jointed rod is common and often preferred, since it avoids the visible seams that come with using separate curtains on each panel.
Is ceiling mounting better than wall mounting? Ceiling mounting is generally sturdier for heavy or floor-length curtains, while wall mounting works fine for lighter fabrics and is usually simpler to install.
How do I know what angle my bay window has? Use an angle finder or protractor at the corner where two panels meet, and compare the reading to standard angle categories like 90, 120, or 135 degrees before buying a jointed rod.
Conclusion
Learning how do you hang curtains in a bay window really comes down to identifying your window’s shape, measuring each panel and angle carefully, and choosing hardware designed to bend or join around corners rather than relying on a single straight rod.
With the right track or rod, proper bracket spacing, and a curtain style suited to your fabric weight, a bay window can look just as polished as any standard window in the home.
Related Articles
Fisher Wood Stove: The Complete Guide to America’s Most Trusted Wood Burner
486 Gelney Kitchen Exhaust Hood System: How It Works and Why It Matters
How to Build Sloped Basement Doors: Step-by-Step Guide