


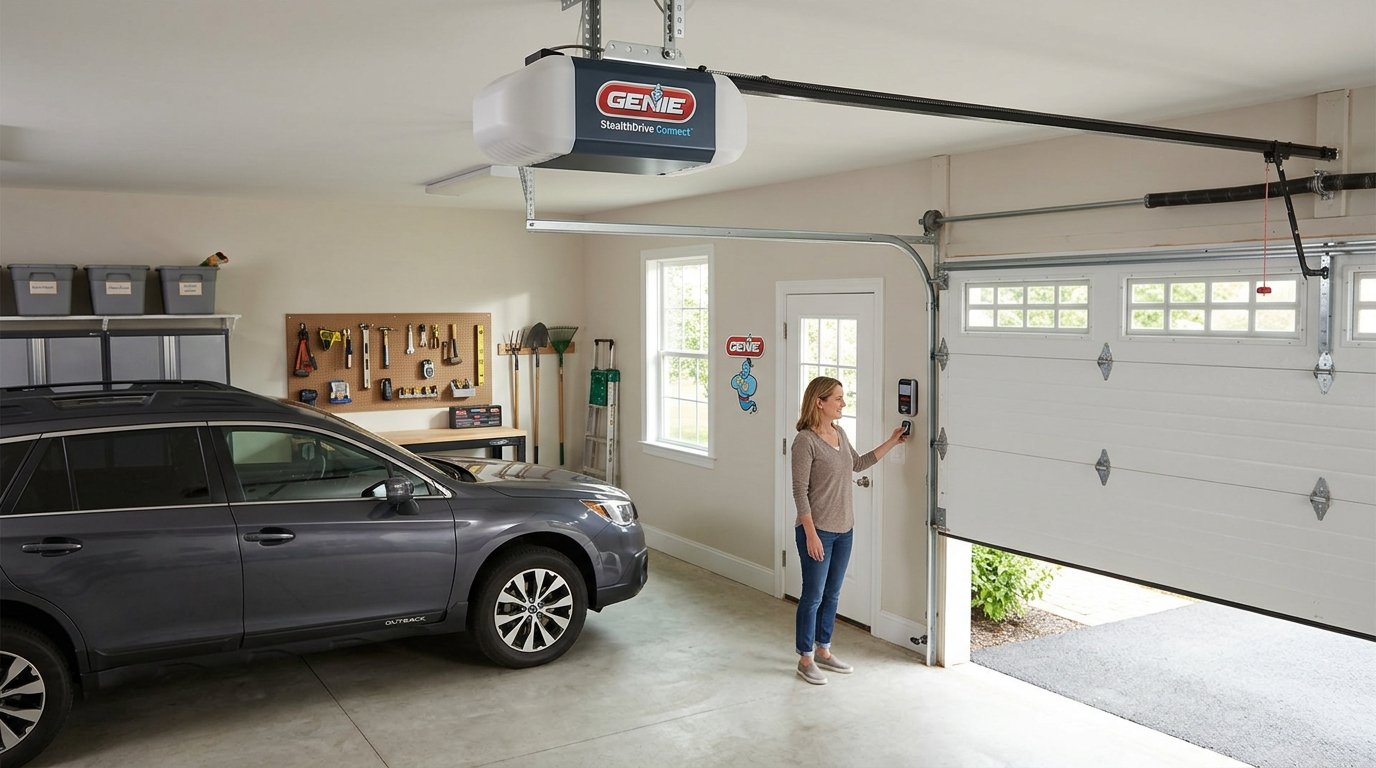

Programming a Genie garage door opener is a straightforward process once you understand the correct button sequence and timing involved. Whether you’re setting up a new remote, replacing a keypad, or syncing with your car’s built-in system, this guide walks you through every method clearly.
Why Proper Programming Matters
A correctly programmed opener ensures your remote responds instantly without delays or signal conflicts with neighboring devices. Skipping steps or rushing the process often leads to a remote that works intermittently or not at all.
Types of Genie Garage Door Openers
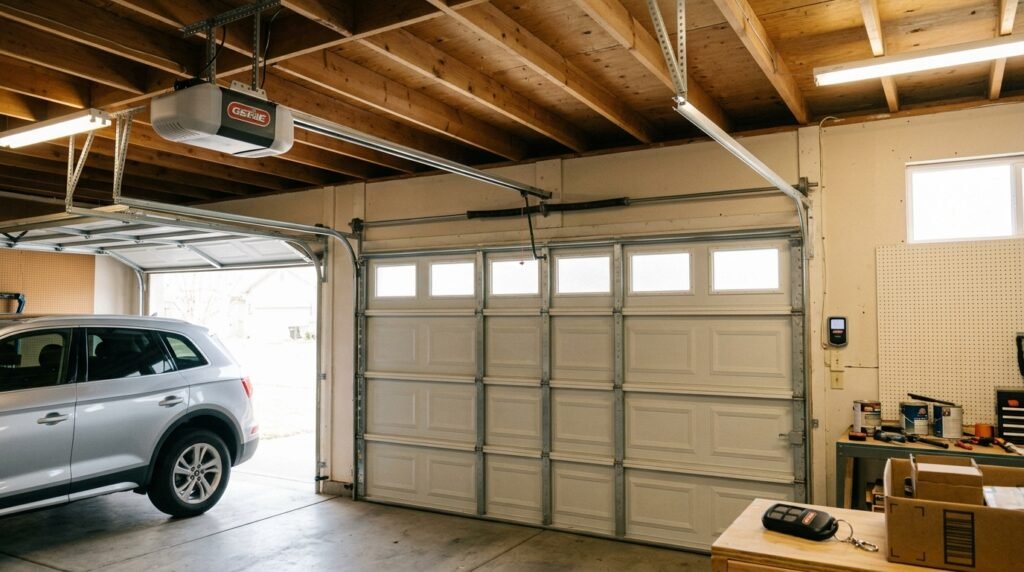
Genie manufactures several opener models, and knowing which type you own helps you follow the exact programming steps that apply to your unit. Below is a table summarizing the most common Genie opener series and their typical programming button.
| Genie Model Series | Programming Button Location | Button Color |
| Genie Series I / II | Top of motor unit | Orange or Yellow |
| Genie ChainMax/ScrewDrive | Rear of motor housing | Yellow |
| Genie Wall Console | Side panel | Learn Button |
| Genie Aladdin Connect | App-based setup | No physical button |
Identifying Your Genie Model
Most Genie openers have the model number printed on a sticker located on the motor housing near the light cover. Checking this label first prevents confusion since programming buttons vary slightly between older and newer versions.
Locating the Learn Button
The Learn button is typically a small square or round button, often orange or yellow, found near the antenna wire on the motor unit. This button must be pressed briefly before entering programming mode for any accessory.
How to Program Genie Garage Door Opener Remote
Programming a handheld remote is the most common task Genie owners perform, especially after replacing batteries or buying a spare unit. Follow the steps below in the exact order shown for successful pairing.
Step-by-Step Remote Programming
Begin by locating the Learn button on the motor unit and pressing it once, after which the indicator light will begin blinking steadily. Within thirty seconds, press and hold the button on your remote control until the motor unit’s light blinks twice, confirming the pairing is complete.
Testing the Remote Signal
After programming, stand within normal operating range and press the remote button to confirm the door opens and closes smoothly. If the door doesn’t respond, repeat the pairing process, ensuring you press the Learn button firmly enough to register.
How to Program Genie Garage Door Keypad
The wireless keypad allows entry without carrying a remote, and programming it follows a similar but slightly different sequence than remotes. This section explains the full process clearly.
Setting Up a New Keypad Code
Press the Learn button on the motor unit once, then enter your desired four-digit code on the keypad followed by pressing the Enter button. The motor light will blink to confirm the code has been successfully stored in the system’s memory.
Changing an Existing Keypad Code
To change a previously set code, you must first clear the old one by holding the keypad’s Enter button for about ten seconds until the light blinks twice. Once cleared, follow the same steps used for setting up a brand new code.
How to Program Genie Opener with Vehicle System
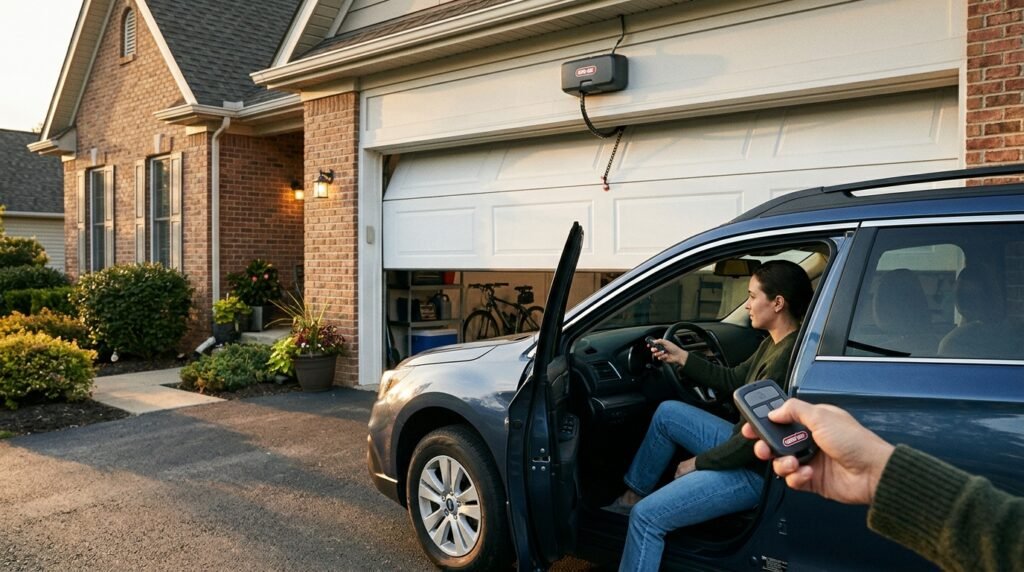
Many newer vehicles come equipped with built-in garage door control buttons, commonly known as HomeLink or similar branded systems. Pairing these with your Genie opener eliminates the need for a separate handheld remote entirely.
Preparing Your Vehicle Buttons
Sit inside your vehicle and press and hold two of the HomeLink buttons simultaneously until the indicator light begins flashing rapidly. This action puts your car’s system into learning mode, ready to receive the Genie signal.
Completing the Vehicle Pairing
While the vehicle light flashes, press the Learn button on the Genie motor unit, then quickly return to your car and press the chosen HomeLink button repeatedly until the light stops flashing and stays solid. This confirms the signal has been successfully learned by your vehicle’s system.
Troubleshooting Common Programming Issues
Even when following instructions carefully, some Genie owners face minor hiccups during the programming process. Understanding these common issues helps you resolve them quickly without unnecessary frustration.
Remote Not Responding After Programming
If your remote doesn’t work after pairing, check whether the battery is properly seated and delivering sufficient charge to the transmitter. Weak batteries are the leading cause of programming failures, even when every step was followed correctly.
Learn Button Not Blinking
A Learn button that doesn’t blink after pressing usually indicates a power supply issue with the motor unit itself. Confirm the opener is properly plugged in and that the wall outlet is functioning before attempting to reprogram.
Resetting All Genie Codes
Sometimes homeowners need to clear every stored remote and keypad code at once, especially after moving into a new home. This section covers the complete reset process safely.
Clearing Stored Memory
Locate and press the Learn button on the motor unit and hold it for approximately six to ten seconds until the indicator light turns off completely. This action erases all previously stored remotes, keypads, and vehicle pairings from the system’s memory.
Reprogramming After Reset
Once the memory is cleared, you will need to reprogram every remote, keypad, and vehicle system individually using the steps outlined earlier in this guide. This full reset is recommended only when security concerns require removing old access codes entirely.
Competitor Insight Analysis
Many existing guides on this topic only cover basic remote programming while ignoring keypad setup and vehicle integration entirely. This article addresses that gap by combining all three programming methods along with troubleshooting solutions in one complete resource.
FAQs
Q1: How long does the Learn button stay active after pressing?
The Learn button typically remains active for about thirty seconds before timing out.
Q2: Can I program multiple remotes to one Genie opener?
Yes, Genie openers support multiple remotes, keypads, and vehicle systems simultaneously.
Q3: What should I do if my keypad code stops working?
Clear the existing code first, then set up a new one following the standard programming steps.
Q4: Do all Genie models use the same programming process?
Most models follow a similar process, though button location and color may vary slightly between series.
Conclusion
Programming a Genie garage door opener becomes simple once you understand the correct sequence for remotes, keypads, and vehicle systems. By following the steps outlined in this guide, most homeowners can complete the entire setup process within minutes without needing professional assistance.
Related Articles
How to Install a Curtain Rod? Complete Beginner’s Guide
How Deep Are Kitchen Counters? Standard Depths for Every Counter Type
How Many Bags of Mulch in a Yard Complete guide 2026
How Much Does It Cost to Remove Popcorn Ceiling? Complete Guide 2026




