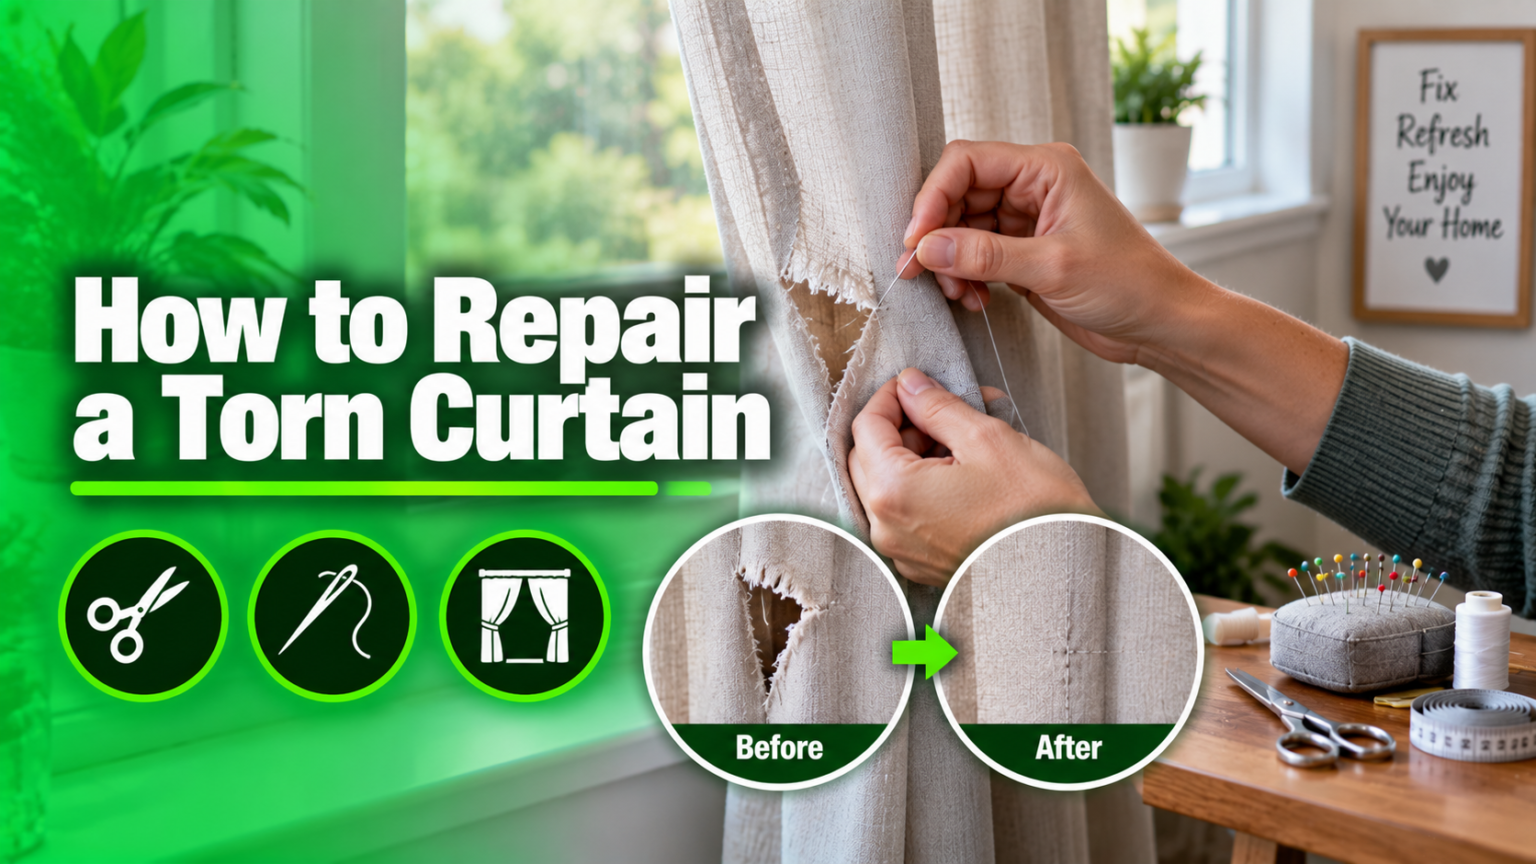

Curtains go through a lot every single day. They get pulled, brushed against, chewed on by pets, and exposed to sunlight for hours without any rest. So it’s no surprise that sooner or later, you notice a small rip near the hem or a bigger tear right in the middle of the fabric. The good news is that you don’t need to throw the curtain away or spend money on a brand-new one. In most cases, learning how to repair a torn curtain is quicker, cheaper, and easier than people expect.
This guide walks you through everything — why curtains tear, what to check before you start, and six different repair methods you can choose from depending on your fabric, tools, and how much time you have. Whether you want a quick emergency fix or a proper, invisible repair, you’ll find a method here that works for you.
Why Curtains Get Torn
Before jumping into the repair process, it helps to understand what actually causes curtains to tear in the first place. Most of the time, it’s not one single reason but a mix of daily wear and environmental factors.
Curtains are opened and closed repeatedly, and this constant pulling puts stress on the fabric, especially near the hooks, rings, or rod pockets. Over months and years, this friction weakens the threads until a small tear appears. Pets are another common culprit — cats love to climb curtains, and dogs sometimes chew on the bottom edges, both of which can cause sudden rips.
Sunlight is a slower but equally damaging factor. UV rays break down fabric fibers over time, making the material brittle and much more likely to tear even from gentle handling. Lastly, the type of fabric plays a big role. Delicate materials like sheer voile or silk tear far more easily than heavier cotton or polyester blends, which is why the repair method you choose should always match the fabric type.
Things to Check Before Repairing
Jumping straight into stitching or gluing without a little preparation often leads to a messy, visible repair. Taking a few minutes to assess the situation first will save you time and give you a much better result.
Type of Fabric
The fabric determines almost everything about how you should approach the repair. Cotton and polyester are sturdy and forgiving, making them ideal for machine sewing or iron-on patches. Silk and sheer fabrics, on the other hand, are delicate and usually respond better to hand sewing or fabric glue, since machine stitching can pull and damage the surrounding threads.
Size and Location of the Tear
A small snag near the hem is much easier to fix than a large tear running across the middle of the panel. Tears along seams can often be re-stitched invisibly, while tears in the open fabric area may need a patch to stay strong. Take a moment to look at the tear from both the front and back before deciding on a method.
Tools & Materials Needed
Having the right supplies ready before you begin makes the whole process smoother. Here’s a general list of what most repairs require:
- Needle and matching thread (or a sewing machine)
- Fabric scissors
- Iron and ironing board
- Fusible interfacing or iron-on patches
- Fabric glue (fabric-safe, washable type)
- Extra fabric scraps for patching
- Pins or fabric clips
- A clean, flat work surface
Different Methods to Repair a Torn Curtain
There isn’t just one correct way to fix a torn curtain — the right method depends on the fabric, the size of the tear, and how much effort you’re willing to put in. Below are six practical methods, each explained step by step.
Method 1 – Hand Sewing
Hand sewing is the most traditional and controllable way to repair a torn curtain, and it works especially well for small to medium tears in delicate fabrics.
- Turn the curtain inside out so the back of the tear is facing you.
- Align both edges of the tear carefully, making sure the fabric grain matches up.
- Thread a needle with thread that closely matches the curtain’s color.
- Use a simple straight stitch or a whip stitch to sew the edges together, keeping stitches small and even.
- Knot the thread securely at the end and trim any excess.
- Turn the curtain back to the right side and check that the repair lies flat.
Best for: small tears and delicate or lightweight fabric that can’t handle a sewing machine’s pressure.
Method 2 – Sewing Machine Repair
If you have access to a sewing machine, this method is faster and creates a stronger, more durable repair — ideal for thicker fabrics or longer tears.
- Pin the torn edges together from the back side so they stay aligned while sewing.
- Set your machine to a straight stitch or a narrow zigzag stitch, depending on the fabric.
- Slowly sew along the tear line, slightly overlapping the stitching at both ends for extra strength.
- Remove the pins and press the seam gently with an iron on a low setting.
- Flip the curtain over and inspect the front for any puckering or visible thread.
Best for: larger tears and heavier fabrics like cotton, linen, or blackout curtain material.
Method 3 – Iron-On Patch or Fusible Interfacing
This is one of the easiest methods for anyone who doesn’t want to sew at all. It uses heat-activated adhesive to bond a patch directly onto the fabric.
- Cut a piece of fusible interfacing or iron-on patch slightly larger than the tear.
- Place it on the back side of the curtain, directly over the torn area, with the adhesive side facing the fabric.
- Cover with a thin cloth to protect the curtain, then press firmly with a hot iron for about 10–15 seconds.
- Let it cool completely before moving or folding the curtain.
- Check the front to ensure the tear is fully sealed and flat.
Best for: quick, beginner-friendly fixes on cotton, polyester, or blended fabrics.
Method 4 – Fabric Glue
When you need an emergency fix and don’t have time to sew or iron, fabric glue is a fast and surprisingly reliable option.
- Clean and flatten the torn area so there’s no dust or loose threads.
- Apply a thin, even layer of fabric glue along both edges of the tear.
- Press the edges together firmly and hold for about 30 seconds.
- Lay the curtain flat and let it dry completely, usually for a few hours, before hanging it back up.
Best for: temporary or emergency repairs, especially on fabrics that are hard to sew.
Method 5 – Fabric Patch (Matching or Decorative)
For larger tears or damage that’s too big to simply stitch together, a patch is often the best solution — and it can even become a design feature.
- Cut a patch from matching fabric or a decorative print, about an inch larger than the tear on all sides.
- Place the patch behind the tear, aligning it so the tear sits in the center.
- Sew or fuse the patch in place using either a machine, hand stitching, or fusible interfacing.
- Trim any loose threads and press the area flat with an iron.
Best for: hiding larger holes, worn-out sections, or adding a creative touch to an older curtain.
Method 6 – Darning Technique
Darning is an old-fashioned but highly effective method, especially for small holes in woven or knitted curtain fabric.
- Stretch the torn area gently over an embroidery hoop or your hand to keep it flat.
- Using a needle and matching thread, weave the thread back and forth across the hole in one direction.
- Repeat the weaving in the opposite direction, crossing over the first layer, similar to a basket-weave pattern.
- Continue until the hole is completely filled and secure, then knot the thread and trim it.
Best for: small holes or thin, worn spots in woven or knitted curtain fabric.
The table below gives you a quick side-by-side comparison so you can decide which method fits your situation best.
| Method | Skill Level | Best Fabric Type | Tear Size | Durability |
|---|---|---|---|---|
| Hand Sewing | Beginner | Silk, sheer, delicate fabric | Small–Medium | High |
| Sewing Machine | Intermediate | Cotton, polyester, linen | Medium–Large | Very High |
| Iron-On Patch | Beginner | Cotton, polyester blends | Small–Medium | Medium–High |
| Fabric Glue | Beginner | Most fabrics | Small | Medium (temporary) |
| Fabric Patch | Intermediate | Any fabric | Large | High |
| Darning | Beginner–Intermediate | Woven, knitted fabric | Small holes | High |
Tips to Make the Repair Look Seamless
A repair doesn’t have to look like a repair. With a few small adjustments, you can make the fix nearly invisible from a normal viewing distance.
Choosing thread or patch fabric that closely matches the curtain’s color is one of the simplest ways to hide a repair. If you can’t find an exact match, going slightly lighter or darker usually blends in better than choosing a contrasting shade. Working from the backside of the curtain whenever possible also keeps stitches or patches out of direct view, since most tears are only really noticed from the front when light passes through the fabric.
Reinforcing the repaired area with an extra layer of fabric or a second row of stitching adds strength and prevents the tear from reopening in the same spot. Finally, always finish by pressing the repaired section with an iron on a suitable heat setting — this smooths out puckering and helps the fabric lie flat, giving the whole curtain a neater, more finished appearance.
How to Prevent Future Tears
Repairing a torn curtain is useful, but preventing tears in the first place saves you even more time and effort down the road.
Proper installation makes a bigger difference than most people realize. Curtains that are hung with sturdy hooks or rings and enough rod support are far less likely to develop stress tears near the top edge. Regular maintenance also matters — gently vacuuming or shaking out curtains every few weeks removes dust and debris that can weaken fibers over time, and following the fabric’s care label when washing prevents unnecessary strain.
If sunlight exposure is a major factor in your home, consider adding a sheer liner or UV-protective lining behind heavier curtains, which shields the outer fabric from direct rays. And if pets are the issue, keeping curtains tied back or using a shorter length near the floor can reduce the temptation for climbing or chewing.
When to Replace Instead of Repair
Not every curtain is worth saving, and knowing when to stop repairing and start shopping for a replacement can save you time and frustration.
If the fabric feels thin, brittle, or crumbly in multiple areas — not just at the tear — it’s usually a sign that the material has broken down from age or sun exposure, and any repair will likely be temporary at best. Curtains with several separate tears, faded patches, or fraying seams throughout are also better candidates for replacement rather than patchwork fixes.
From a cost perspective, it’s worth comparing the price of replacement fabric, thread, or patches against the cost of a new curtain, especially for budget curtains that weren’t very expensive to begin with. In many cases, spending a little extra time repairing a well-made or expensive curtain is worthwhile, while heavily worn budget curtains might be better replaced outright.
Frequently Asked Questions (FAQs)
Can I repair curtains without sewing? Yes, absolutely. Iron-on patches and fabric glue are both excellent no-sew options that work well for small to medium tears, especially when you need a quick fix.
What’s the best glue for curtain fabric? A washable, flexible fabric glue designed for textiles works best, since it bonds well without making the fabric stiff or leaving a hard residue after drying.
How do I fix a torn sheer curtain? Sheer fabric is delicate, so hand sewing with fine thread or using a small amount of fabric glue usually works better than a sewing machine, which can pull and damage the lightweight material.
Is it worth repairing an old curtain? If the fabric is still in reasonably good condition apart from the tear, repairing is almost always worth it — it’s cheaper, faster, and more sustainable than buying a replacement.
Conclusion
Knowing how to repair a torn curtain gives you the confidence to fix small accidents at home instead of rushing to buy a replacement every time. Whether you prefer the precision of hand sewing, the speed of an iron-on patch, or the convenience of fabric glue, there’s a method here to match your fabric type, tear size, and skill level. With a little patience and the right approach, your curtain can look almost as good as new — and last for years to come.
If you found this guide helpful, try one of these methods on your own torn curtain and see the difference for yourself. Feel free to share this article with anyone who might need it, or leave a comment below with your own curtain-repair tips.
Related Articles
Average Door Thickness: A Complete Guide to Standard Sizes and Measuring Tips
What Should Your Basement Humidity Be? Ideal Range & Tips
How Many Bags of Mulch in a Yard Complete guide 2026