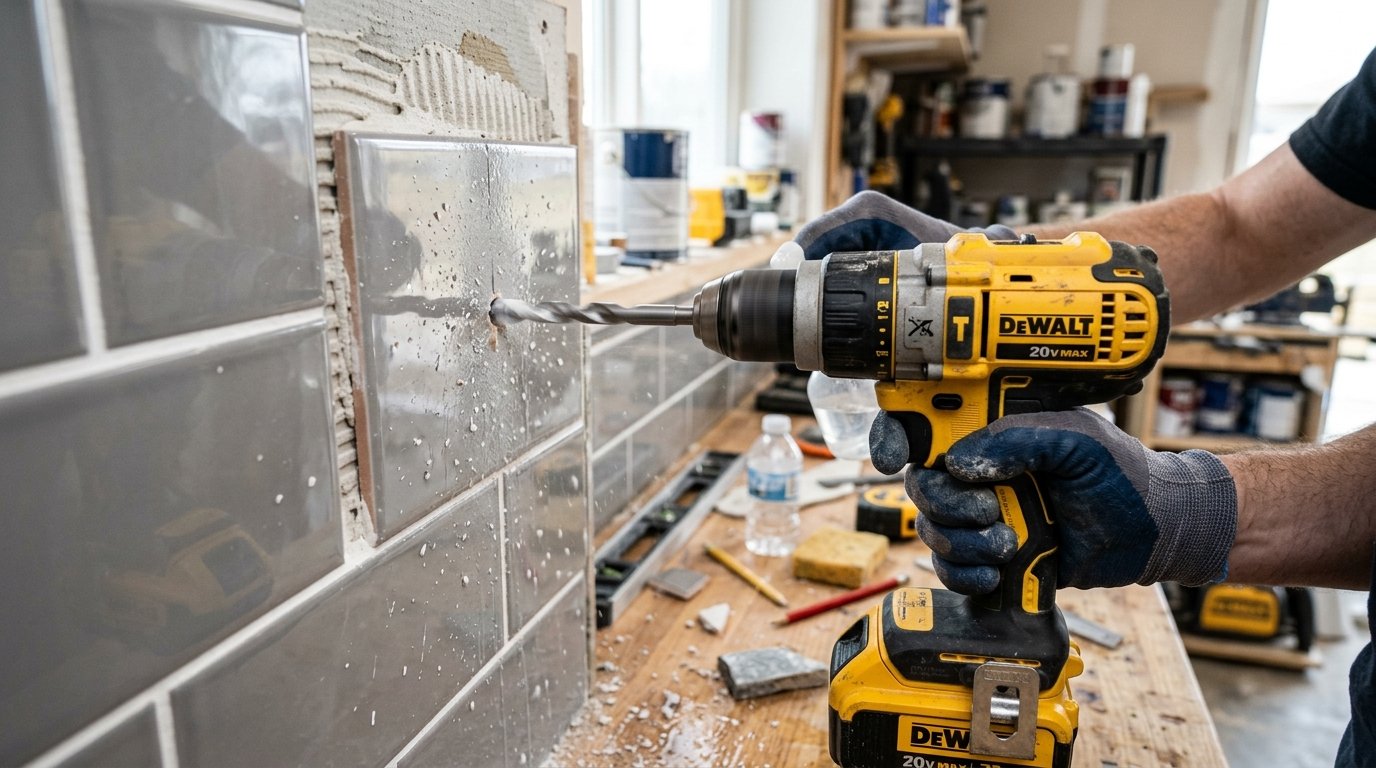

Drilling into tile might sound intimidating, especially if you have never done it before, but with the right approach it becomes a simple task anyone can handle at home. Tiles are hard, smooth, and sometimes brittle, which means the wrong technique can cause cracks, chips, or a ruined tile altogether. This guide walks you through everything you need to know about how to drill into tile properly, from choosing the correct tools to avoiding common mistakes that beginners often make.
Understanding Tile Types Before You Drill
Not all tiles are made the same way, and each material behaves differently under a drill bit. Knowing your tile type helps you pick the right bit and speed, which prevents unnecessary damage during the project.
Ceramic Tile
Ceramic tile is one of the softer tile materials found in most homes, especially in bathrooms and kitchens. It drills relatively easily compared to other types, but it can still chip if the drill is not held steady. A standard tile bit works well on ceramic without much resistance.
Porcelain Tile
Porcelain tile is denser and much harder than ceramic, which makes it more resistant to cracking but also tougher to drill through. It requires a diamond-tipped bit and slower drilling speed to avoid overheating the surface. Patience is key when working with porcelain because rushing often leads to bit slippage.
Natural Stone Tile
Natural stone tiles such as marble, granite, or travertine have unique grain patterns that can affect how the drill bit interacts with the surface. These tiles are sensitive to pressure and heat, so a diamond core bit combined with water cooling is usually recommended. Each stone tile may react slightly differently, so testing on a spare piece first is wise.
Glass Tile
Glass tile is the most fragile option among common tile types and needs the gentlest touch. A diamond-tipped bit designed specifically for glass should be used at the lowest possible speed. Any sudden pressure or vibration can easily crack the entire tile.
Tools and Materials You Need
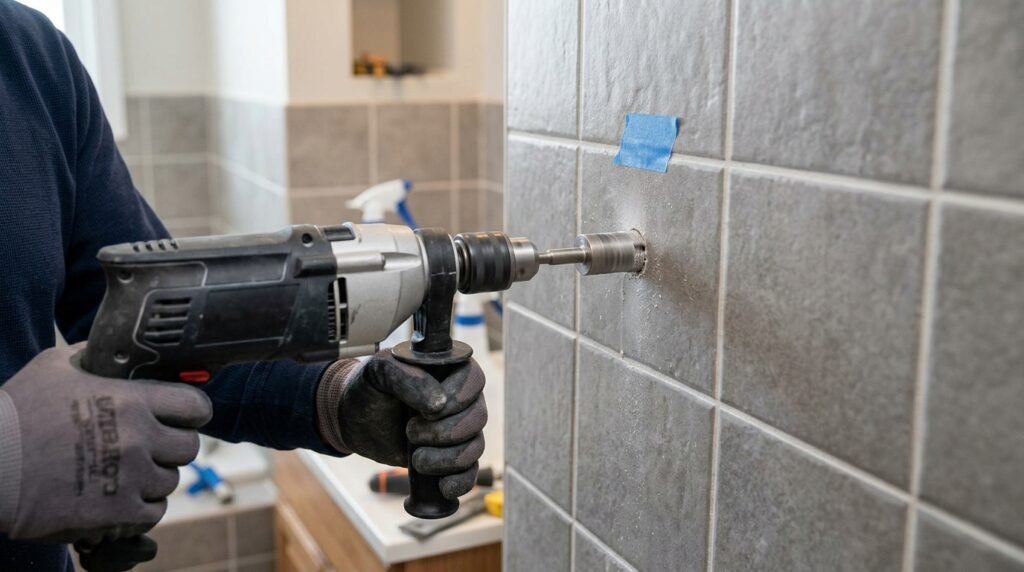
Having the correct tools ready before starting saves time and reduces the risk of mistakes halfway through the project. Below is a breakdown of what you should gather.
Drill Types
A standard cordless or corded drill works fine for most home tile projects, though some professionals prefer a hammer drill for thicker stone tiles. The important thing is that the drill has adjustable speed settings, since tile drilling almost always requires slower rotations than wood or drywall. Variable speed control gives you far better control over the hole placement.
Drill Bits
The bit you choose depends entirely on the tile material, and using the wrong one is one of the most common reasons tiles crack. Below is a simple table showing which bit works best for each tile type.
| Tile Type | Recommended Bit | Speed Setting |
| Ceramic | Tile-specific carbide bit | Medium |
| Porcelain | Diamond-tipped bit | Low to Medium |
| Natural Stone | Diamond core bit | Low |
| Glass | Diamond glass bit | Very Low |
Additional Supplies
Besides the drill and bit, you will need painter’s tape, a marker or pencil, safety goggles, water for cooling, and a spray bottle if you are working with harder materials like porcelain or stone. Having a soft cloth nearby also helps wipe away debris as you go. These small additions make the entire process smoother and safer.
Preparing the Tile Surface
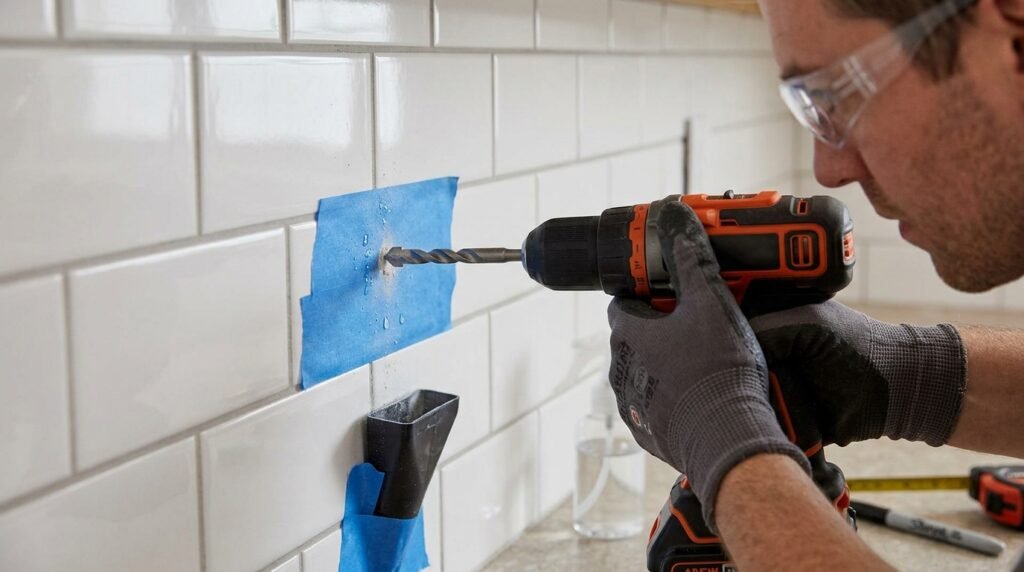
Preparation is arguably the most important part of drilling into tile since a rushed setup often leads to slipping or misplaced holes. Taking a few extra minutes here saves a lot of frustration later.
Marking the Drill Point
Use a pencil or a fine-tip marker to clearly mark exactly where you want the hole to go on the tile surface. Accuracy at this stage prevents you from having to redrill or patch mistakes later. Double-check the measurement against whatever fixture you are installing before committing to the mark.
Applying Painter’s Tape
Placing a strip of painter’s tape over the marked spot gives the drill bit something to grip onto instead of sliding across the slick tile surface. This small trick dramatically reduces the chances of the bit wandering away from your intended mark. Make sure the tape is smooth and flat with no bubbles or wrinkles underneath.
Using a Center Punch
For harder tiles like porcelain or stone, lightly tapping a center punch at the marked point can create a tiny starting groove for the bit. This step should be done gently since too much force can crack the tile before drilling even begins. It is generally more useful for very hard or glossy surfaces where the bit tends to slip easily.
Step-by-Step Drilling Process
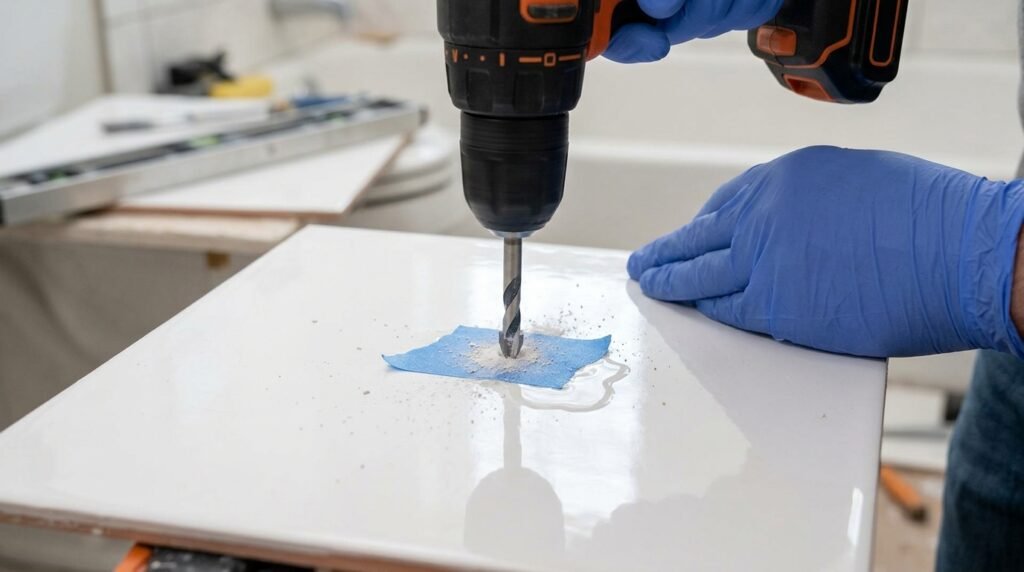
Once your tile is marked and prepared, the actual drilling process needs a calm and steady hand. Rushing through these steps is where most cracks and mistakes happen.
Starting the Hole
Begin drilling at a low speed with light pressure, holding the drill as steady and perpendicular to the tile as possible. The goal in this first stage is simply to create a small indentation that guides the rest of the hole. Avoid pushing hard, since the bit needs time to bite into the glazed surface safely.
Increasing Speed and Pressure
Once the initial indentation is formed, you can slightly increase your speed while maintaining consistent, even pressure throughout the process. Keep the drill moving at a steady pace rather than pausing and restarting, which can cause uneven wear on the bit. If you are drilling into stone or porcelain, periodically apply water to keep the bit cool.
Drilling Through Grout Layers
If your drill point happens to pass through the grout layer beneath the tile, be prepared for a slight change in resistance as the material shifts. Slow down briefly during this transition to avoid sudden jerks that could crack the tile edge. Once through the grout, you can return to your regular drilling pace until the hole is complete.
Common Mistakes to Avoid
Even experienced DIYers sometimes make errors that could easily be avoided with a little more awareness. Recognizing these mistakes ahead of time helps you sidestep them entirely.
Using Wrong Drill Bit
Using a regular wood or metal bit instead of a tile-specific one is one of the fastest ways to crack a tile or dull your equipment. Each tile type genuinely needs its own bit design, and skipping this step almost guarantees poor results. Always double-check the bit packaging to confirm it is rated for tile or masonry work.
Applying Too Much Pressure
Many beginners assume that pushing harder speeds up the process, but with tile, excessive pressure usually causes chipping or cracking instead. The drill bit should be allowed to do the work gradually rather than being forced through the material. A light, steady touch consistently produces cleaner results than aggressive force.
Skipping Water Cooling
Drilling through porcelain or natural stone generates a surprising amount of heat, and skipping water cooling can damage both the bit and the tile. Even a simple spray bottle used every few seconds makes a noticeable difference in how smoothly the drilling goes. Ignoring this step often shortens the lifespan of your drill bit considerably.
Safety Tips While Drilling Tile
Safety should never be an afterthought when working with power tools and hard surfaces like tile. A few simple precautions keep the entire project accident-free.
Wear Protective Gear
Safety goggles are essential since tile dust and small fragments can easily fly toward your face during drilling. Gloves also help protect your hands from sharp edges, especially if the tile happens to crack unexpectedly. A dust mask is a good addition if you are working with stone or porcelain for extended periods.
Secure the Tile
If the tile is not yet installed, make sure it is clamped down firmly on a flat, stable surface before drilling begins. An unsecured tile can shift suddenly, throwing off your aim and increasing the risk of injury. Even installed tiles benefit from a steady stance and firm footing while you work.
Work in Ventilated Area
Tile dust, particularly from stone materials, can be irritating to breathe in over time, so working in a well-ventilated space is important. Opening a window or using a fan nearby helps clear dust particles as they accumulate. This simple precaution makes the entire drilling experience more comfortable and healthier.
Conclusion
Drilling into tile does not have to be a stressful task once you understand the right tools, techniques, and safety measures involved. By matching your drill bit to the tile type, preparing the surface properly, and drilling at a slow and steady pace, you can achieve clean holes without cracking or chipping your tiles. With a bit of patience and the right approach, this project is well within reach for any DIY enthusiast.
FAQs
Can I use a regular drill bit on tile?
No, regular bits are not designed for tile and will likely slip or crack the surface, so a tile-specific or diamond bit is always recommended.
Do I need water while drilling into ceramic tile?
Ceramic tile is softer and usually does not require water cooling, though it can still help reduce dust and heat if you prefer extra caution.
Why does my tile keep cracking while drilling?
Cracking usually happens due to excessive pressure, the wrong bit type, or drilling at too high a speed, so slowing down often solves the issue.
Is it safe to drill into tile that is already installed on a wall?
Yes, as long as you use painter’s tape to prevent slipping and drill slowly, it is generally safe to drill into wall-mounted tile.
Related Articles
Half Round Gutter Installation: Complete Guide
Wet Floor Sign: A Complete Guide 2026
How Do You Wash Walls Before Painting? (Step-by-Step Guide)
Why Is My Toilet Gurgling? Common Causes and Fixes Explained