

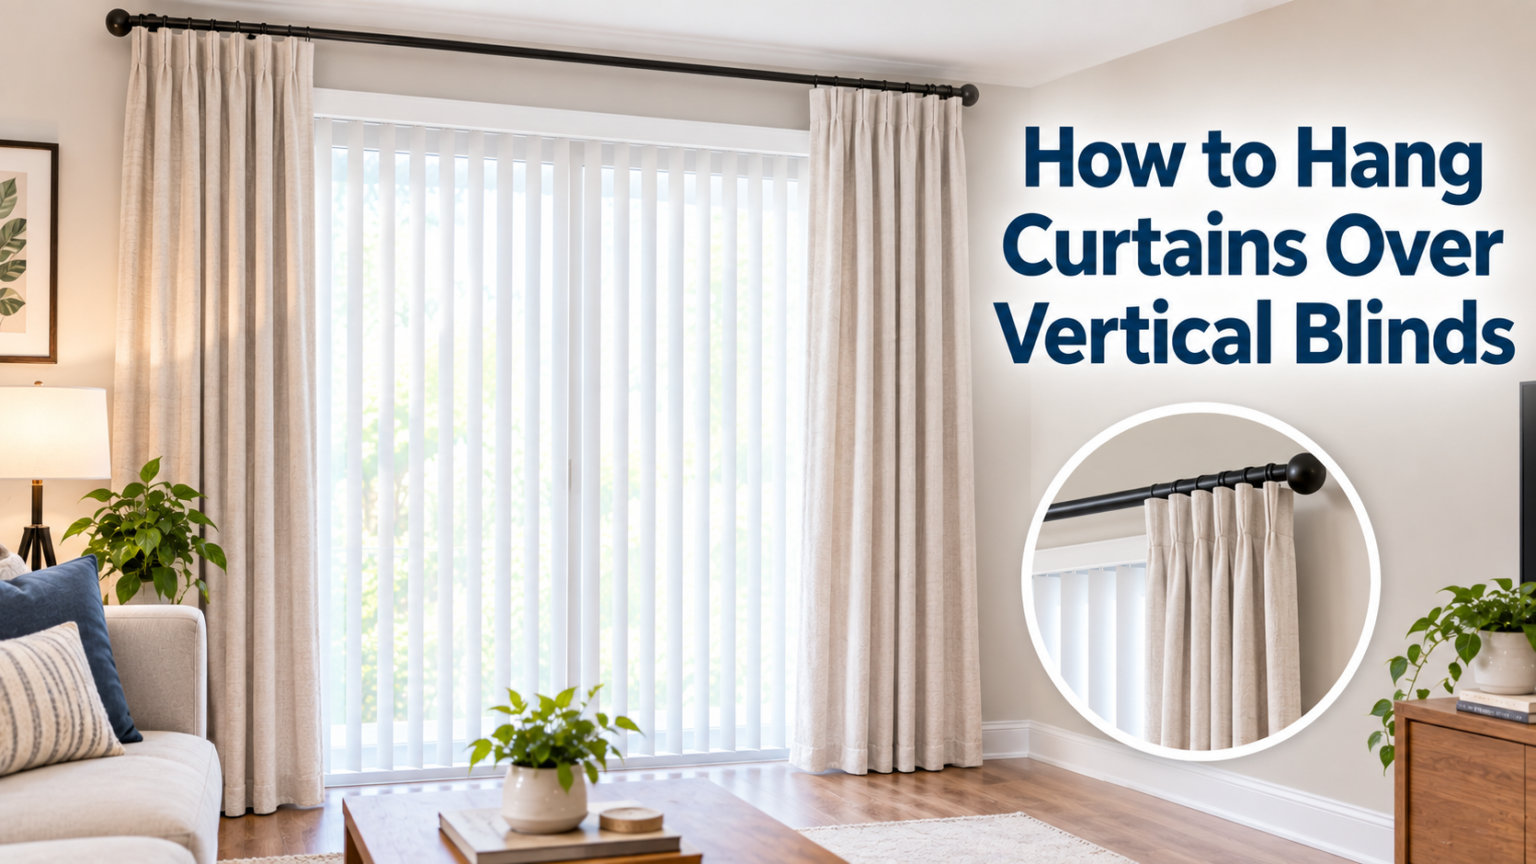

Vertical blinds are practical, but they can look plain on their own, and many homeowners want the softness that only fabric can bring to a room. Learning how to hang curtains over vertical blinds lets you keep the functional light control of your blinds while adding warmth, color, and texture to your windows.
This combination also helps with insulation, noise reduction, and privacy, since two layers of coverage work better than one. The process is simpler than it looks, and it does not require removing your existing blinds unless you want a cleaner finish.
With the right tools, a bit of measuring, and a sturdy rod, most people can complete this project in an afternoon without professional help. This guide walks through every stage of the process in plain language, so you can decide what works best for your space.
Why Combine Curtains and Vertical Blinds?
Pairing curtains with vertical blinds is a popular choice because it solves problems that blinds alone cannot fix. The sections below explain the main reasons homeowners choose this layered window treatment.
Better Light Control
Vertical blinds let you angle slats for filtered light, but they cannot fully block sunlight the way a heavy curtain panel can. Adding curtains gives you a second layer that can be closed at night for complete darkness or left open during the day for natural brightness. This flexibility is especially useful in bedrooms and media rooms where lighting needs change throughout the day.
Improved Insulation
A single layer of blinds does little to stop heat loss through windows, especially during colder months. Curtains made from thicker fabric act as a barrier between the glass and the room, trapping air and reducing drafts. Over time, this layered approach can lower energy bills by keeping indoor temperatures more stable across seasons.
Enhanced Room Aesthetics
Vertical blinds tend to look utilitarian, which works well in offices but can feel cold in living spaces. Curtains soften the hard lines of blinds and introduce color, pattern, and movement into the room. This small design change often makes a bigger visual difference than repainting a wall or replacing furniture.
Tools and Materials Needed
Before you begin, gather everything you need so the installation goes smoothly without interruptions. Having the right materials on hand also helps you avoid mismatched hardware or last-minute trips to the store.
| Item | Purpose | Required or Optional |
| Curtain rod | Holds the curtain panels above the window | Required |
| Wall brackets | Anchors the rod to the wall or frame | Required |
| Drill and screws | Secures brackets into wall studs or anchors | Required |
| Tape measure | Ensures accurate rod length and bracket placement | Required |
| Pencil or marker | Marks bracket positions before drilling | Required |
| Level | Keeps the rod straight during installation | Required |
| Wall anchors | Provides extra support on drywall without studs | Optional |
| Curtain panels | The fabric layer that hangs over the blinds | Required |
| Step ladder | Helps reach higher mounting points safely | Optional |
Should You Remove the Blinds First?
This is one of the first decisions to make, and it depends on how much light control and privacy you still want from the blinds. Both choices are valid depending on your goals for the space.
Keeping Both for Function
Many people prefer to leave the vertical blinds in place so they can still adjust the slats independently of the curtains. This setup is useful in rooms where light needs change often, such as home offices or kitchens facing busy streets. The blinds handle daytime adjustments, while the curtains add a decorative and insulating layer on top.
Removing Blinds for a Cleaner Look
If the blinds feel outdated or you no longer need their slat-based light control, removing them entirely creates a simpler, more modern window treatment. This option also makes the curtain rod installation easier since there is no headrail to work around. It suits rooms where curtains alone can provide enough privacy and light management.
Step-by-Step Installation Guide
Once you have decided whether to keep or remove the blinds, the actual installation follows a straightforward sequence. Each step below builds on the last, so following them in order helps prevent mistakes.
Step 1 – Measure the Window and Headrail
Start by measuring the width of the window frame and the height from the floor or sill to where you want the rod placed. If you are keeping the blinds, also measure the depth of the headrail so your rod brackets can clear it. Write these numbers down before shopping for a rod, since an undersized rod will limit how the curtains hang.
Step 2 – Choose the Right Curtain Rod
Select a rod that extends at least six to twelve inches beyond each side of the window frame so curtains can be pulled fully open without blocking the glass. Choose a rod with brackets that project far enough from the wall to clear the existing blind headrail, usually around four to six inches. Weight capacity matters too, since heavier curtain fabrics need sturdier rods and brackets.
Step 3 – Mark and Install Brackets
Use your pencil and level to mark bracket positions on the wall, keeping both sides even in height. Check that the marks clear the blind headrail if you are keeping the blinds installed, then drill pilot holes and secure the brackets with screws or wall anchors as needed. Double-check that both brackets are level before fully tightening them.
Step 4 – Mount the Rod Above the Headrail
Position the rod so it sits four to six inches above the top of the window frame or the blind headrail, whichever is higher. This spacing keeps the curtains from bunching into the blinds when opened or closed. Slide the rod into the installed brackets and confirm it sits securely without wobbling.
Step 5 – Hang and Adjust the Curtains
Thread the curtain panels onto the rod through their rings, grommets, or rod pocket, depending on the style you chose. Once hung, open and close both the curtains and the blinds together to check for any snagging or interference between the two layers. Make small adjustments to bracket depth or rod height if the panels touch the blind vanes.
Common Mistakes to Avoid
Even a simple project like this can go wrong if a few key details are overlooked. The table below highlights frequent errors and how to correct them before they become permanent problems.
| Mistake | Why It Happens | How to Fix It |
| Rod mounted too close to blinds | Not accounting for headrail depth | Choose brackets with longer wall projection |
| Curtains too short for the window | Incorrect height measurement | Remeasure from rod height to floor or desired length |
| Uneven bracket placement | Skipping the leveling step | Use a level and double-check both sides before drilling |
| Rod too narrow for the window | Underestimating needed extension | Add six to twelve inches beyond the frame on each side |
| Weak wall anchoring | Ignoring wall material or stud location | Use appropriate anchors for drywall or locate studs first |
Curtain Style Ideas for Vertical Blinds
Beyond the mechanics of installation, choosing the right curtain style affects both function and appearance. The following options work particularly well when layered over vertical blinds.
Sheer Curtains Over Blinds
Sheer panels add softness without blocking too much natural light, making them a good daytime option. They pair nicely with vertical blinds because the blinds can still handle privacy and direct sun control. This combination works especially well in living rooms and dining areas.
Blackout Curtains for Bedrooms
For rooms where full darkness matters, blackout curtains layered over vertical blinds provide the strongest light control available. This pairing is ideal for bedrooms, nurseries, or home theaters where even small amounts of light can be disruptive. The blinds add a secondary barrier that further reduces light gaps around the curtain edges.
Layered Double-Rod Setups
A double-rod system allows you to hang sheer curtains on an inner rod and heavier drapes on an outer rod, giving you three layers of coverage when combined with the blinds. This setup offers the most flexibility, letting you mix and match light levels throughout the day. It does require slightly more hardware but delivers a more custom, high-end window treatment.
Frequently Asked Questions
Can I hang curtains without removing the vertical blinds first?
Yes, most curtain rods can be mounted with brackets that extend far enough from the wall to clear the blind headrail, allowing both treatments to function independently.
What length of curtain rod works best for this setup?
A rod extending six to twelve inches beyond each side of the window frame is generally recommended, since it allows curtains to open fully without covering the glass.
Do I need a double rod to combine curtains and blinds?
A double rod is not required, but it is useful if you want to layer sheer and heavier curtains together in addition to the existing vertical blinds.
Will the curtains interfere with how the blinds tilt or slide?
As long as the rod is mounted high enough and the brackets project far enough from the wall, the curtains should not interfere with the normal movement of the blinds.
Is it better to remove vertical blinds for a modern look?
Removing the blinds can create a cleaner appearance, but it depends on whether you still need their specific light and privacy control throughout the day.
Conclusion
Hanging curtains over vertical blinds is a manageable project that improves both the function and appearance of your windows.
By measuring carefully, choosing the right rod, and mounting brackets at the correct height and depth, you can layer curtains over your existing blinds without any conflict between the two. Whether you choose sheer panels, blackout drapes, or a full double-rod setup, this simple upgrade brings noticeable style and comfort to any room.
Related Posts
How to Clean and Store Kitchen Tools: The Complete Guide
Gutters for Metal Roof: Complete Guide
Fisher Wood Stove: The Complete Guide to America’s Most Trusted Wood Burner
How to Restain Kitchen Cabinets: A Complete Step-by-Step Guide
What is a Fortified Roof? Complete Guide to Storm-Resistant Roofing