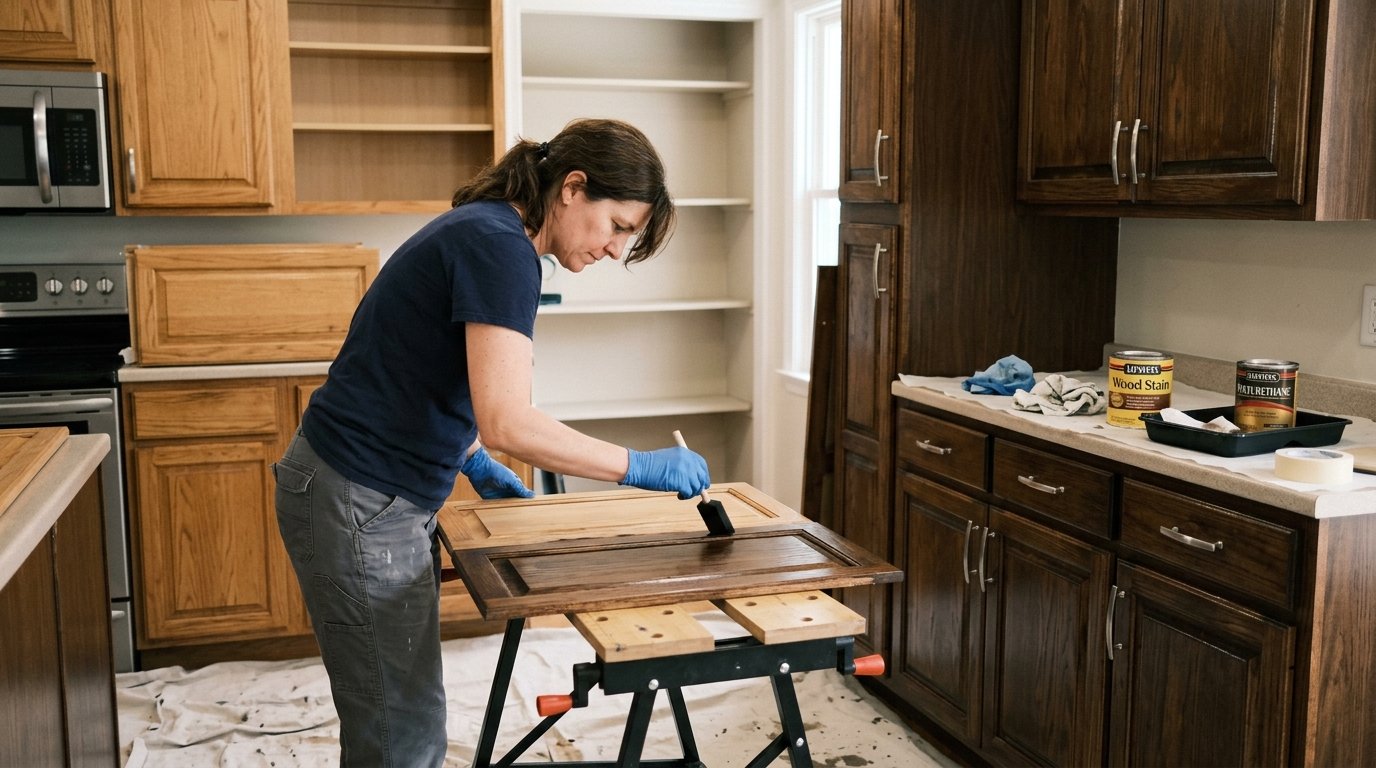

Restaining kitchen cabinets is one of the most cost-effective ways to completely transform the look and feel of your kitchen. Instead of spending thousands on brand-new cabinetry, restaining lets you preserve the natural beauty of real wood while giving it a fresh, updated appearance that suits your current style.
How to Choose the Right Stain Color for Kitchen Cabinets
Choosing the right stain color sets the tone for your entire kitchen. The color you select should complement your countertops, flooring, and overall kitchen decor so everything feels cohesive and intentional.
Popular Stain Finishes to Consider
Natural oak, medium brown, dark walnut, and gray-stained finishes are among the most popular choices for modern kitchens.
Natural oak brings warmth and a timeless appeal, while dark walnut adds drama and depth, making it ideal for kitchens with lighter countertops or backsplashes. Gray-stained finishes have grown in popularity for homeowners who prefer a contemporary, Scandinavian-inspired aesthetic.
Always Test Before You Commit
Before applying any stain to the full surface, test it on a small, hidden area of the cabinet. Wood grain varies across different areas of the same cabinet, which means the stain can absorb differently and look slightly different from one panel to another.
Testing gives you a realistic preview of the final look before you commit to the full project.
Matching Stain to Wood Type
The type of wood your cabinets are made from will heavily influence how a stain looks once applied. Hardwoods like oak, maple, and cherry absorb stain more evenly and produce richer, more consistent results.
Softwoods like pine tend to absorb stain unevenly, which is why using a wood conditioner beforehand is essential for those surfaces.
Tools and Materials Needed to Restain Kitchen Cabinets
Having the right tools before you begin saves you time, prevents frustration mid-project, and ensures a cleaner, more professional finish. Below is a complete list of everything you will need:
| Category | Item |
| Prep Tools | Screwdriver, drop cloth, painter’s tape |
| Cleaning | Mild wood cleaner or dish soap, microfiber cloth |
| Sanding | Coarse sandpaper (80–100 grit), fine sandpaper (180–220 grit), sanding block or orbital sander |
| Application | High-quality paintbrush, clean lint-free cloths |
| Products | Wood conditioner, wood stain, polyurethane or wood sealer |
| Safety | Gloves, protective goggles, respirator mask |
Always work in a well-ventilated space with windows open. The fumes from stain and polyurethane products can be harmful if inhaled in an enclosed area over extended periods of time.
Steps to Restain Kitchen Cabinets
Restaining kitchen cabinets is a multi-step process that rewards patience and careful preparation. Rushing any single step — especially sanding or drying — can result in an uneven, blotchy, or peeling finish that undoes all your hard work.
Step 1: Empty and Prepare the Area
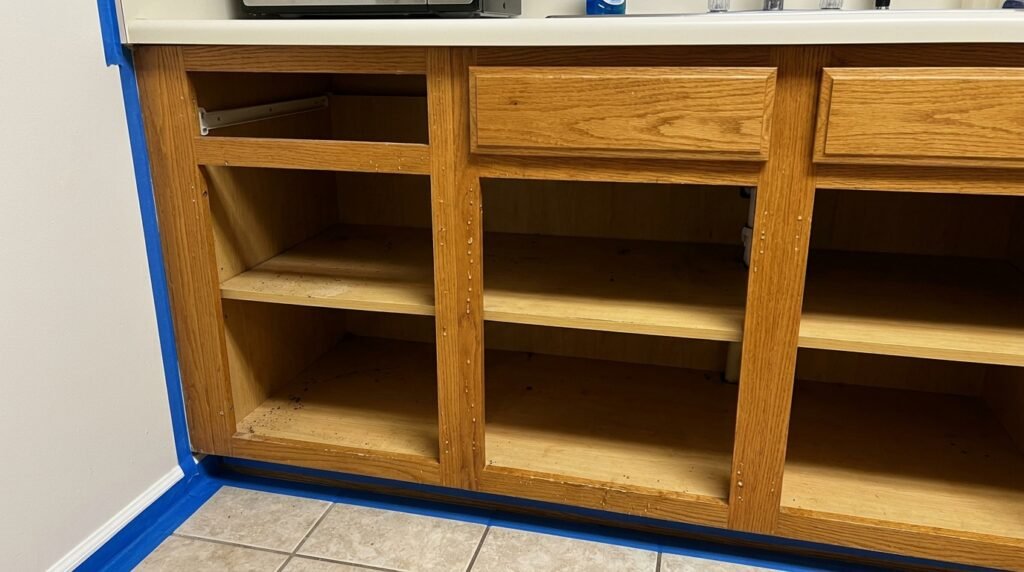
Start by removing everything from inside the cabinets, including dishes, shelves, and any stored items. Lay a drop cloth over your floors and countertops to protect them from stain drips and sanding dust.
Apply painter’s tape along the walls where they meet the cabinet edges. This preparation step takes less than an hour but makes the entire process cleaner and much easier to manage.
Step 2: Remove Cabinet Doors, Drawers, and Hardware
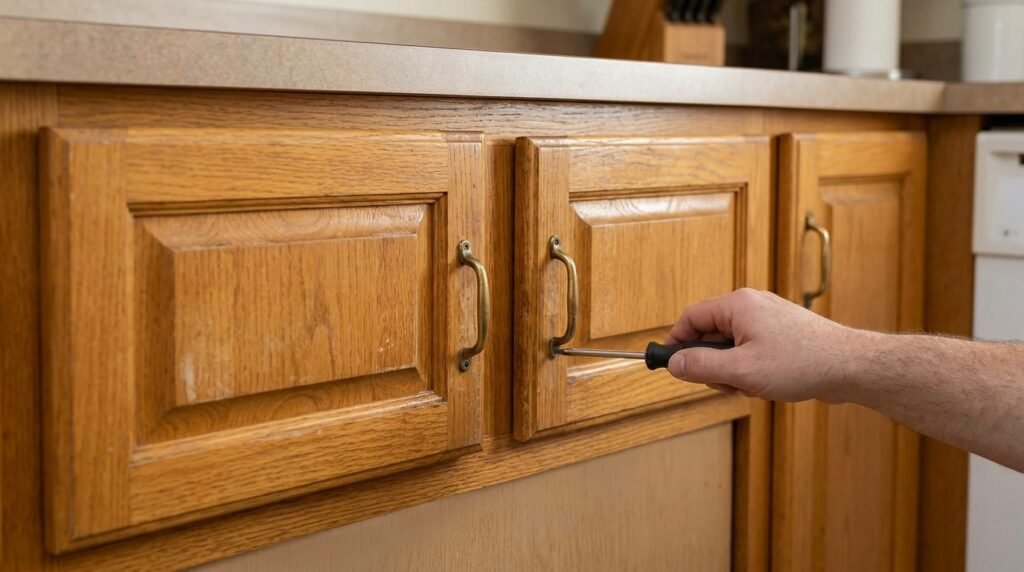
Take off all cabinet doors, drawer fronts, hinges, handles, and pulls before doing anything else. Label each piece with masking tape and a marker so you know exactly where it goes when it’s time to reinstall everything.
Place all screws and small hardware pieces into a labeled zip-lock bag. Lay the doors flat on a clean, padded surface where you’ll be doing your sanding and staining work.
Step 3: Clean the Cabinets Thoroughly
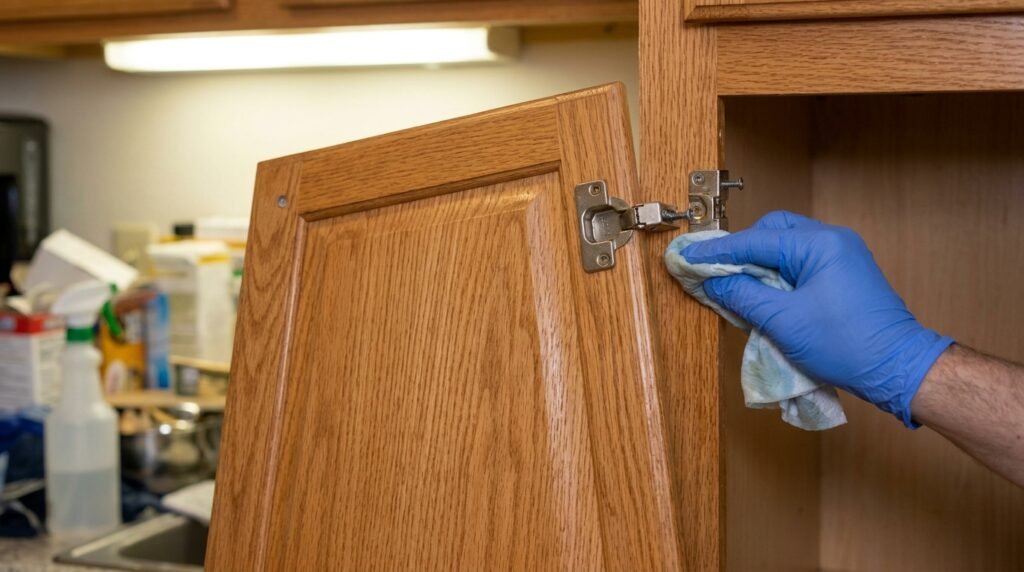
Kitchen cabinets accumulate grease, cooking residue, and grime over time — all of which prevent stain from absorbing properly into the wood.
Use a mild cleaner or dish soap mixed with warm water and scrub every surface, including the inside edges and backs of the cabinet frames. Rinse with a clean damp cloth and allow all surfaces to dry completely before moving on. Clean cabinets produce a more even, professional stain result.
Step 4: Sand Off the Old Finish
Sanding is the most important step in the entire restaining process, and it directly determines the quality of your final result. Begin with coarse sandpaper in the 80 to 100 grit range to remove the old stain, varnish, or clear coat.
Always sand in the direction of the wood grain to avoid scratches that will show through the new stain. Once the old finish is removed, switch to fine sandpaper in the 180 to 220 grit range to smooth out the surface. Wipe away all sanding dust with a dry microfiber cloth before moving on.
Use an orbital sander on flat panel areas to save time, but hand-sand all edges, corners, and detailed areas carefully to avoid removing too much material or damaging the shape of the wood.
Step 5: Apply Wood Conditioner
Wood conditioner is a pre-stain treatment that helps the wood absorb stain more evenly, preventing blotchy or streaky results. It is especially important when working with softwoods like pine, which tend to absorb stain unevenly without this step.
Apply the conditioner with a clean paintbrush, working it into the wood in the direction of the grain.
Let it soak in for the amount of time specified on the product label, then wipe off any excess with a clean microfiber cloth. Do not skip this step — it is the difference between a professional-looking finish and a patchy, uneven one.
Step 6: Apply the Stain
Now comes the most satisfying part of the process. Stir your stain thoroughly before opening — the pigments settle to the bottom of the can and must be fully mixed before application.
Use a high-quality paintbrush or a lint-free cloth to apply the stain in long, even strokes moving in the direction of the wood grain.
Work in sections and do not let the stain pool or sit too long in one area. After applying each section, wipe away any excess stain with a clean cloth. The longer you leave the stain on before wiping, the darker the result will be so adjust timing based on how deep you want the color.
Step 7: Apply a Second Coat of Stain
After the first coat, allow the stain to dry for at least seven to eight hours. Check the drying time listed on the stain product label, as it can vary by brand. Keep the area as dust-free as possible during this time and avoid touching the surface.
Once fully dry, apply a second coat following the exact same technique as the first. The second coat deepens the color and gives the wood a richer, more refined appearance.
Step 8: Apply a Protective Top Coat
A protective top coat is what seals all your hard work in and keeps the cabinets looking great for years to come. Polyurethane is the most common choice and is available in matte, satin, and gloss finishes. Apply two to three thin, even coats using a quality brush or applicator, allowing each coat to fully dry before adding the next.
Thin coats are always better than thick ones — thick coats are more likely to drip, bubble, or dry unevenly. Sand lightly with 400-grit sandpaper between coats for an ultra-smooth finish.
Step 9: Reinstall Hardware, Doors, and Shelves
Once the final top coat has dried completely typically 24 hours it is time to reassemble everything. Reattach all hinges, handles, and pulls to the doors first, then carefully hang the doors back on the cabinet frames.
Replace shelves and reload the cabinets. Take your time during this step to ensure all doors are level and aligned properly before tightening the screws.
Common Mistakes to Avoid When Restaining Kitchen Cabinets
Even experienced DIYers can make mistakes during a restaining project. Being aware of the most common errors in advance helps you avoid them entirely.
| Mistake | Why It Matters |
| Skipping sanding | Old finish prevents new stain from absorbing properly |
| Not cleaning off grease | Grease blocks stain penetration, causing uneven color |
| Applying too much stain at once | Results in a sticky, tacky surface that never fully dries |
| Rushing the drying time | Premature use causes sticking, peeling, and smearing |
| Using low-quality brushes | Leaves bristle marks visible through the finish |
FAQs
How long does restaining kitchen cabinets take?
A full restaining project typically takes three to five days from start to finish when accounting for drying and curing time between coats. The actual hands-on work is about one to two full days depending on cabinet quantity.
Can painted cabinets be restained?
Painted cabinets are generally not suitable for restaining because the paint seals the wood grain and prevents stain from penetrating. You would need to strip the paint completely down to bare wood, which is very labor-intensive and may not always produce clean results.
What type of cabinets can be restained?
Only solid wood or wood veneer cabinets can be restained. MDF, particleboard, and laminate cabinets do not absorb wood stain and are not candidates for this process.
Is wood conditioner really necessary?
Yes, especially for softwoods. It ensures the stain absorbs evenly and prevents blotching, which is one of the most common complaints people have after a DIY restaining project.
Conclusion
Restaining kitchen cabinets is a smart, budget-friendly way to give your kitchen a completely fresh look without the cost or disruption of a full renovation. The process requires careful preparation particularly cleaning, sanding, and conditioning the wood but when each step is done correctly and patiently, the results are genuinely impressive.
Whether you want to go darker, lighter, or simply refresh the existing tone, restaining lets you control the final look while preserving the natural character of real wood. Take your time, follow each step in order, and the transformation you get will make the effort entirely worth it.
Related Articles
Can You Use Ceiling Paint on Walls? The Surprising Benefits and Drawbacks
How to Measure Room for Furniture: Step-by-Step Guide for Perfect Fit
How Do You Wash Walls Before Painting? (Step-by-Step Guide)
Mulled Windows vs Non-Mulled Windows: Which Is Right for Your Home
Kitchen Chopping Block Table: Complete Guide, Types, Benefits, Care & Buying Tips