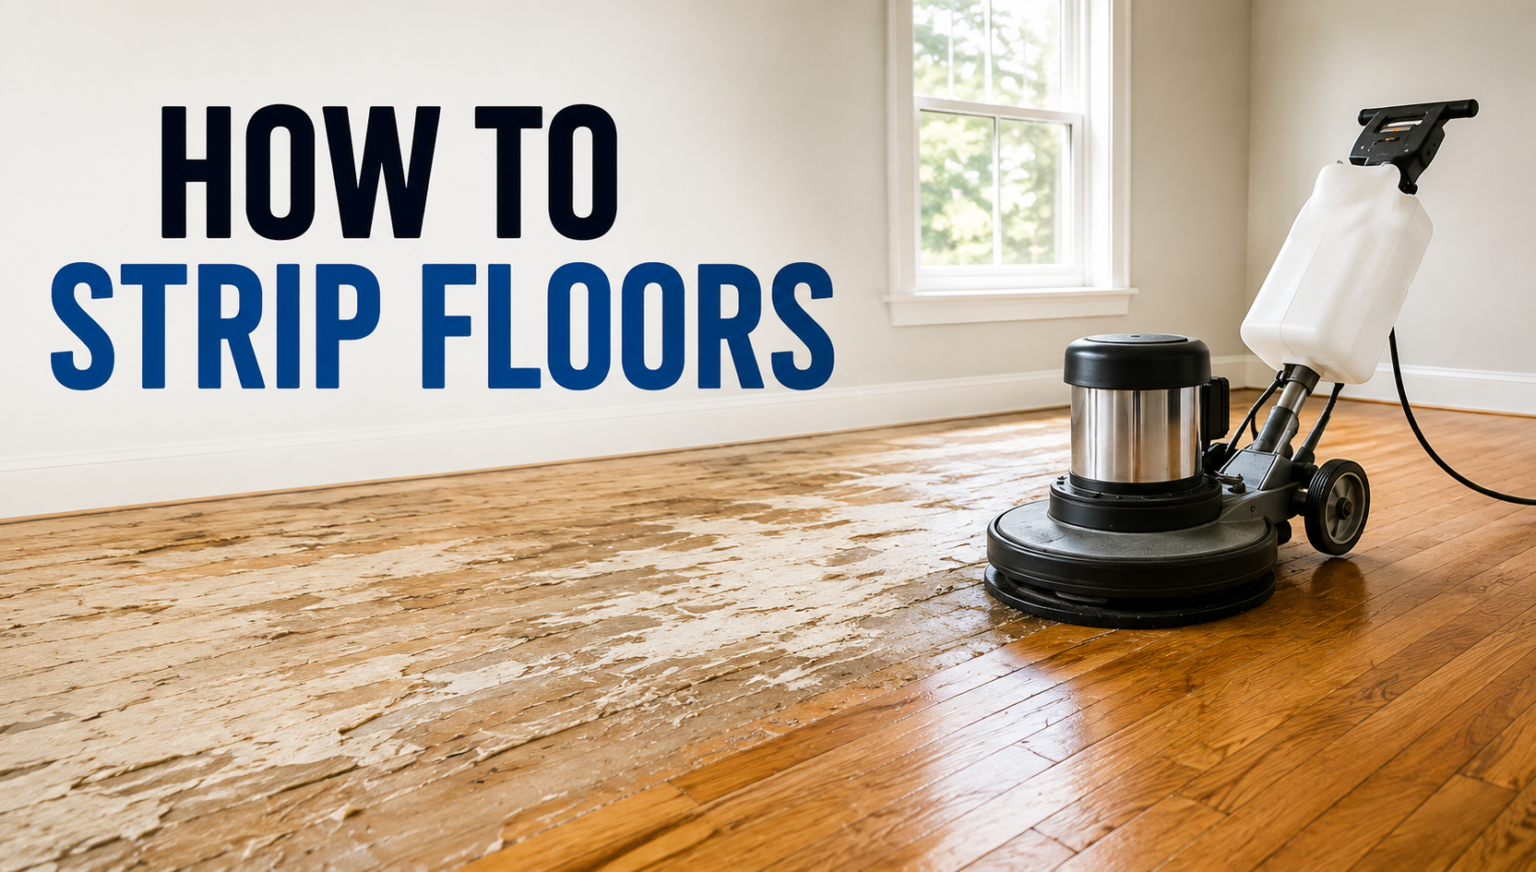

Learning how to strip floors is one of the most useful skills for anyone who wants to restore the natural beauty of their flooring. Over time, wax, sealant, and old finish build up on the surface, making floors look dull, sticky, or discolored.
Stripping removes these old layers and prepares the surface for a fresh coat of finish or sealant. Whether you are dealing with hardwood, vinyl, tile, or concrete, the right stripping method depends on the material and the type of buildup involved. This guide walks you through every stage of the process in simple, easy-to-follow language.
What Does Floor Stripping Actually Mean
Floor stripping is a deep-cleaning process that dissolves and lifts away layers of old finish using chemical strippers or mechanical sanding. It is different from routine mopping because it targets the finish itself, not just surface dirt. Once stripped, the bare floor is ready for a new protective coating.
Why Floors Need Regular Stripping
Wax and sealant layers wear unevenly across a floor because foot traffic is heavier in some areas than others. This uneven wear creates patches, discoloration, and a worn appearance that only stripping can correct. Skipping this step for too long can make future refinishing much harder.
Understanding Your Floor Type
Not every floor reacts the same way to chemical strippers or sanding equipment. Identifying your floor material first prevents costly damage and wasted effort during the stripping process.
Hardwood and Engineered Wood
Hardwood floors respond well to both sanding and chemical stripping, though sanding is often preferred for solid wood. Engineered wood has a thinner top layer, so sanding must be done carefully to avoid cutting through the veneer.
Vinyl, Linoleum, and Tile
Vinyl and linoleum floors are usually stripped using liquid chemical strippers designed specifically for resilient flooring. Tile floors, especially those with grout lines, need extra attention because stripper can settle into grout and require additional scrubbing.
Signs Your Floor Needs Stripping
Recognizing the warning signs early helps you plan the stripping process before the floor becomes too damaged or discolored to restore easily.
Visual and Textural Warning Signs
A floor that looks yellow, cloudy, or unevenly shiny is usually signaling that the old finish has broken down. A sticky feel underfoot, especially in high-traffic zones, is another common indicator that wax buildup has become a problem.
When Refinishing Is the Goal
If you are planning to refinish, repaint, or reseal a floor, stripping is a mandatory first step. New finish will not bond properly to a surface that still has old wax or sealant sitting on top of it.
Tools and Materials Needed
Having the right supplies ready before you begin makes the entire process smoother and reduces the chances of having to pause halfway through.
Chemical and Mechanical Tools
Chemical strippers, floor buffers, sanders, and scrub pads form the core toolkit depending on your chosen method. The table below breaks down the most common tools and their typical use.
| Tool/Material | Best Used For | Notes |
| Chemical floor stripper | Vinyl, linoleum, tile | Follow dwell time on label |
| Drum or orbital sander | Solid hardwood | Requires practice to avoid gouges |
| Stiff scrub brush | Agitating loosened wax | Manual, low cost |
| Wet-vacuum | Removing dissolved residue | Speeds up cleanup |
| Neutralizer solution | After chemical stripping | Prevents residue haze |
Safety Gear You Should Never Skip
Rubber gloves, safety goggles, and a respirator mask are essential when working with chemical strippers, since fumes can be strong in enclosed spaces. Good ventilation, using open windows or fans, further reduces exposure risk during the entire stripping session.
Pre-Stripping Preparation
Before touching any stripping product, the room needs to be properly prepared so the process goes smoothly and safely.
Clearing and Cleaning the Space
Remove all furniture, rugs, and fixtures from the room, then sweep or vacuum thoroughly to eliminate loose dirt and debris. This step prevents grit from scratching the floor once the stripping solution softens the old finish.
Testing and Protecting Surrounding Areas
Always test the stripper on a small, hidden section of the floor first to confirm it will not discolor or damage the material. Cover baseboards, walls, and nearby furniture edges with tape or plastic sheeting to avoid accidental chemical splashes.
Step-by-Step Chemical Stripping Method
Chemical stripping is the most common approach for vinyl, tile, and many hardwood floors, and it follows a fairly consistent sequence regardless of brand.
Applying and Letting the Stripper Dwell
Pour or mop the stripping solution evenly across a manageable section of the floor, avoiding letting it dry out before the next step. Most products need to sit for five to fifteen minutes so they can fully break down the old finish layer.
Agitating, Rinsing, and Drying
Use a stiff brush, scrub pad, or floor buffer to loosen the softened wax, then mop or wet-vacuum the dissolved residue away completely. Rinse with clean water, apply a neutralizer if the product requires it, and allow the floor to dry fully before moving forward.
Step-by-Step Sanding Method for Wood Floors
Sanding is often the preferred choice for solid hardwood floors that have deep scratches or multiple old finish layers that chemical stripping alone cannot handle.
Choosing the Right Equipment and Grit
A drum sander works well for large open rooms, while an orbital sander offers more control for smaller spaces or edges. Start with a coarser grit to remove old finish, then move to finer grits for a smooth, even surface.
Sanding Technique and Dust Control
Always sand in the direction of the wood grain, overlapping each pass slightly to avoid uneven patches or visible lines. Vacuum thoroughly between grit changes, since leftover dust can scratch the surface during the next sanding pass.
Stripping Specific Floor Types
Different flooring materials each have their own best practices, and understanding these differences prevents unnecessary damage during the process.
Vinyl, Tile, and Concrete
Vinyl and linoleum respond best to liquid strippers applied in thin, even layers, while tile requires extra scrubbing around grout lines to remove trapped residue. Concrete floors often need industrial-strength strippers combined with a floor buffer for stubborn sealant layers.
Hardwood and Laminate Considerations
Solid hardwood can generally be sanded multiple times over its lifespan, but laminate flooring usually cannot be stripped or sanded because its top layer is a thin printed design, not real wood. Attempting to strip laminate often causes permanent damage, so replacement is typically the better option.
Common Mistakes to Avoid
Many stripping projects go wrong not because of the product used, but because of small procedural errors that are easy to prevent.
Product and Application Errors
Using a stripper meant for one floor type on another material is one of the most frequent mistakes, often resulting in discoloration or surface damage. Letting the stripper dry out before agitating it also reduces its effectiveness, forcing a second full application.
Skipping Safety and Rinsing Steps
Failing to rinse or neutralize the floor after stripping can leave a hazy residue that interferes with new finish adhesion. Working without proper ventilation or protective gear increases health risks from chemical fumes, especially in smaller rooms.
Safety Precautions
Floor stripping involves strong chemicals and physical effort, so following basic safety rules protects both the person doing the work and the household.
Protective Measures During the Process
Wearing gloves, goggles, and a mask throughout the entire process minimizes skin and respiratory exposure to stripping chemicals. Keeping the work area well ventilated with open windows or fans helps disperse fumes quickly.
Disposal and Household Safety
Unused stripper and dirty rinse water should be disposed of according to local hazardous waste guidelines rather than poured down household drains. Children and pets should stay out of the room until the floor is completely dry and any lingering odor has cleared.
After Stripping: Next Steps
Once the old finish has been removed, the floor needs a few more steps before it is ready for daily use again.
Inspecting and Repairing the Surface
Walk across the bare floor and check for scratches, gouges, or discoloration that may need light sanding or filler before refinishing. Addressing these issues now prevents them from showing through the new coat of finish later.
Applying New Finish or Sealant
Apply the chosen wax, sealant, or finish in thin, even coats, allowing proper drying time between applications as directed on the product label. Avoid walking on the floor until the manufacturer’s recommended curing time has fully passed.
Maintenance Tips to Delay Future Stripping
Good maintenance habits can significantly extend the time between stripping sessions, saving both effort and money.
Everyday Cleaning Habits
Regular sweeping and damp mopping with a floor-appropriate cleaner prevents dirt from grinding into the finish and wearing it down prematurely. Avoiding excess water, especially on wood floors, protects the finish from warping or clouding over time.
Periodic Protective Coating
Reapplying a light protective coat every few months, depending on foot traffic, helps maintain shine without requiring a full strip each time. This light maintenance layer acts as a buffer that absorbs daily wear instead of the original finish underneath.
Eco-Friendly and DIY Stripping Alternatives
Not everyone wants to use harsh commercial chemicals, and several gentler alternatives can work for lighter buildup.
Natural Solutions for Light Buildup
A mixture of warm water, vinegar, and a small amount of baking soda can help loosen light wax buildup on some floor types without strong fumes. These natural options work best for maintenance-level buildup rather than heavy, years-old finish layers.
Weighing DIY Versus Commercial Products
DIY solutions are gentler and safer for households with children or pets, but they generally require more scrubbing effort and multiple applications. Commercial strippers work faster on heavy buildup but demand stricter safety precautions during use.
When to Hire a Professional?
Some stripping projects are simply better handled by experienced flooring professionals, especially when the stakes are high.
Large or Delicate Flooring Projects
Large commercial spaces or antique wood floors with sentimental or monetary value are often safer in the hands of a trained professional. Mistakes on delicate or historic flooring can be costly and sometimes impossible to fully reverse.
Comparing Cost and Effort
Hiring a professional costs more upfront but saves time and reduces the risk of damage, while DIY stripping is cheaper but demands more physical effort and research. Weighing your budget against the floor’s value and your own comfort level with the process helps determine the better choice.
Frequently Asked Questions
How often should floors be stripped?
Most floors need stripping every one to five years depending on foot traffic and the type of finish originally applied.
Can I strip floors without chemicals?
Yes, natural solutions like diluted vinegar can handle light wax buildup, though heavy buildup usually still needs a commercial stripper.
How long does the stripping process take?
A single room typically takes two to four hours including drying time, though larger areas or sanding projects take longer.
Is floor stripping safe for pets and kids?
It is safe once the floor is fully dry and ventilated, but they should stay away during application and drying.
Can I walk on the floor right after stripping?
No, the floor should dry completely and any new finish should cure fully before regular foot traffic resumes.
Conclusion
Knowing how to strip floors properly makes it much easier to restore worn, dull, or heavily waxed surfaces without needing a full replacement.
By choosing the right method for your floor type, preparing the space correctly, and following safety precautions throughout, you can achieve a clean, refreshed surface ready for new finish. With good maintenance afterward, you can also extend the time before the next stripping session is needed.
Related Articles
What Are Styrofoam Ceiling Tiles? Discover their benefits & tips.
What Type of Paint for Bathroom Walls? Complete Guide 2026
Can You Refinish Engineered Hardwood Floors? A Complete Guide 2026
24 Inch Kitchen Sink Drop In Complete Guide: Types, Benefits, Installation