


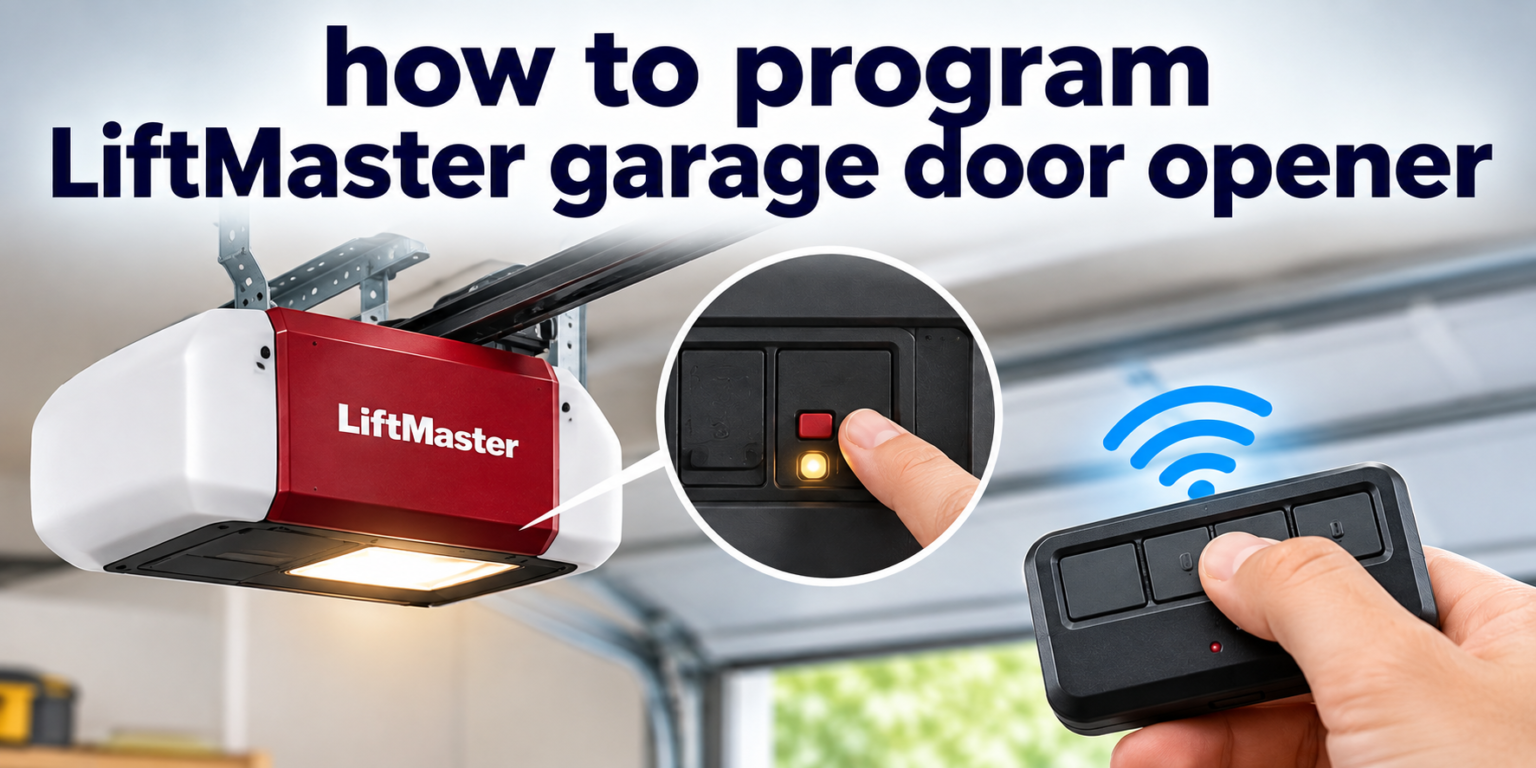

If you have ever bought a new remote, moved into a house with an existing LiftMaster system, or simply forgotten your old code, you already know how confusing garage door programming can feel at first. The good news is that once you understand the basic logic behind it, the process becomes quick and repeatable.
This guide walks you through how to program a LiftMaster garage door opener using the remote, keypad, wall console, and the myQ smartphone app, along with troubleshooting tips for when something does not sync correctly.
Understanding Your LiftMaster Opener
Before you start programming anything, it helps to know which type of LiftMaster unit you own, since the button layout and steps can differ slightly between models. Most homeowners fall into one of a few common categories, and identifying yours early will save time later.
Common LiftMaster Models
LiftMaster produces chain-drive, belt-drive, and wall-mount opener systems, and each one uses a similar Learn button process even though the physical design looks different. Chain-drive models are usually the most affordable and slightly louder, while belt-drive units run quieter and are popular in homes with living space above the garage. Wall-mount openers remove the overhead rail entirely and instead sit beside the door, but the programming steps still rely on the same Learn button logic described later in this guide.
Security Plus and Security Plus 2.0
Newer LiftMaster openers use rolling code technology, meaning the remote sends a new code every time it is used instead of repeating the same signal. Security+ 2.0 is the current standard and offers stronger protection against code-grabbing devices than the original Security+ system. Knowing which version your opener uses is helpful because Security+ 2.0 remotes and accessories are not always backward compatible with very old motor units.
Finding Your Model Number
Your model number is usually printed on a sticker on the back or side panel of the motor unit, close to where the antenna wire hangs down. Having this number ready before you begin makes it much easier to look up your printed manual online if a step does not match what you see. It also helps if you ever need to contact support or order a replacement remote.
Locating the Learn Button
The Learn button is the starting point for almost every programming task on a LiftMaster opener, so finding it correctly matters more than any other step. It is a small button, usually colored purple, orange, yellow, or green depending on the age of your unit, and it sits on the back panel of the motor housing near the antenna wire. Once you press it, an indicator light beside it will glow steadily for about thirty seconds, giving you a short window to complete the pairing process for a remote, keypad, or accessory.
If you are standing underneath the opener and cannot immediately spot it, check along the bottom edge of the unit facing the garage door, since manufacturers typically keep it away from moving parts for safety. A small flashlight can help if your garage lighting is dim, especially on older units where the button color has faded over time.
Programming a Basic Remote Control
This is the most common reason people search for how to program a LiftMaster garage door opener, so it is worth explaining in full detail. The remote pairing process uses the same Learn button logic mentioned earlier, and once you understand the timing, it becomes very easy to repeat for additional remotes.
Step-by-Step Pairing Process
Start by pressing and releasing the Learn button on the motor unit, which will cause the indicator light to turn on steadily. While that light is active, walk to your car or stand near the garage and press and hold the button on your remote until you notice the opener’s light blink or hear a soft click sound. This confirms the remote and opener have exchanged a matching code, and the pairing is complete.
Testing the New Remote
After programming, always test the remote from a short distance before assuming it works permanently. Press the button once and watch whether the door responds smoothly without hesitation, then try it again from inside a parked car if that is where you normally use it. If the door does not respond, the remote may need to be reprogrammed or the battery may already be weak.
Programming Multiple Remotes
LiftMaster openers can typically store several remotes at once, so you do not need to erase existing codes just to add a new one. Simply repeat the Learn button process for each additional remote, keypad, or accessory you want paired. Most residential units support anywhere from a handful up to several dozen stored devices depending on the model.
Programming a Keypad
Wireless keypads are a convenient backup option since they let you enter the garage without carrying a physical remote. Programming one follows the same Learn button foundation but includes an extra step for setting a personal PIN code.
Setting a New PIN Code
Choose a four-digit PIN that is easy for your household to remember but not something obvious like your street address. Enter this PIN on the keypad and press the Enter button, which prepares the keypad to be linked with the motor unit in the next step.
Syncing the Keypad to the Opener
Press the Learn button on the motor unit just as you would for a remote, then quickly enter your chosen PIN on the keypad and press Enter again. The opener’s light will blink to confirm the keypad has been successfully linked, and the door should open when you retest the code.
Changing or Resetting an Existing PIN
If you want to update a PIN that is already programmed, enter the current PIN followed by the Enter button, then hold the Enter button again until the keypad light flashes. From there, type in the new PIN and press Enter one final time to save the change permanently.
Programming a Wall Control Panel
Wall consoles are mounted near the entry door into the house and often include extra buttons for lighting or vacation lock mode, in addition to opening and closing the door itself. Pairing one to your opener uses a slightly different wiring-based method rather than the wireless Learn button process used for remotes.
Wired Versus Wireless Panels
Basic wall panels connect directly to the motor unit using two small wires, so no programming is usually needed since the connection is physical rather than radio-based. Multi-function panels with smart features may still require an initial sync through the myQ app, which is covered in the next section.
Understanding the Light and Lock Buttons
The light button on most panels lets you control the garage light independently from the door itself, which is useful when working in the garage at night. The lock button disables remote signals temporarily, a handy security feature when you are away for an extended period and want to prevent outside access.
Setting Up myQ Smart Features
Many current LiftMaster models include Wi-Fi connectivity through the myQ app, allowing you to open and close your garage door from a smartphone anywhere with an internet connection. This step goes beyond the traditional remote pairing process but still relies on the same underlying motor unit hardware.
Creating a myQ Account and Connecting Wi-Fi
Download the myQ app from your phone’s app store and create a free account using your email address. During setup, the app will ask you to connect the opener to your home Wi-Fi network, which usually involves holding a button on the myQ hub or motor unit until a status light changes color.
Adding the Opener and Using Voice Control
Once connected, follow the in-app prompts to add your specific opener model to your account, after which it will appear as a controllable device on the home screen. Many households also link myQ with Amazon Alexa or Google Assistant, making it possible to open or check the door status using a simple voice command.
Programming a Vehicle’s Built-In Remote
Many newer vehicles include a built-in button system, often called Homelink, that can be trained to control a LiftMaster opener without needing a separate handheld remote.
Pairing Steps for Vehicle Systems
Park close enough to the garage for a clear signal, then press and hold the desired Homelink button inside your car while simultaneously pressing the Learn button on the motor unit. Hold both until the opener’s light blinks, confirming that your vehicle button now controls the door directly.
Clearing and Resetting All Codes
There are times when starting fresh is safer and simpler than trying to fix individual programming issues, particularly after a move or a lost remote.
When to Perform a Full Reset
A complete reset is recommended if you have moved into a home with an unknown remote history, misplaced a remote that could fall into the wrong hands, or simply want to clean up a system with too many old paired devices. This wipes every stored code at once rather than removing them individually.
How the Reset Process Works?
Press and hold the Learn button on the motor unit for about six seconds until the indicator light turns off completely, which confirms all stored codes have been erased. After this, you will need to reprogram every remote, keypad, and vehicle button from scratch using the steps described earlier in this guide.
Troubleshooting Common Programming Issues
Even when following every step correctly, programming problems can still happen, usually due to small details rather than a faulty opener. The table below summarizes the most frequent issues and their likely fixes.
| Issue | Likely Cause | Suggested Fix |
| Remote not syncing | Learn button window expired | Restart the process and press the remote button faster |
| Learn light not blinking | Weak or dead remote battery | Replace the battery and retry |
| Keypad rejects new PIN | Incorrect Enter sequence | Recheck keypad manual for exact button order |
| myQ app cannot find device | Wi-Fi signal too weak near opener | Move the router closer or use a Wi-Fi extender |
| Door reverses unexpectedly | Safety sensors misaligned | Realign sensors facing each other directly |
Safety Tips While Programming
Programming itself is low risk, but it still takes place near a heavy moving door, so a few precautions are worth following. Keep your hands, tools, and any household items away from the door track while testing a newly paired remote or keypad. It is also a good habit to test the auto-reverse safety feature after any programming session by placing a small object in the door’s path to confirm it stops and reverses correctly.
Frequently Asked Questions
How many remotes can I program to one LiftMaster opener? Most residential models support several remotes and keypads at once, often between eight and several dozen depending on the specific unit.
Can I program a universal remote to a LiftMaster opener? Yes, most universal remotes support LiftMaster’s rolling code system, though the exact syncing steps vary slightly by brand.
Why did my remote stop working suddenly? A weak battery or accidental signal interference is the most common cause, though a nearby full reset could also have erased its stored code.
Do I need Wi-Fi to program a basic remote? No, standard remote and keypad programming only requires the Learn button on the motor unit, not an internet connection.
Is there a default factory code on LiftMaster openers? No, LiftMaster does not ship units with a preset code, so every remote and keypad must be manually programmed after installation.
Conclusion
Learning how to program a LiftMaster garage door opener really comes down to understanding the Learn button and repeating the same short pairing window for each device you want connected.
Whether you are setting up a simple remote, a keypad, or the full myQ smartphone experience, the underlying process stays consistent across most models. With the steps and troubleshooting table above, most homeowners can complete the entire setup themselves in just a few minutes without needing a technician visit.
Related Posts
Glow in the Dark Epoxy Floor: The Ultimate Guide for Homeowners & Contractors
What Type of Paint for Bathroom Walls? Complete Guide 2026
Can You Tile Over Tile: A Complete Guide 2026
Can You Stain Wood Cabinets If They’ve Been Painted Complete Guide 2026
Why Is My Toilet Gurgling? Common Causes and Fixes Explained




