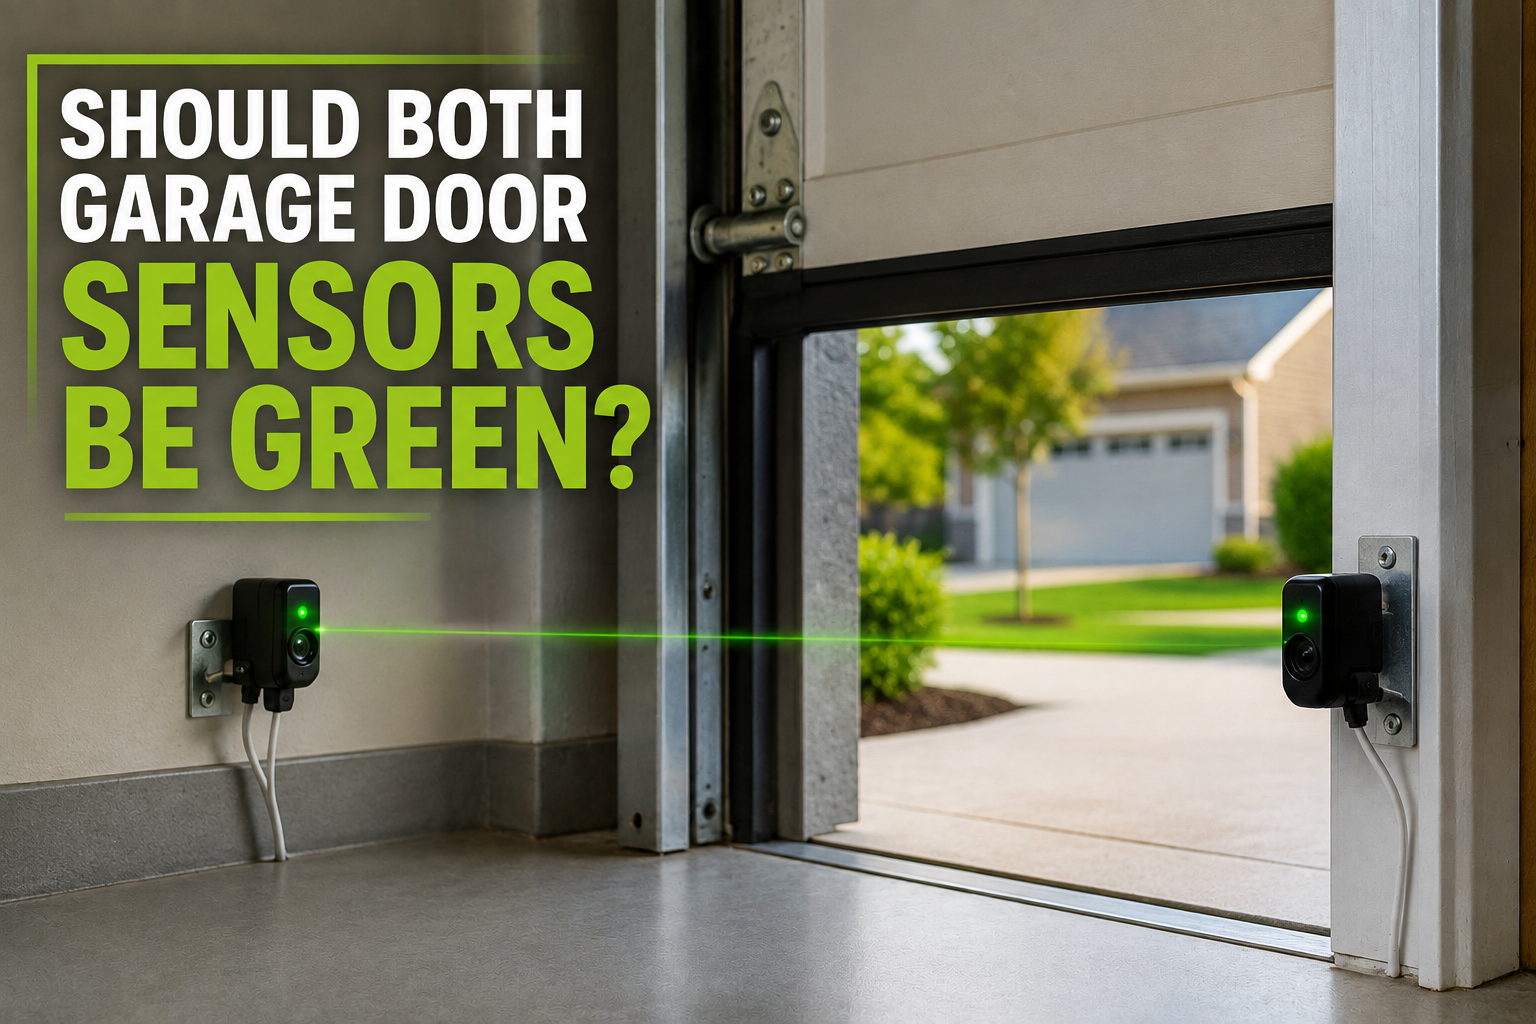

If you’ve bent down to check your garage door sensors and noticed two green lights staring back at you, you might be wondering: should both garage door sensors be green, or is something wrong? The short answer is that it depends on your opener brand — but for the most common garage door openers in the U.S. (Chamberlain, LiftMaster, and Craftsman), the answer is no. One sensor should glow amber, and the other should glow green. If both of yours are green, or if either light is blinking or off entirely, your door’s safety system is telling you something needs attention before it will close properly.
This guide breaks down exactly what your sensor lights should look like based on your opener brand, what it means when they don’t match that pattern, and how to fix the most common causes yourself — plus when it’s time to stop troubleshooting and call a professional.
Quick Answer: Should Both Garage Door Sensors Be Green?
For most residential openers sold in the United States, no — both garage door sensors should not be the same color. Here’s the general rule by brand:
- Chamberlain, LiftMaster, and Craftsman: One sensor (the sender) glows amber/yellow, and the other (the receiver) glows green. Two green lights is not the normal state for these brands.
- Genie and Overhead Brand openers: Both sensors typically glow solid red when everything is working correctly.
- Marantec and Guardian: The sending sensor glows green, and the receiving sensor glows red.
Because the “correct” color combination depends entirely on your opener’s manufacturer, the real question isn’t “are both lights green” — it’s “do my sensor lights match what my specific brand considers normal.” A mismatched or blinking light almost always points to misalignment, an obstruction, or a wiring issue rather than a broken sensor.
Why Sensor Colors Differ by Brand (and Why That Matters)
Garage door safety sensors, sometimes called photo eyes or safety-reversing sensors, have been required on residential garage door openers manufactured after January 1, 1993, under the UL 325 safety standard.
Every major manufacturer complies with this standard, but each one implemented its own LED color scheme to indicate power, alignment, and beam status.
That’s the root of most of the confusion online: a homeowner searches “should both garage door sensors be green” after reading conflicting advice, when the real answer depends on which pair of sensors is bolted to their garage wall.
Here’s a side-by-side breakdown to clear things up.
| Brand | Sending Sensor | Receiving Sensor | Both Green Normal? |
|---|---|---|---|
| Chamberlain / LiftMaster / Craftsman | Amber/yellow | Green | No |
| Genie / Overhead Brand | Solid red | Solid red | No (both red) |
| Marantec | Green | Red | No |
| Guardian | Green | Red | No |
| Older Chamberlain 41A4373A sensors | Green | Green | Yes (legacy model only) |
That last row matters: a small number of older Chamberlain sensor models (part number 41A4373A) genuinely do use green LEDs on both sides. So if you have an older opener and both lights are green and steady, that could be completely normal for your specific hardware. When in doubt, check the model or part number printed on the back of each sensor and compare it against your manufacturer’s documentation, since sensor hardware has changed multiple times over the past 30 years.
What Each Sensor Actually Does
Garage door sensors work in a sending-and-receiving pair, mounted no more than 4–6 inches above the garage floor on either side of the door opening.
- The sending sensor (also called the transmitter or emitter) projects a continuous, invisible infrared beam across the opening.
- The receiving sensor detects that beam and confirms to the opener’s logic board that the path is clear.
If anything — a pet, a bike, a stray box, a shadow, or even a spiderweb — breaks that beam while the door is closing, the receiving sensor loses the signal and tells the motor to stop or reverse immediately. This is why a garage door that opens fine but refuses to close, or reverses right after touching the floor, is almost always a sensor problem rather than a motor problem.
What It Means When Your Sensor Lights Don’t Look Right
Once you know your brand’s normal color pattern, use this as a quick diagnostic reference:
Both lights are solid and match the expected pattern (e.g., one amber, one green on a LiftMaster): Your sensors are aligned and working correctly. If the door still won’t close, the problem is likely elsewhere, such as the wall console or opener logic board.
One light is off completely: That sensor isn’t receiving power. Check the wiring at the back of the unit, the connection at the opener head, and make sure nothing has pulled the wire loose — this is common after storage items or vehicles brush against the wires.
One light is blinking instead of solid: This is the most common sensor complaint. A blinking receiver light almost always means the beam is being interrupted or the sensors aren’t pointed directly at each other. Start with alignment and cleaning before assuming a sensor is defective.
Both lights are the same unexpected color (like two greens on a brand that should show amber/green): Double-check you’re not looking at two receiving sensors from a mismatched replacement, or that a previous repair didn’t install the wrong part. Mismatched sensor pairs from different sensor generations can sometimes cause this.
Both lights are completely off: This usually points to a power issue at the source — check the opener’s circuit breaker, a tripped GFCI outlet the opener is plugged into, or a disconnected wire harness at the motor head.
How to Fix the Most Common Sensor Light Problems Yourself
Most sensor issues take less than 15 minutes to resolve without calling anyone. Work through these steps in order:
1. Clean Both Lenses
Dust, cobwebs, pollen, and garage grime build up on the small plastic lens of each sensor and can weaken or block the beam entirely. Wipe both lenses with a dry, soft cloth — avoid glass cleaner, which can leave a film.
2. Check for Physical Obstructions
Look directly along the path between the two sensors at floor level. Storage bins, a broom leaning against the wall, or even a garden hose can sit directly in the beam’s path without being obvious at first glance.
3. Test Alignment with a Simple Object
Hold a piece of cardboard or a thin book in the middle of the beam path while the door is stopped. If the receiving sensor’s light changes state (blinks or turns off) when you block it and returns to normal when you remove it, the beam itself is working — your issue is more likely alignment or an intermittent obstruction than a dead sensor.
4. Loosen and Realign the Brackets
Both sensors should point directly at each other at the same height. Loosen the wing nut or thumbscrew on the mounting bracket and gently move the sensor side to side and up and down in small increments until the receiving light becomes steady rather than flickering. Sensors are often knocked out of alignment by a car bumper, a bike handlebar, or a stored ladder.
5. Rule Out Sunlight Interference
Garages that face east or west can experience direct sunlight hitting the receiving sensor at certain times of day, which can wash out the infrared beam and cause intermittent closing failures. A simple cardboard shade taped above the sensor (not blocking the lens itself) often solves this.
6. Inspect the Wiring
Follow each sensor’s wire back toward the opener. Look for pinched, frayed, or disconnected sections, especially near where wires run along the floor or wall track, where they’re prone to being stepped on or caught by parked vehicles.
7. Power-Cycle the Opener
Unplug the opener (or switch off its breaker) for about 30 seconds, then restore power. This resets the logic board and can clear a temporary fault that’s unrelated to the sensors themselves.
If you’ve worked through all seven steps and the lights still don’t match your brand’s expected pattern, the sensor unit itself may have failed internally and typically needs replacement rather than repair.
A Note on Sensor Safety
It can be tempting, especially when you’re in a hurry, to disconnect or “trick” a misbehaving sensor just to get the door closed. This isn’t a good workaround. Safety-reversing sensors exist specifically to stop a heavy, motorized door from closing on a person, pet, or vehicle, and bypassing them removes that protection entirely — often without you realizing the door is now operating unsafely until it’s too late. If your sensors won’t cooperate after basic troubleshooting, it’s safer (and often faster) to have a technician diagnose the issue than to override the system.
DIY Fix vs. Calling a Professional
Cleaning, realigning, and checking obvious obstructions are safe, low-cost DIY tasks that resolve the majority of sensor light complaints. Consider calling a licensed garage door technician if:
- You’ve completed all the troubleshooting steps above and the lights still don’t match the expected pattern
- The wiring appears damaged, chewed, or corroded
- You suspect a problem with the opener’s main logic board rather than the sensors
- Your sensors are more than 10–15 years old and show visible cracking or moisture damage inside the housing
A replacement sensor pair is a relatively inexpensive part, and most technicians can diagnose and swap them out in a single visit.
Frequently Asked Questions
Is it normal for both garage door sensor lights to be green? It depends on your brand. For Chamberlain, LiftMaster, and Craftsman openers, no — one sensor should be amber and the other green. A small number of older Chamberlain models used green on both sensors, so check your specific part number if you’re unsure.
What color should garage door sensor lights be? It varies by manufacturer: amber and green for Chamberlain/LiftMaster/Craftsman, red and red for Genie and Overhead Brand, and green and red for Marantec and Guardian. Check your owner’s manual or the sensor housing for your exact brand.
Why is only one of my garage door sensor lights on? This usually means the other sensor has lost power. Check the wiring connections at both the sensor and the opener head, and confirm the breaker powering the opener hasn’t tripped.
Why does my garage door sensor light blink instead of staying solid? A blinking light almost always signals an interrupted or misaligned beam. Clean the lenses, remove anything sitting in the beam’s path, and adjust the sensor bracket until the light holds steady.
Can sunlight affect garage door sensors? Yes. Direct sunlight hitting the receiving sensor, especially in the morning or late afternoon depending on your garage’s orientation, can interfere with the infrared beam and cause the door to stop or reverse unexpectedly.
Can I bypass my garage door sensors if they keep causing problems? You can, but you shouldn’t. Bypassing the sensors removes the door’s ability to detect people, pets, or objects in its path, creating a real safety hazard. Troubleshoot or replace the sensors instead of disabling them.
Final Thoughts
Whether both of your garage door sensor lights should be green really comes down to which opener brand you own. For the most common openers on the market — Chamberlain, LiftMaster, and Craftsman — the normal setup is one amber light and one green light, not two matching greens.
Genie, Marantec, and Guardian openers each follow their own color patterns, so it pays to confirm what’s normal for your specific system before assuming something is broken. In most cases, a blinking or mismatched light points to a simple fix: a dirty lens, a knocked-out-of-alignment bracket, or a loose wire, all of which you can usually resolve yourself in under 15 minutes using the steps above.
If you’ve worked through the troubleshooting checklist and your sensor lights still don’t match your brand’s expected pattern, don’t risk bypassing the system — schedule a quick inspection with a licensed garage door technician to get your door back to safe, reliable operation.
Related Articles
What Is a 1/4 Bathroom? Full Guide + Cost & Layout Tips
How Many Bags of Mulch in a Yard Complete guide 2026
Glow in the Dark Epoxy Floor: The Ultimate Guide for Homeowners & Contractors