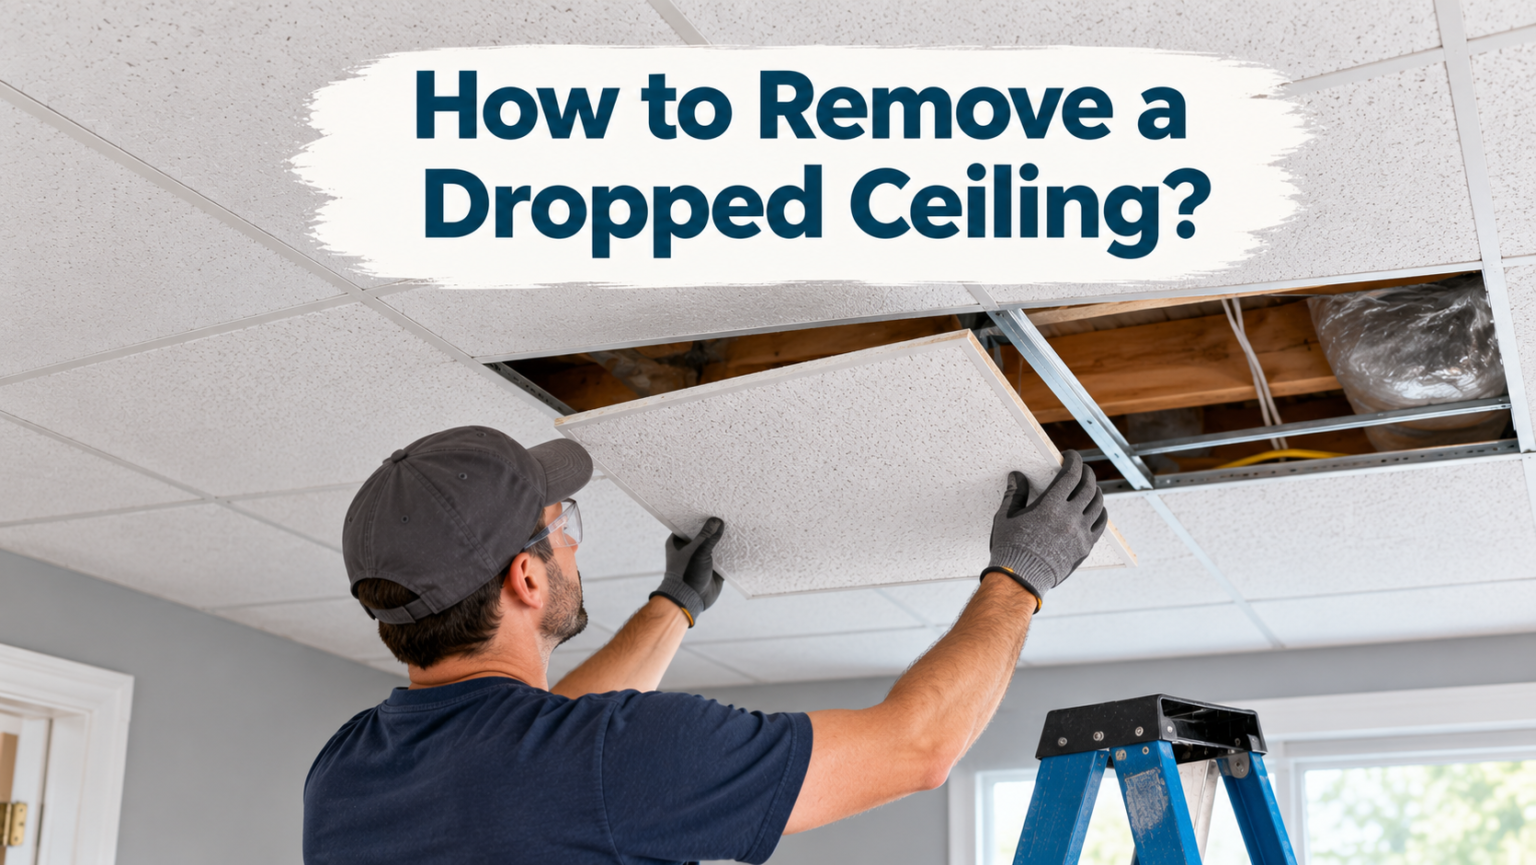

A dropped ceiling, often called a suspended ceiling, sits below the original structural ceiling on a metal grid holding lightweight tiles. Homeowners take them down to reveal higher ceilings, expose original architectural features, or replace worn-out tiles with a cleaner finish.
Learning how to remove a dropped ceiling is not complicated once you understand the layout of tiles, grid, and support wires involved. With the right tools and a careful approach to safety, most homeowners can complete this project over a weekend. This guide walks through every stage of the process in a simple, easy-to-follow order.
What Is a Dropped Ceiling?
Before removing anything, it helps to understand how a dropped ceiling is put together and why it was installed in the first place. The next two sections explain its construction and its common uses.
How It’s Built?
A dropped ceiling consists of a metal grid suspended from the original ceiling using thin wires anchored into the joists above. Lightweight tiles rest inside the grid squares, resting on the metal edges rather than being fixed permanently. This design makes it easy to access wiring, plumbing, or ductwork hidden in the space above without damaging the ceiling itself.
Why Do People Remove It?
Dropped ceilings were popular for hiding damaged plaster or running utilities discreetly, but many homeowners now prefer higher, open ceilings for a more spacious feel. Others remove them because the tiles have become stained, sagging, or outdated in style. Renovation projects aimed at restoring a home’s original character also commonly involve removing this type of ceiling.
Tools and Materials You’ll Need
Having the right equipment on hand before you begin makes the entire removal process faster and safer. The table below organizes what you’ll need by category.
| Category | Items Needed |
| Safety gear | Dust mask, safety goggles, gloves, long sleeves |
| Removal tools | Sturdy ladder, pry bar, screwdriver, pliers, utility knife |
| Cleanup supplies | Trash bags, tarps or drop cloths, broom, shop vacuum |
| Optional extras | Flashlight, stud finder, camera for documenting wiring |
Safety Precautions Before You Start
Taking a few precautions before touching any tiles reduces the risk of injury and property damage. The sections below cover power safety, material concerns, and room protection.
Shutting Off Power
If your dropped ceiling has recessed lights, fans, or wiring running through it, switch off the relevant breaker before starting work. This prevents accidental shocks while tiles and grid pieces are removed near live wiring. Always double-check with a voltage tester before touching any exposed wires.
Checking for Asbestos
Older ceiling tiles installed before the 1980s may contain asbestos, which becomes dangerous when disturbed or broken. If your home was built before this period and the tiles look aged, consider having a sample tested before removal. When asbestos is confirmed, hiring a licensed abatement professional is the safer route.
Protecting the Room
Cover furniture and flooring with tarps or drop cloths, since tiles release dust and small debris as they come down. Moving furniture out of the room entirely, when possible, makes cleanup significantly easier afterward. Keeping windows open during the process also helps clear dust from the air.
Step-by-Step Removal Process
This is the core part of learning how to remove a dropped ceiling, broken into three manageable stages: tiles, grid, and support wires. Each step should be completed in order to avoid damaging fixtures or injuring yourself.
- Remove the ceiling tiles first by tilting each tile slightly and lifting it out of the grid by hand, working section by section across the room.
- Take down the metal grid next, starting with the cross tees, which usually unclip or unscrew from the main runners running the length of the ceiling.
- Detach the main runners by cutting or untwisting the support wires holding them to the joists above using pliers.
- Pry off the wall angle strips along the perimeter using a flat pry bar, working slowly to avoid damaging the wall surface.
- Remove leftover screws or wire anchors left in the original ceiling once the grid is fully down.
What You Might Find Above the Ceiling
Once the grid is removed, the space above often reveals utilities that were previously hidden. The two sections below cover what is commonly found and how to handle it.
Electrical Wiring
Dropped ceilings frequently conceal electrical wiring running to light fixtures or outlets in adjoining rooms. Avoid touching or repositioning any wiring you find unless you are a licensed electrician. Photographing the layout before making further changes helps if you plan future renovations in that space.
HVAC Ductwork
Ductwork for heating and cooling systems is another common feature hidden above dropped ceilings. If ducts are exposed after removal, they may need to be relocated, insulated, or boxed in depending on your renovation plans. Consulting an HVAC technician is recommended if the ducts will remain visible in the finished room.
Insulation and Plumbing
Some ceilings also contain insulation batting or plumbing lines running between floors. Handle insulation carefully, as older materials can release irritating fibers into the air. If plumbing pipes are exposed, check for any signs of leaks or corrosion before closing the ceiling back up.
Cleaning Up After Removal
Proper cleanup keeps dust and debris from spreading through the rest of the home. The next two sections explain how to sort materials and where to send them.
Sorting and Bagging Debris
Broken or crumbling tiles should be bagged immediately to prevent dust from spreading further into the room. Keep a separate pile for tiles that are still intact, since these can sometimes be reused or donated. Sweep and vacuum the floor and any nearby surfaces once all tiles are cleared out.
Recycling Metal Grid Parts
Metal grid components, including runners, cross tees, and wall angles, are typically accepted at local metal recycling centers. Bundle these pieces together separately from the tile debris to make transport and recycling easier. Check with your local waste facility beforehand, since acceptance rules can vary by location.
Finishing the Exposed Ceiling
Once the dropped ceiling is fully removed, the surface underneath usually needs some attention before it looks finished. The following sections cover the three most common approaches.
Painting As-Is
If the original ceiling underneath is smooth and free of major damage, a simple coat of primer and paint may be all it needs. This is the fastest and most affordable option among the three. Light sanding beforehand helps the paint adhere evenly across the surface.
Patching and Skim Coating
Ceilings with cracks, old glue residue, or uneven texture often benefit from a skim coat of joint compound. This creates a smooth, even surface once sanded and primed properly. Skim coating takes more time than painting alone but delivers a cleaner final result.
Installing New Drywall
In cases where the exposed ceiling is unfinished, damaged beyond repair, or has large gaps around ductwork, installing new drywall is the most reliable option. This approach covers any remaining utilities neatly while creating a completely fresh surface. It requires more labor and materials but gives the most polished, long-lasting finish.
Cost and Time Considerations
Understanding the investment involved helps you decide whether to handle the project yourself or bring in professional help. The sections below compare both approaches and give a rough timeline.
DIY vs. Hiring a Contractor
| Approach | Estimated Cost | Best For |
| DIY removal | Low (tools and disposal only) | Homeowners comfortable with basic tools |
| Hiring a contractor | Moderate to high | Rooms with complex wiring, ductwork, or asbestos concerns |
Estimated Timeline
A single room’s dropped ceiling can usually be removed within a day when working alone, including tile and grid removal. Cleanup and disposal typically add a few extra hours depending on room size. Finishing work, such as skim coating or drywall installation, generally requires additional days to complete properly.
Common Mistakes to Avoid
A few missteps can turn an otherwise simple project into a bigger headache. Keeping these points in mind helps the process go smoothly.
- Skipping the power shutoff step before working near ceiling wiring
- Ignoring the possibility of asbestos in older tile materials
- Pulling down the grid before fully clearing all tiles first
- Leaving debris uncovered, allowing dust to spread through the home
- Rushing the finishing stage without addressing cracks or gaps
FAQs
Is it safe to remove a dropped ceiling myself?
Yes, in most cases, as long as power is shut off first and you check for asbestos in older homes before starting.
What is usually hidden above a dropped ceiling?
Electrical wiring, HVAC ductwork, insulation, and sometimes plumbing lines are the most common finds.
Can the removed materials be recycled?
Yes, metal grid parts are widely accepted at recycling centers, while many tiles can go into regular construction waste.
How long does removing a dropped ceiling usually take?
A single room typically takes about a day to clear, with additional time needed for cleanup and finishing work.
Conclusion
Removing a dropped ceiling is a practical project that mainly requires patience, basic tools, and attention to safety around wiring or ductwork. Working through tile removal, grid disassembly, and cleanup in the right order makes the process manageable for most homeowners. Once finished, choosing the right ceiling treatment completes the transformation with a fresh, updated look.
Related Posts
How Tall Is a Regular Door? Standard Sizes Explained
How Do You Remove Glue From Hardwood Floors? A Complete Step-by-Step Guide
How to Install a Curtain Rod? Complete Beginner’s Guide
Can Drano Unclog a Toilet? Full Guide to Risks & Safer Fixes