
If you are researching how to install a standing seam metal roof, you have probably already noticed how popular this roofing style has become among homeowners and builders alike. It is sleek, long-lasting, and known for standing up to harsh weather far better than traditional shingles. But before you climb up on your roof with a stack of metal panels, it helps to understand exactly what the process involves, what tools you will need, and where most people go wrong.
This guide walks through everything from the basics of standing seam roofing to a full step-by-step installation process, along with maintenance advice, cost breakdowns, and answers to common questions. Whether you are planning to hire a contractor or attempt the project yourself, this article will give you a clear picture of what to expect.
What Is a Standing Seam Metal Roof?
A standing seam metal roof is a type of metal roofing system made up of long, vertical panels that run from the roof’s ridge down to the eave. What makes it distinct is the raised seam where two adjacent panels connect. Instead of exposed fasteners drilled through the face of the panel, standing seam roofs use hidden clips and interlocking seams, which is one of the biggest reasons this roofing style resists leaks so effectively.
Standing Seam vs. Snap-Lock vs. Other Metal Roofing Types
Not all metal roofs are created equal, and it is worth understanding the differences before you begin.
- Mechanically seamed standing seam panels require a seaming tool to crimp the joint closed, offering the highest level of weather resistance. These are common on low-slope roofs or in regions with heavy rain and snow.
- Snap-lock standing seam panels simply click together by hand or with light pressure, making them faster to install but slightly less watertight on very low slopes.
- Corrugated or exposed-fastener metal roofing uses screws driven directly through the panel face, which is quicker and cheaper but more prone to leaks over time as fasteners loosen.
Common Materials Used
Standing seam panels are typically manufactured from one of the following:
| Material | Typical Lifespan | Notable Traits |
|---|---|---|
| Steel (galvanized or galvalume) | 40–60 years | Strong, cost-effective, widely available |
| Aluminum | 40–60 years | Lightweight, corrosion-resistant, ideal for coastal areas |
| Copper | 60–100+ years | Premium cost, distinctive patina over time |
| Zinc | 60–100 years | Self-healing patina, long-term durability |
Benefits of Standing Seam Metal Roofing
People choose standing seam roofing for reasons that go well beyond looks. The system offers a genuine mix of performance, longevity, and low upkeep.
Durability and lifespan are often the biggest draw. A properly installed standing seam roof can easily last 40 to 70 years, far outpacing asphalt shingles, which typically need replacement every 15 to 25 years.
Weather resistance is another major advantage. Because the panels interlock and the fasteners are hidden, wind uplift resistance is excellent, and the seams prevent water infiltration even during heavy rain or snow melt.
Energy efficiency improves too, since many standing seam systems are paired with reflective coatings that reduce heat absorption, helping lower cooling costs in warmer months.
Low maintenance requirements mean fewer repairs and inspections compared to shingle roofs, which often suffer from cracking, curling, or moss growth over time.
Finally, the aesthetic appeal of clean vertical lines and a modern profile has made standing seam roofing a popular choice for both residential and commercial buildings.
Tools and Materials Needed
Before starting the installation, gather everything you need so the project moves smoothly without repeated trips to the supply store.
Essential Tools
- Metal panel seamer (hand-crimp or motorized, depending on panel type)
- Metal shears or a panel cutter
- Chalk line and tape measure
- Drill with metal-compatible bits
- Rivet gun (for trim and flashing)
- Caulking gun
- Ladder and roof anchors/harness
Materials Checklist
- Standing seam metal panels (correctly measured for your roof)
- Concealed clips and fasteners
- High-temperature synthetic underlayment or peel-and-stick membrane
- Ice and water shield for valleys and eaves
- Drip edge and eave trim
- Ridge cap and ridge vent
- Flashing for walls, chimneys, and skylights
- Manufacturer-approved sealant
Safety Equipment
Roof work carries real risk, so a harness, non-slip footwear, gloves, and eye protection should never be skipped, even for experienced installers.
Pre-Installation Preparation
Good preparation prevents most of the problems that show up later. Start by measuring the roof carefully and calculating how many panels you will need, accounting for overlap and waste. Most suppliers can custom-cut panels to your exact roof length, which reduces seams and improves the finished look.
Before any material goes up, check your local building codes and permit requirements, since metal roofing regulations vary by region and some areas require inspections at specific stages. It’s also worth reviewing the weather forecast; installing during dry, moderate conditions makes the work safer and helps the underlayment and sealants cure properly.
Lastly, inspect the roof deck itself. Any soft spots, rot, or uneven sections in the plywood or OSB sheathing need to be repaired or replaced before panels go on top, since metal roofing depends on a solid, flat surface underneath.
Step-by-Step Installation Process
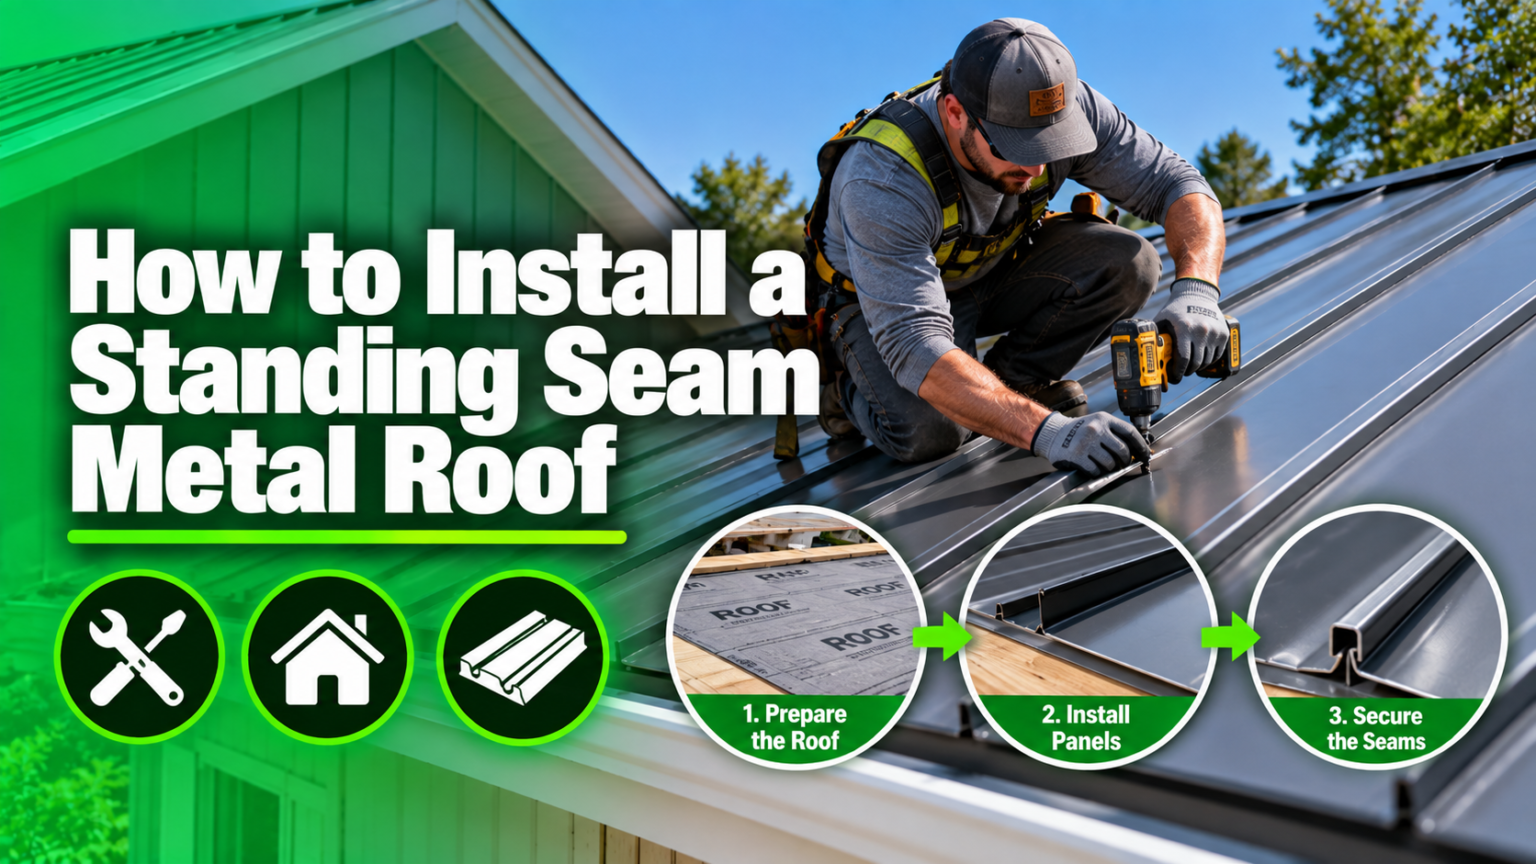
This is the core part of learning how to install a standing seam metal roof, and following the sequence below helps ensure a watertight, long-lasting result.
Step 1 – Removing old roofing (if applicable). If you are replacing an existing roof, strip away the old shingles or roofing material down to the deck, and haul away debris before moving forward.
Step 2 – Installing underlayment. Roll out a high-temperature synthetic underlayment across the entire deck, overlapping each row per the manufacturer’s instructions. In valleys, eaves, and other vulnerable areas, install a peel-and-stick ice and water membrane for extra protection.
Step 3 – Installing drip edges and eave trim. Fasten drip edge along the eaves and gable ends first. This trim directs water away from the fascia and gives the panels a clean starting edge.
Step 4 – Snapping layout lines. Use a chalk line to mark straight, parallel guidelines across the roof deck. This step ensures every panel lines up correctly from eave to ridge.
Step 5 – Installing clips or the fastening system. Concealed clips are screwed into the deck along the layout lines. These clips hold the panels in place while allowing slight movement, which is critical since metal expands and contracts with temperature changes.
Step 6 – Placing and aligning the first panel. Set the first panel against the drip edge, making sure it is perfectly aligned with your chalk line, then engage its seam into the clip system.
Step 7 – Installing subsequent panels. Continue setting panels one at a time, interlocking each new seam with the previous panel and securing it into the clips as you move across the roof.
Step 8 – Seaming the panels. Depending on your panel type, either run a mechanical seamer along the joint to crimp it tightly shut, or snap the panels into place if using a snap-lock profile.
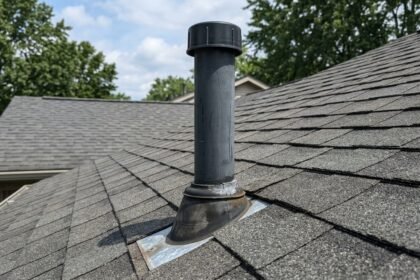
Step 9 – Installing flashing. Add flashing around any roof penetrations such as chimneys, skylights, vents, and wall intersections. This step is one of the most important for preventing leaks, since penetrations are the most common failure points on any roof.
Step 10 – Installing ridge cap and ridge vent. At the peak of the roof, install the ridge cap to cover the seam where both roof slopes meet, and add ridge vents if ventilation is part of your roofing plan.
Step 11 – Final trim and gable installation. Attach rake trim along the gable ends and any remaining transition pieces to give the roof a finished, professional appearance.
Step 12 – Sealing and caulking. Apply manufacturer-approved sealant at penetrations, end laps, and any other spots specified in the installation instructions to guarantee a fully weatherproof finish.
Common Mistakes to Avoid
Even experienced installers can run into trouble if they overlook a few critical details.
One frequent mistake is incorrect panel alignment, which throws off the entire roof and creates gaps or uneven seams as installation progresses. Careful use of chalk lines from the very first panel prevents this.
Poor flashing installation is another major issue, since even a small gap around a chimney or vent can lead to significant water damage over time.
Many first-time installers also make the mistake of ignoring thermal expansion allowance. Metal panels expand and contract with temperature swings, and clips must allow for this movement; fastening panels too rigidly can cause buckling or seam failure.
Finally, using the wrong fasteners — such as fasteners not rated for the specific metal type — can lead to corrosion at the fastening points, weakening the roof’s structure over the years.
DIY vs. Hiring a Professional
Deciding whether to install the roof yourself or hire a contractor depends on a few key factors.
| Factor | DIY Installation | Professional Installation |
|---|---|---|
| Skill level required | High – precision cutting, seaming, and flashing needed | Handled by trained crews with specialized tools |
| Cost | Lower labor cost, but tool rental adds up | Higher upfront cost, but often includes warranty |
| Time | Longer, especially for first-timers | Faster due to experience and crew size |
| Risk | Higher chance of leaks or safety issues | Lower risk due to expertise |
If you have prior roofing experience, access to the right tools, and are comfortable working at height, a DIY approach can save money. However, for most homeowners, hiring a professional is the safer and more reliable choice, particularly because mistakes in flashing or seaming can be costly to fix later.
Maintenance Tips After Installation
Once your roof is installed, a simple maintenance routine keeps it performing well for decades. Inspect the roof at least twice a year, ideally in spring and fall, checking for loose fasteners, debris buildup, or any signs of denting from fallen branches.
Clear leaves, dirt, and debris from valleys and gutters regularly, since blocked drainage paths can lead to water pooling and eventual leaks. Address any minor scratches or coating damage promptly with touch-up paint recommended by the manufacturer, as exposed metal can corrode over time.
If you notice loose seams, damaged flashing, or persistent leaks despite basic upkeep, it’s best to call a professional roofer for an inspection rather than attempting repairs on a system you are unfamiliar with.
Cost of Standing Seam Metal Roof Installation
Costs vary widely depending on material choice, roof size, and labor rates in your area, but here is a general breakdown to set expectations.
| Cost Component | Estimated Range (per square foot) |
|---|---|
| Steel panels | $7 – $12 |
| Aluminum panels | $9 – $14 |
| Copper or zinc panels | $15 – $30+ |
| Labor (professional install) | $5 – $12 |
| Underlayment & accessories | $1 – $3 |
Several factors influence the final price, including roof pitch and complexity, the number of penetrations like chimneys or skylights, regional labor costs, and whether old roofing needs to be removed first. Steeper or more complex roof designs generally cost more due to the additional time and materials required.
Frequently Asked Questions (FAQs)
How long does a standing seam metal roof last? Most standing seam roofs last between 40 and 70 years, depending on the material used and how well it is maintained.
Can you install standing seam roofing over shingles? It is generally not recommended, since shingles can trap moisture underneath and interfere with proper attachment of the panel system. Removing old roofing down to the deck is the safer approach.
Is standing seam roofing noisy in rain? When installed with proper underlayment and solid decking, standing seam roofs are no noisier than traditional roofing, since the underlayment and deck absorb much of the sound.
What’s the difference between standing seam and corrugated metal roofing? Standing seam roofing uses hidden fasteners and raised interlocking seams for superior water resistance, while corrugated roofing uses exposed screws that are more prone to leaks over time.
Conclusion
Learning how to install a standing seam metal roof involves much more than laying down panels — it requires careful preparation, precise alignment, proper flashing, and attention to detail at every seam. From inspecting the deck and installing underlayment to seaming panels and finishing with trim, each step plays a role in the roof’s long-term performance.
Whether you decide to tackle this project yourself or bring in a professional crew, understanding the full process helps you make informed decisions and avoid costly mistakes. If you are ready to move forward, consider reaching out to a licensed roofing contractor for a detailed quote and professional assessment of your specific roof.
Related Articles
What Type of Paint for Bathroom Walls? Complete Guide 2026
How to Tell If a Wall Is a Bearing Wall: A Complete Homeowner’s Guide
What Size Is a Typical Kitchen Trash Can? Complete Size Guide
Roof Repairs Worcester: Your Complete Local Guide to a Safe and Lasting Roof