


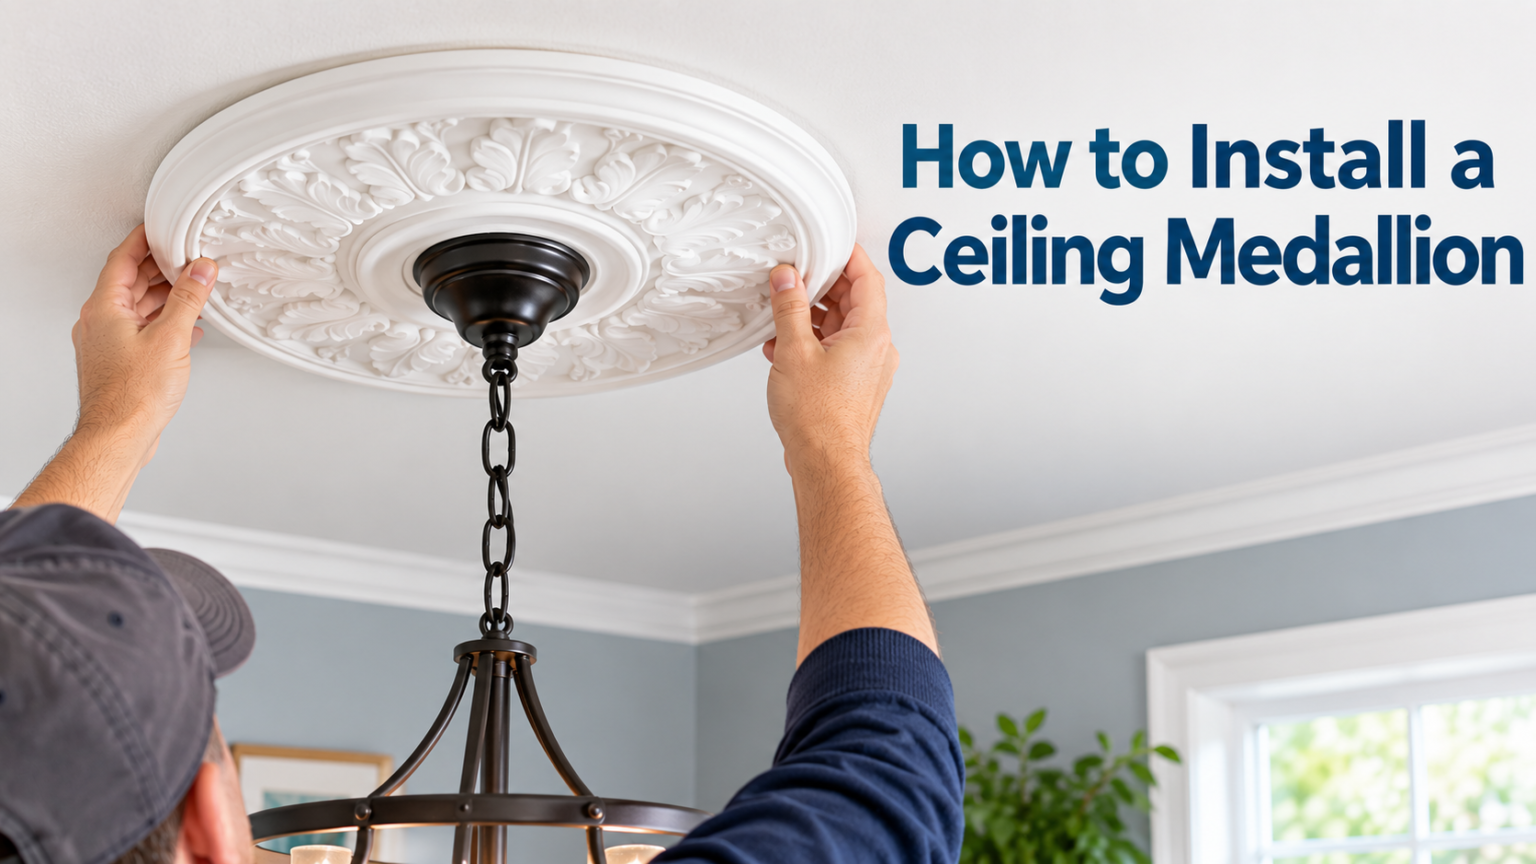

A ceiling medallion is a decorative circular or ornamental piece that sits directly behind a light fixture or ceiling fan, adding a finished and elegant look to any room. Homeowners often choose to learn how to install a ceiling medallion because it instantly upgrades a plain ceiling without requiring major renovation work.
This guide walks through every stage of the process in simple language, starting with the tools you need, moving through the actual mounting steps, and ending with finishing touches that make the medallion look like it was always part of the ceiling.
Whether you are working with a brand new fixture or fitting a medallion around an existing one, the same core principles apply, and this article breaks each part down so it feels manageable even for a first-time DIYer.
Types of Ceiling Medallions
Before buying a medallion, it helps to understand the two main construction styles, since this choice affects how difficult the installation will be. Each type suits a different situation depending on whether the fixture is already installed.
One-Piece (Solid) Medallions
A one-piece medallion is a single solid ring with no seams, which gives it a cleaner, more uniform appearance once painted. The downside is that the existing light fixture or fan must be removed first so the medallion can slide over the wiring and electrical box before the fixture is reattached.
Two-Piece (Split) Medallions
Split medallions are cut into two halves that fit together around the fixture without removing it, which makes them a faster option for anyone who does not want to touch the wiring. The seam is usually barely visible after caulking and painting, so it does not noticeably affect the final look.
Material Options Explained
Most medallions today are made from polyurethane, which is lightweight, resistant to moisture, and easy to cut or trim if needed. Others are made from medium-density fiberboard or traditional plaster, both of which are heavier and may require additional screws rather than adhesive alone.
| Material | Weight | Ease of Installation | Best For |
| Polyurethane | Light | Very Easy | Most DIY installs |
| Medium-Density Fiberboard | Medium | Moderate | Painted finishes |
| Plaster | Heavy | Difficult | Period-style homes |
| Wood | Medium-Heavy | Moderate | Natural wood interiors |
Tools and Materials Needed
Gathering everything before starting saves time and prevents interruptions once the adhesive is applied. Below is a breakdown of what is required for both the mounting stage and the finishing stage.
Essential Tools Checklist
A tape measure, stud finder, level, caulking gun, screwdriver, and a voltage tester are the core tools needed for a smooth installation. A drill is also useful if the medallion is heavy enough to require additional screw support beyond adhesive.
Materials You Will Need
Construction adhesive, paintable caulk, fine sandpaper, primer, and matching paint make up the main material list for this project. If mechanical fasteners are needed, toggle bolts or wood screws should be added depending on whether the ceiling has accessible joists.
Safety Equipment to Keep Nearby
Because this project involves working near electrical wiring, a non-contact voltage tester is necessary to confirm the power is off before removing any fixture. Safety glasses and gloves are also recommended when sanding or working with adhesive to avoid irritation.
Pre-Installation Preparation
Preparation is often the step people rush through, yet it has the biggest impact on how well the medallion sits against the ceiling. Taking time here prevents mistakes that are harder to fix once adhesive has set.
Turning Off Power Safely
Switch off the breaker connected to the light fixture or fan before touching any wiring, then confirm the power is off using a voltage tester. This step is non-negotiable even if the medallion itself does not touch any wires directly.
Measuring and Marking the Center Point
Find the center of the electrical box and mark it clearly on the ceiling, since the medallion needs to be centered around this point rather than around the visible fixture trim. A slightly off-center medallion is one of the most noticeable installation errors.
Cleaning and Sanding the Surface
Wipe down the ceiling area to remove dust, grease, or loose paint flakes, then lightly sand the surface so the adhesive has something to grip. Skipping this step is a common reason adhesive fails to hold over time.
Step-by-Step Installation Process
This is the core part of learning how to install a ceiling medallion, and following the order below prevents backtracking. Each step builds on the one before it, so patience here pays off in the final appearance.
Positioning and Tracing the Outline
Hold the medallion in place against the ceiling and trace a light outline using a pencil so you have a guide when applying adhesive. This outline also helps confirm the medallion is centered before any adhesive is applied.
Applying Adhesive Correctly
Apply construction adhesive in a zigzag pattern across the back of the medallion, keeping a clear gap around the center hole so nothing interferes with the electrical box. Too much adhesive near the edges can squeeze out and create a messy cleanup later.
Mounting the Medallion Securely
Press the medallion firmly into place following your traced outline, holding steady pressure for the amount of time listed on the adhesive packaging. Heavier medallions benefit from a few screws driven into ceiling joists in addition to adhesive for long-term stability.
Installing Split Medallions Around Existing Fixtures
For two-piece medallions, slide each half around the fixture from opposite sides until the seams meet evenly at the center. Apply adhesive to each half separately before pressing both pieces into position so the seam lines up cleanly.
Finishing Touches
Once the medallion is securely attached, the finishing stage is what makes it look like a built-in ceiling feature rather than an added-on piece. This stage should not be rushed even though the hardest part of the job is already done.
Caulking Gaps and Seams
Run a thin, even bead of paintable caulk along the inner and outer edges of the medallion, then smooth it with a damp finger for a seamless transition. This step is especially important for split medallions where the center seam needs to disappear visually.
Sanding and Smoothing Edges
Once the caulk has dried, lightly sand any rough spots or excess material so the surface feels smooth to the touch. This creates a better base for primer and paint to adhere evenly.
Priming and Painting for a Clean Finish
Apply a coat of primer before painting to ensure the medallion accepts color evenly, especially if it is made from polyurethane or fiberboard. Matching the paint to the ceiling color creates a seamless look, while a contrasting color can be used intentionally for a decorative accent.
Reinstalling the Light Fixture or Fan
After the medallion is fully finished, the original fixture needs to be reconnected carefully to restore both function and appearance. This step brings the entire project together.
Reconnecting Wiring Safely
Match the wires according to their original color-coded connections, twisting them together securely and covering each with a wire nut. Double-check every connection before restoring power to avoid loose wiring issues later.
Testing and Final Alignment
Turn the breaker back on and test the fixture to confirm it powers on correctly, then step back to check that the medallion sits evenly and symmetrically around it. Small alignment issues are much easier to notice and fix at this stage than after everything is painted.
Common Mistakes to Avoid
Many installation problems come from a handful of repeated errors rather than complicated technical issues. Knowing these ahead of time helps avoid redoing work later.
Choosing the Wrong Size
A medallion that is too small can look disconnected from the fixture, while one that is too large can overwhelm a smaller room. Measuring the fixture and ceiling space beforehand prevents this mismatch.
Skipping Structural Support for Heavy Medallions
Relying on adhesive alone for a heavy plaster or wood medallion increases the risk of it detaching over time. Locating joists and adding screws provides extra long-term security.
Painting Before Caulk Fully Cures
Painting over caulk that has not fully dried can cause cracking or an uneven finish once it eventually sets. Waiting the recommended curing time listed on the caulk packaging avoids this issue entirely.
Maintenance and Care Tips
Once installed, a ceiling medallion generally requires very little upkeep, but a few habits help it stay looking new for years.
Cleaning Based on Material
Polyurethane and fiberboard medallions can be dusted with a soft, dry cloth, while plaster versions may need a slightly damp cloth used sparingly to avoid moisture damage. Avoid abrasive cleaners on painted surfaces.
Touch-Up and Repainting Guidance
Small chips or marks can be touched up with the same paint used during installation, as long as it was stored properly. Repainting the entire medallion every few years keeps it looking fresh alongside the rest of the ceiling.
FAQs
Can I install a medallion without removing the fixture? Yes, a two-piece split medallion can be installed around an existing fixture without disconnecting any wiring.
Do I need an electrician for this project? An electrician is not required unless you plan to rewire or move the fixture itself, since the medallion installation does not involve electrical work.
How long does the adhesive take to cure? Curing time varies by product, but most construction adhesives need twenty-four hours before the medallion can be considered fully secure.
Can medallions be used with ceiling fans? Yes, medallions work well with ceiling fans, though heavier fans may require additional screw support alongside the adhesive.
Conclusion
Installing a ceiling medallion is a manageable weekend project that delivers a noticeable upgrade to any room’s appearance. By choosing the right type of medallion, preparing the ceiling properly, and following each installation step carefully, even a first-time DIYer can achieve a professional-looking result without hiring outside help.
Related Articles
Why Is My Toilet Gurgling? Common Causes and Fixes Explained
Does a Bathroom Remodel Require a Permit?
How Do You Clean the Sink Overflow? A Complete Step-by-Step Guide
Shower Door Repair: Complete Guide to Fix Common Shower Door Problems