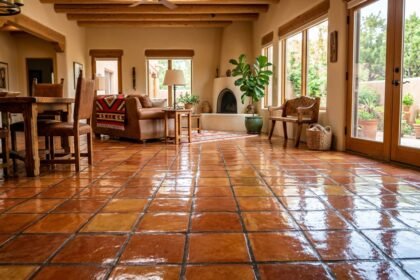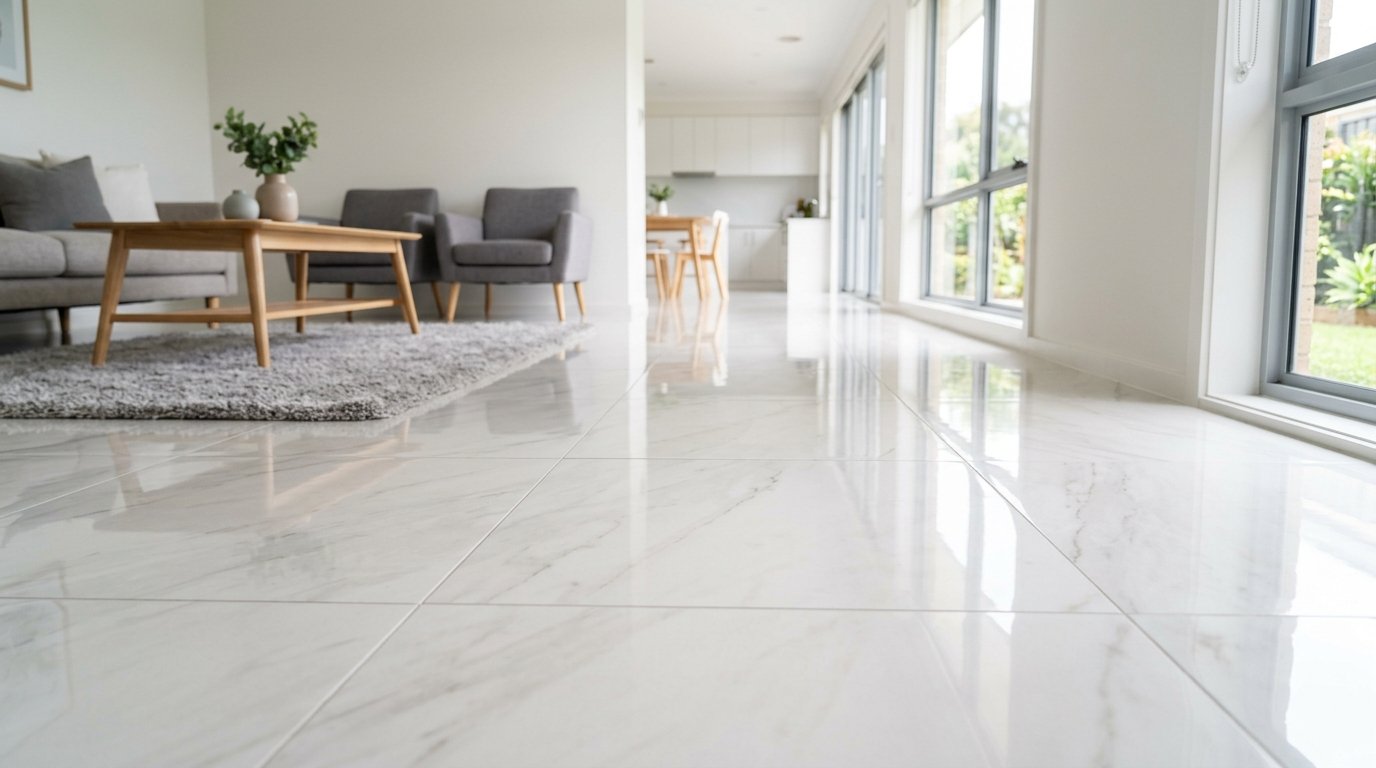

Porcelain floors are known for their durability and elegant appearance, but they still need proper care to stay in top condition. Knowing how to clean porcelain floors correctly helps you avoid scratches, streaks, and dullness over time. This guide walks you through every stage of cleaning, from daily maintenance to deep cleaning and stain removal.
Why Porcelain Floors Need Special Care
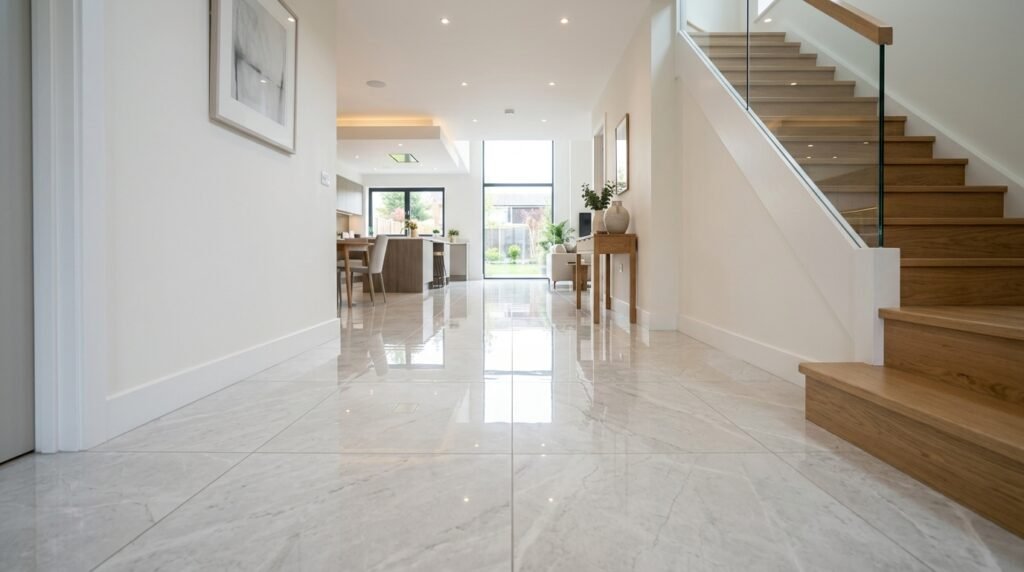
Porcelain tiles are tougher than ceramic, but they are not immune to damage from harsh chemicals or rough tools. Using the wrong cleaning method can leave scratches or a cloudy film on the surface. Understanding the material helps you choose the right products and techniques.
What Makes Porcelain Different From Ceramic
Porcelain is made from denser clay and fired at higher temperatures than standard ceramic tile. This process makes it more water-resistant and harder, which is why it holds up well in high-traffic areas. However, this density also means grout lines and edges can trap dirt if not cleaned regularly. Because of this, porcelain requires a slightly different cleaning approach than softer tile types.
Common Damage Caused by Improper Cleaning
Many people accidentally damage their porcelain floors by using abrasive scrubbers or acidic cleaners that eat away at the glaze. Over time, this can cause dullness, faint scratch marks, or a hazy residue that is hard to remove. Choosing pH-neutral cleaners and soft tools prevents this kind of long-term damage. Being aware of these risks makes the cleaning process much safer for your floor.
Daily Cleaning Routine for Porcelain Floors
A simple daily routine keeps dust, grit, and small debris from building up on porcelain floors. This step alone prevents most surface scratches caused by walking over trapped particles. A few minutes each day can save hours of deep cleaning later.
Sweeping or Dry Mopping First
Before using any liquid, always sweep or dry mop the floor to remove loose dirt and grit. This step is essential because small particles act like sandpaper under foot traffic, slowly dulling the surface. A microfiber dry mop works especially well since it traps fine dust without scattering it around the room. Doing this daily keeps the floor looking fresh with minimal effort.
Using a Damp Mop for Light Cleaning
After sweeping, a lightly damp mop with warm water is usually enough for daily upkeep. Avoid soaking the floor, as excess water can seep into grout lines and cause long-term issues. A microfiber mop head is ideal because it lifts dirt effectively without scratching the glaze. This quick step keeps your porcelain floor looking clean between deeper cleaning sessions.
Deep Cleaning Porcelain Floors
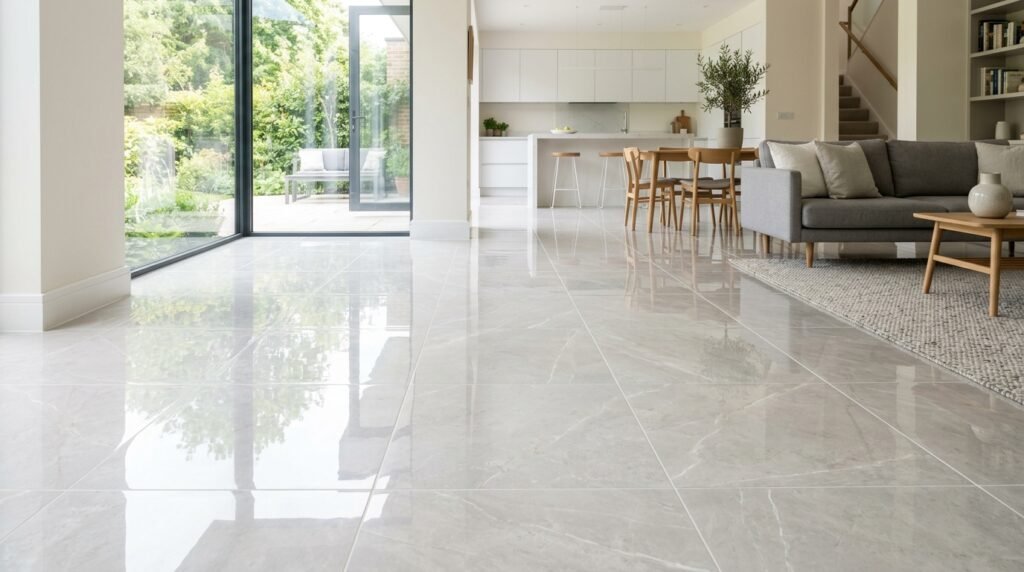
Once a week or every few weeks, porcelain floors benefit from a more thorough cleaning session. This removes buildup that daily mopping might miss, especially in grout lines and corners. Deep cleaning restores shine and keeps the surface hygienic.
Choosing the Right Cleaning Solution
A mixture of warm water and a pH-neutral cleaner is the safest option for porcelain floors. Avoid vinegar, bleach, or ammonia-based products, as these can dull the finish or damage grout over time. Many hardware stores sell tile-specific cleaners that are formulated to be gentle yet effective. Always test a small area first if you’re trying a new product.
Scrubbing Grout Lines Properly
Grout lines often collect more dirt than the tile itself, so they need extra attention during deep cleaning. A soft-bristled brush, such as an old toothbrush, works well for scrubbing without scratching the tile edges. Apply the cleaning solution directly to the grout and let it sit for a few minutes before scrubbing. Rinsing thoroughly afterward prevents cleaner residue from drying into a visible film.
Drying the Floor Completely
After deep cleaning, drying the floor properly is just as important as the cleaning itself. Leftover moisture can lead to streaks, water spots, or a slippery surface if left to air dry. Using a clean, dry microfiber cloth or mop to wipe the floor gives it a polished, streak-free finish. This final step makes a noticeable difference in how the floor looks and feels.
Removing Tough Stains From Porcelain Floor
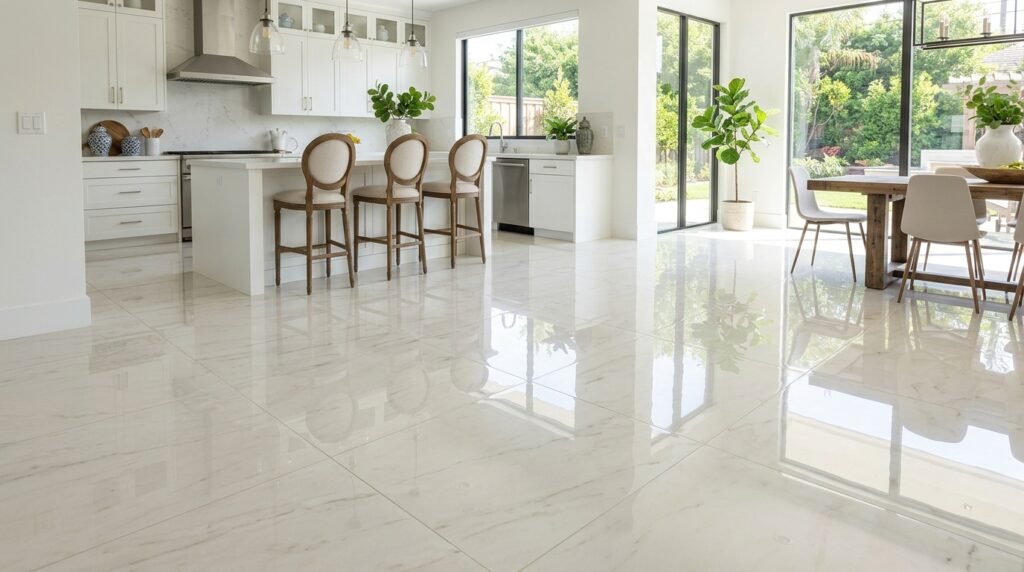
Even with regular cleaning, porcelain floors can develop stubborn stains from spills, grease, or mineral deposits. Knowing how to treat these stains without damaging the surface is important. Different stains require slightly different approaches.
Dealing With Grease and Oil Stains
Grease stains are common in kitchens and can be tricky to remove with plain water alone. A mixture of warm water and a small amount of dish soap usually cuts through grease effectively. Let the solution sit on the stain for a few minutes before wiping with a soft cloth. For tougher spots, a baking soda paste can help lift the residue without scratching the tile.
Handling Mineral Deposits and Hard Water Stains
Hard water stains often appear as cloudy spots, especially in bathrooms or areas with frequent water exposure. A diluted white vinegar solution can help dissolve these deposits, but it should be used sparingly and rinsed off quickly. Leaving vinegar on the floor too long can affect the grout, so timing matters here. Regular drying after water exposure helps prevent these stains from forming in the first place.
Tools and Products Comparison
Choosing the right tools makes cleaning porcelain floors easier and safer. The table below compares common options based on effectiveness and safety for porcelain surfaces.
| Tool/Product | Best Use | Safe for Porcelain |
| Microfiber mop | Daily light cleaning | Yes |
| Soft-bristle brush | Grout scrubbing | Yes |
| pH-neutral cleaner | Weekly deep cleaning | Yes |
| Steel wool or abrasive pad | Removing dirt | No, causes scratches |
| Bleach or ammonia | Stain removal | No, damages finish over time |
| Vinegar (diluted) | Occasional mineral stains | Use sparingly |
Mistakes to Avoid When Cleaning Porcelain Floors
Many common cleaning habits can unintentionally harm porcelain floors over time. Avoiding these mistakes helps maintain the floor’s appearance for years. Being mindful of your cleaning routine goes a long way.
Using Excess Water
Flooding the floor with water, especially around grout lines, can lead to moisture damage underneath the tiles. It’s better to use a damp mop rather than pouring water directly onto the surface. Wiping up spills quickly also prevents water from settling into seams. This small habit change protects the floor’s foundation over time.
Skipping Regular Maintenance
Waiting too long between cleanings allows dirt and grime to build up, making stains harder to remove later. A consistent routine, even if brief, keeps the floor easier to manage overall. Skipping maintenance often leads to the need for harsher cleaning methods down the line. Staying consistent is easier than dealing with heavy buildup later.
Conclusion
Cleaning porcelain floors doesn’t have to be complicated once you understand the right products and techniques to use. A combination of daily sweeping, occasional deep cleaning, and prompt stain removal keeps floors looking their best. Avoiding harsh chemicals and abrasive tools protects the surface for the long run. With a simple, consistent routine, your porcelain floors can stay clean and attractive for many years.
FAQs
Can I use vinegar to clean porcelain floors?
Diluted vinegar can be used occasionally for mineral stains, but frequent use may affect the grout over time.
How often should porcelain floors be deep cleaned?
Deep cleaning once a week or every two weeks is usually enough for most homes.
Is steam cleaning safe for porcelain floors?
Steam cleaning is generally safe for porcelain but should be used carefully around grout lines to avoid moisture buildup.
What is the best mop for porcelain floors?
A microfiber mop is ideal since it cleans effectively without scratching the surface.
Related Articles
How to Get Rid of Stucco Ceilings?
How to Program Genie Garage Door Opener Complete Guide 2026
Rub-on Transfers for Furniture: Transform Your Decor with Ease
24 Inch Kitchen Sink Drop In Complete Guide: Types, Benefits, Installation
How to Measure Room for Furniture: Step-by-Step Guide for Perfect Fit