
How to Install Insulation in Ceiling
Installing insulation in a ceiling involves preparing the attic space, selecting the right material, and fitting it properly between joists to prevent heat loss. The process requires careful measuring, safety precautions, and attention to air sealing for the best long-term performance.
Overview of the Installation Process
The general process starts with inspecting the existing ceiling space, clearing out old or damaged insulation if needed, and sealing any air leaks before adding new material. Once the space is prepped, insulation is laid or fitted according to the type chosen, whether that’s batts, rolls, or blown-in material. Finishing touches include checking for even coverage and ensuring vents and fixtures remain unobstructed.
Choosing the Right Insulation Material
Before starting installation, homeowners need to decide which type of insulation suits their ceiling space and climate needs best. Different materials offer different levels of effectiveness, cost, and ease of installation.
Fiberglass Batts and Rolls
Fiberglass batts and rolls are among the most common choices because they are affordable, widely available, and relatively simple for a do-it-yourself installer to handle. They come pre-cut to standard widths that fit between standard joist spacing, which makes measuring and cutting more predictable.
This type works well for ceilings with regular joist spacing and minimal obstructions like wiring or ductwork.
Blown-In Insulation
Blown-in insulation, made from materials like cellulose or fiberglass, is often preferred for irregular ceiling spaces or areas with lots of obstructions since it can fill gaps and corners more effectively.
This method typically requires renting or hiring equipment to blow the material into place, which adds a layer of complexity compared to batts. It’s a strong option for attics with uneven joist spacing or homes needing to boost existing insulation levels without removing old material.
Rigid Foam Boards
Rigid foam boards provide a higher R-value per inch compared to fiberglass, making them useful in ceilings with limited depth where maximizing insulation performance in a small space matters.
These boards require more precise cutting and fitting since they don’t compress or flex like batts do. They are often used in combination with other insulation types for ceilings that need extra thermal performance.
Below is a quick comparison table of common ceiling insulation types:
| Insulation Type | R-Value per Inch | Best For | Installation Difficulty |
| Fiberglass Batts | 2.9 to 3.8 | Standard joist spacing | Easy |
| Blown-In Cellulose | 3.2 to 3.8 | Irregular spaces, topping up | Moderate |
| Blown-In Fiberglass | 2.2 to 2.7 | Large open attics | Moderate |
| Rigid Foam Board | 4.0 to 6.5 | Limited depth areas | Moderate to Hard |
Preparing the Ceiling Space Before Installation
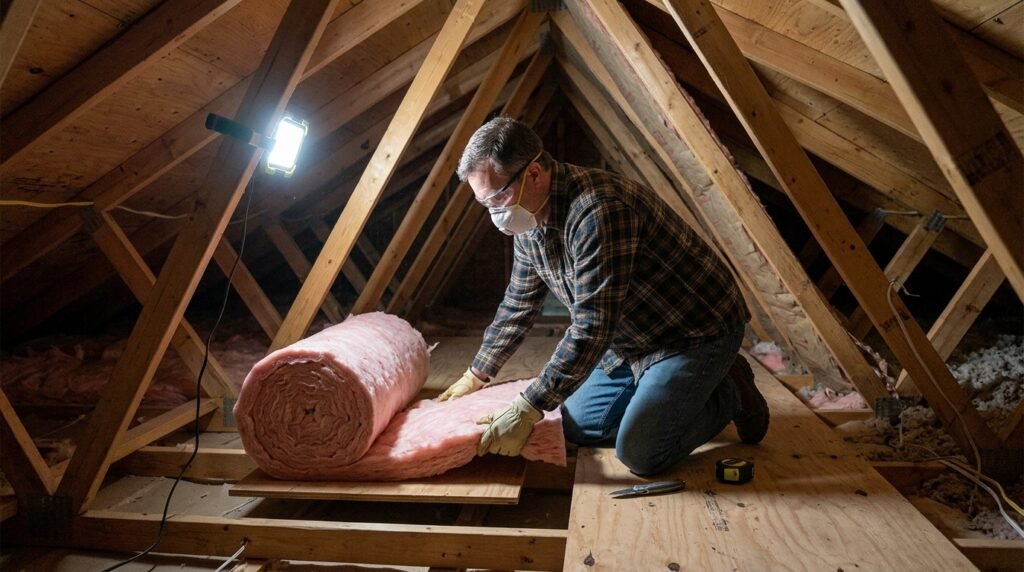
Proper preparation makes the actual insulation installation smoother and more effective. Skipping this stage often leads to gaps, moisture issues, or reduced performance later on.
Inspecting for Air Leaks and Damage
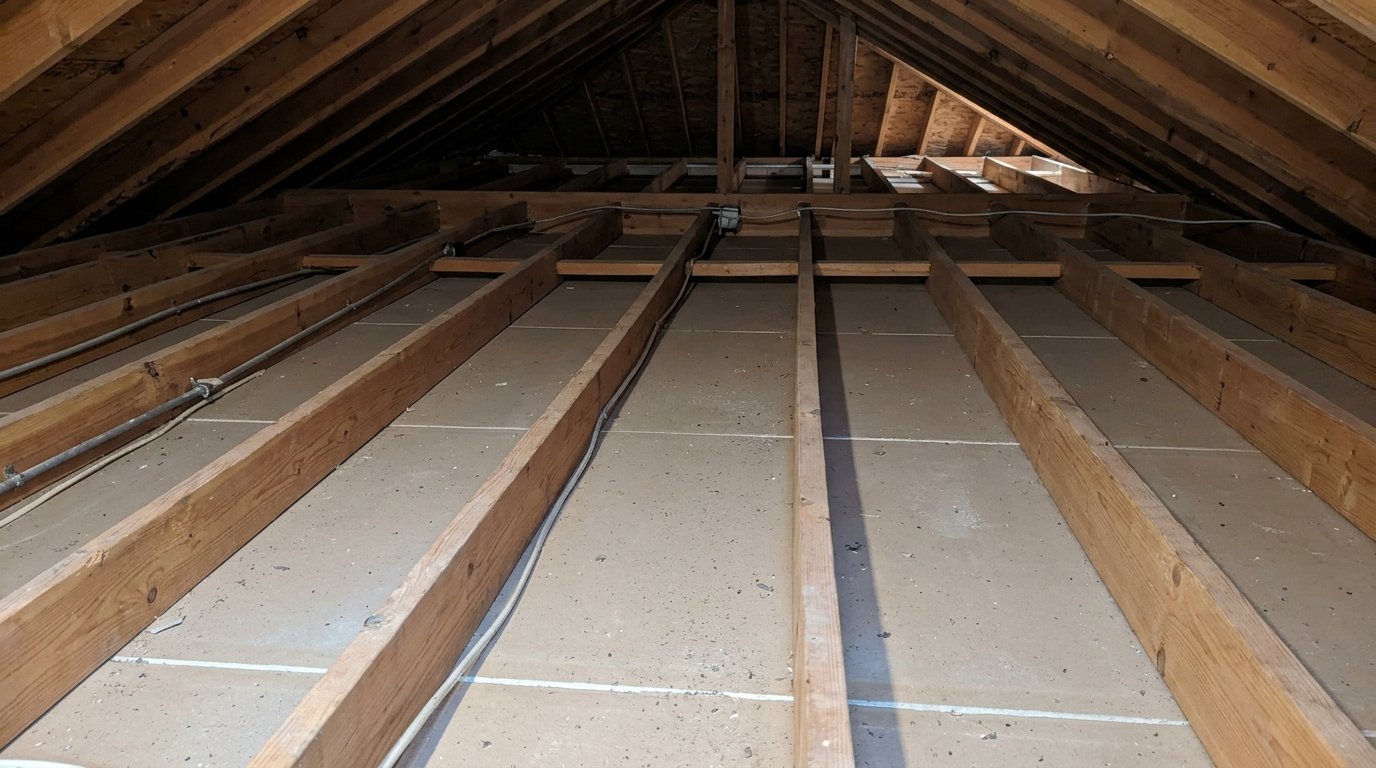
Before adding insulation, it’s important to check the ceiling space for air leaks around light fixtures, vents, and any penetrations where wiring or pipes pass through. Sealing these gaps with caulk or spray foam prevents conditioned air from escaping and improves the overall effectiveness of the new insulation. This step also includes checking for any existing water damage or mold, which should be addressed before covering the area.
Removing Old or Damaged Insulation
If old insulation is wet, moldy, or significantly compressed, it should be removed before installing new material, since damaged insulation won’t perform properly and can create ongoing moisture problems. Removal typically involves bagging the old material carefully to avoid spreading dust or debris throughout the attic space. Wearing proper protective gear during this step is essential, as older insulation can contain irritants or, in some older homes, hazardous materials.
Gathering Safety Equipment and Tools
Safety gear is a non-negotiable part of ceiling insulation work, since attic spaces often involve tight quarters, dust, and potential contact with irritating fibers. A well-prepared installer typically gathers the following before starting:
- Long-sleeved clothing and gloves to protect skin from fiberglass irritation
- A dust mask or respirator to avoid inhaling loose particles
- Safety goggles to shield eyes from falling debris
- A sturdy ladder or attic stairs for safe access
- A utility knife and tape measure for cutting and fitting insulation
Having these tools ready before climbing into the attic space saves time and reduces the risk of injury during the installation process.
Step-by-Step Installation Method
Once the space is prepped and materials are chosen, the actual installation follows a fairly consistent sequence regardless of the insulation type being used.
Measuring and Cutting Insulation to Fit
Accurate measuring ensures insulation fits snugly between joists without gaps or excessive compression, both of which reduce effectiveness. For batts and rolls, this means measuring the length of each joist bay and cutting slightly longer to allow the material to fit snugly without leaving space at the ends. Rigid foam boards require more precise cuts since they don’t compress to fill uneven spaces the way fiberglass does.
Laying Batts or Rolls Between Joists
Batts and rolls should be laid perpendicular to the joists if adding a second layer over existing insulation, which helps cover the tops of joists and reduce thermal bridging. The material should sit flush against the ceiling drywall below without being compressed, since compression reduces the insulation’s effective R-value significantly. Special attention should be paid around recessed lighting fixtures, which may require fire-rated clearance depending on the fixture type.
Installing Blown-In Insulation
Blown-in insulation is added using a blowing machine that distributes loose material evenly across the attic floor or ceiling cavity. The installer feeds insulation into the machine while directing the hose to spread material at a consistent depth, checking periodically with a ruler or depth gauge to confirm even coverage. This method works particularly well for filling gaps around obstructions that would be difficult to cover neatly with batts.
Checking for Even Coverage and Gaps
After the main installation is complete, it’s important to walk through the space and check for any thin spots, gaps, or areas where insulation has shifted. Uneven coverage creates weak points where heat can escape, reducing the overall efficiency of the insulation job. Adjusting and topping up thin areas at this stage prevents having to redo work later.
Common Mistakes to Avoid
Several common errors can reduce the effectiveness of ceiling insulation even when the right materials are used. Being aware of these mistakes ahead of time helps installers avoid costly do-overs.
Compressing Insulation Too Tightly
Squeezing batts into spaces that are too small reduces their loft and, as a result, their insulating capability, since trapped air pockets are what actually provide thermal resistance. It’s better to trim insulation to fit properly than to force an oversized piece into a tight space. Loose, properly fitted insulation performs far better than compressed material.
Blocking Ventilation Pathways
Covering soffit vents or blocking airflow pathways in the attic can lead to moisture buildup and reduced attic ventilation, which may cause long-term damage to the roof structure. Installers should use baffles near eaves to maintain airflow while still allowing insulation to extend close to the edges. Proper ventilation and insulation need to work together rather than compete for space.
Ignoring Recessed Lighting Clearance
Standard recessed lights often require clearance from insulation due to fire safety concerns, and covering them improperly can create a fire hazard. Using insulation contact rated fixtures, or installing proper covers, allows insulation to safely contact these areas without added risk. This detail is frequently overlooked but matters significantly for both safety and code compliance.
Comparing This Guide to Other Resources
Most reliable guides on ceiling insulation agree on the core sequence of air sealing first, then choosing an appropriate material, followed by careful measuring and installation, which matches the approach outlined above. Some sources place slightly more emphasis on calculating exact R-value targets based on climate zone before purchasing material, which is a useful additional step for homeowners wanting precise energy efficiency numbers. Overall, the fundamentals of preparation, safety, and even coverage remain consistent across trusted sources in this space.
Frequently Asked Questions
Do I need a vapor barrier when installing ceiling insulation?
In most climates, a vapor barrier facing the warm side of the ceiling helps control moisture, though local building codes should be checked since requirements vary by region.
How thick should ceiling insulation be?
Thickness depends on the desired R-value and climate zone, with colder regions typically requiring deeper insulation than milder climates.
Can I install insulation over old insulation instead of removing it?
Yes, as long as the existing insulation is dry and undamaged, new insulation can be layered on top, usually perpendicular to the joists for better coverage.
Is it safe to install ceiling insulation without professional help?
Many homeowners install batts or rolls themselves safely by following proper safety precautions, though blown-in insulation often benefits from rented equipment or professional assistance.
Conclusion
Installing insulation in a ceiling involves preparing the space, choosing the right material, and carefully fitting it to avoid gaps or compression that reduce performance. Following proper safety steps and paying attention to details like ventilation and lighting clearance ensures the insulation works effectively for years to come.
Related Articles
Soft Wash Roof Cleaning: The Safe Way to Clean Your Roof
Why Is My Toilet Bubbling? 7 Real Causes and How to Fix Them
Joist Tape for Decking: The Complete Guide to Protecting Your Deck’s Substructure
What Is an Asbestos Stucco Ceiling? Learn the risks and stay safe.
Can You Use Ceiling Paint on Walls? The Surprising Benefits and Drawbacks