


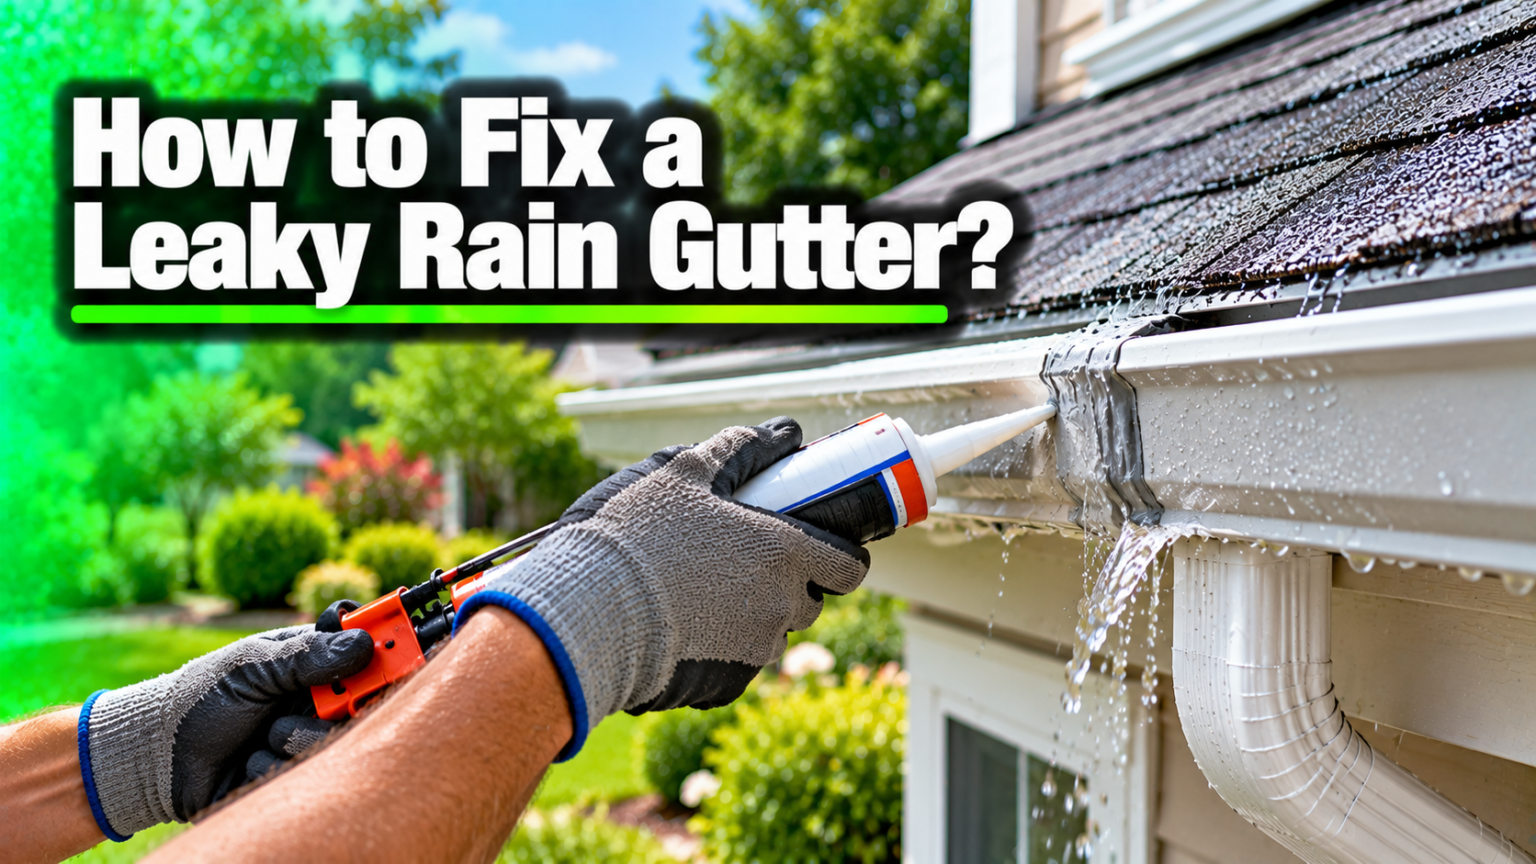

To fix a leaky rain gutter, find where the water is escaping, clean and dry that spot, then seal it with gutter sealant or patch it with flashing. Almost every leak starts in one of a few places: a seam where two sections meet, a small crack or hole, a loose fastener, or a downspout joint. The good news is that you can fix nearly all of them yourself in an afternoon with about $30 to $100 of supplies. Here is exactly how to do it, and how to make the repair last.
Why do rain gutters leak?
A gutter leaks when water finds a gap in the channel or runs somewhere it shouldn’t. Knowing the cause tells you the fix, so start by matching your problem to one of these.
Seams and joints. This is the most common spot. Wherever two gutter sections join, or where a corner piece connects, there is a bead of old sealant doing the work. Over the years that sealant dries out, shrinks, and cracks, and water drips through the seam.
Cracks and small holes. Metal gutters rust from the inside where wet leaves sit. Steel and older aluminum can rust right through, leaving pinholes or thin cracks that weep during a downpour.
Loose or missing fasteners. Gutters hang from spikes, screws, or hidden hangers. Years of heat, cold, and the weight of full gutters loosen them, and the gutter starts to pull away from the fascia board. Water then runs down behind it instead of into the channel.
End caps and corners. The caps at the ends of a run, and the mitered corners, rely on sealant too. These fail early because they take the full push of moving water.
Downspout connections. The outlet where the gutter feeds the downspout, and the elbows down the wall, are joints as well. A loose or unsealed elbow drips every time it rains.
Wrong slope or a clog. Sometimes the gutter isn’t leaking at all. It is overflowing because it sits too flat or is packed with debris, so water backs up and spills over the front edge. It looks like a leak but the fix is different.
It’s worth fixing any of these quickly. Water that escapes a gutter runs down the fascia and siding, pools next to the foundation, and can find its way into a basement or crawl space. A five-dollar tube of sealant now is a lot cheaper than repairing rotted trim or a wet foundation later, which is why a small drip is worth a Saturday morning.
What you’ll need
You don’t need much. Here are the basics for a standard seam or hole repair, plus what each sealant type is best at.
| Sealant type | Best for | Rough price |
| Tube gutter sealant (paste) | Seams, joints, cracks, end caps | $8 to $20 |
| Liquid rubber | Resealing a whole run or a wide area | $10 to $25 |
| Spray-on sealant | Thin gaps and broad, light coverage | $10 to $30 |
| Seal tape | A fast patch over a hole or split seam | $5 to $15 |
You’ll also want a caulk gun, a wire brush to knock off rust, a putty knife or small trowel to scoop debris, work gloves, a garden hose, and rags. For a bigger hole, add a gutter patch kit or a small piece of aluminum flashing. If the gutter is loose, keep a few gutter screws or hidden hangers handy; clips and brackets cost under $1 each. And use a stable ladder, ideally with someone footing it.
How to find the leak
Before you seal anything, be sure where the water is getting out. Run a garden hose into the gutter at the high end and watch the underside and the back where it meets the house. Mark every drip with a piece of painter’s tape or a marker. If you can wait for rain, watch during a real downpour, since some leaks only show under heavy flow. Check the seams, the corners, the end caps, and each downspout joint in turn.
From the ground, a few clues point you to the right spot. Look for peeling paint or a rust streak on the siding below the gutter, green algae or mildew on the fascia, and dark stains where water has been running down the wall. A gutter that visibly droops or has a gap behind it is telling you the fasteners have let go. Note each of these before you climb up, so you fix every leak in one trip instead of going back and forth.
How to fix a leaky rain gutter (step by step)
Work through these in order. Most people only need the first four.
- Clean the section first. Sealant sticks to clean metal, not to grit and rust. Scoop out leaves and dirt with the trowel, scrub any rust with the wire brush, then flush the run with the hose. Wipe the seam with a rag and a little rubbing alcohol to lift grease and film. A clean, bare surface is what makes the repair hold, so don’t skimp here.
- Let it dry completely. Wet metal is the top reason a gutter repair fails. Give the cleaned section time to air-dry, and pick a dry day with no rain in the forecast for the next few days. If you’re in a hurry, wipe it down and let it sit in the sun.
- Seal the seams and joints. Load your gutter sealant into the caulk gun and run a firm bead along the inside of the seam, pressing the sealant down into the joint rather than just laying it on top. Smooth it with a gloved finger so it fills the gap. Sealing from inside the gutter gives a cleaner look and lasts longer, because the water pushes the sealant into the seam instead of peeling it off.
- Patch cracks and holes. For a pinhole or hairline crack, sealant alone is enough. For anything bigger than a coin, cut a piece of matching metal flashing a little larger than the hole, bed it in sealant over the spot, press it flat, then cover the edges with another thin layer. Seal tape works too for a quick, flat patch.
- Reseal end caps and corners. Scrape off the old, cracked sealant at the caps and mitered corners first, since fresh sealant won’t bond to failed sealant. Wipe clean, dry, then lay a new bead where the pieces meet and smooth it in. Corners take the hardest push of moving water, so give them a slightly heavier bead than a straight seam.
- Tighten or replace loose fasteners. If the gutter is sagging or pulling away, drive in new gutter screws or swap old spikes for hidden hangers, which grip the fascia far better. Space hangers about every two feet. Replace any broken clips while you’re up there.
- Check and fix the slope. A gutter needs a slight tilt toward the downspout so water drains, about a quarter inch of drop for every 10 feet of run. If water is pooling, adjust the hangers to lower the downspout end a little, then test with the hose again.
- Clear and seal the downspout. Remove the downspout outlet or the base elbow and clear any clog with a hose or a broom handle. Then reseal any loose elbow joints the same way you did the seams, and refasten the straps holding the pipe to the wall.
- Let the sealant cure. This is the step people skip. Most gutter sealants skin over in about 24 hours and are rain-ready in around three days, with a full cure taking about a week. Keep the section dry until then. A quality polyurethane product like the sealant in Loctite’s gutter sealing guide stays flexible and holds up to UV and weather far better than ordinary household caulk.
Tip: whenever you can, seal from the inside of the gutter. Water flowing over the top presses the sealant into the joint, so an inside repair almost always outlasts one done from below.
What it costs, and when to replace instead
Fixing a leak yourself is cheap. A tube of sealant runs $8 to $25, and a full DIY repair usually lands between $30 and $100 once you have the basic tools. Hiring a pro to reseal gutters averages around $220, with most jobs falling between $100 and $350. For a typical home with 150 to 200 feet of gutter, expect roughly $150 to $400, and about $25 to $75 per downspout.
Repair makes sense when the gutters are otherwise sound and the leaks are limited to a few seams or holes. Replacement is the smarter call when a run is rusted through in many places, sagging badly, or simply worn out. It helps to know how long gutters are built to last: vinyl runs about 10 to 15 years, aluminum and steel about 25 to 30, and copper 50 or more. If yours are near the end of that window and leaking in several spots, patching is a short-term fix at best, and the money is better spent on a new section.
Common mistakes that make a gutter leak again
A repair that fails usually comes down to one of these. Avoid them and your fix will hold much longer.
Sealing over a dirty or wet surface. This is the big one. Sealant needs bare, dry metal to grip. Grit, rust, or a damp channel will let go within a season, so never rush the cleaning and drying steps.
Caulking on top of old sealant. Fresh sealant does not bond to the cracked, dried-out bead underneath. Scrape the old material out of the seam or corner first, then start clean.
Using the wrong product. Regular indoor caulk dries hard and splits in the sun. Use a sealant made for gutters or exterior roof flashing so it stays flexible through heat and cold.
Sealing the top instead of fixing the cause. If the gutter is overflowing because of a clog or a flat slope, more sealant won’t help. Clear the blockage or reset the pitch, then seal only the joints that actually leak.
How to keep your gutters from leaking again?
Most leaks trace back to neglect, so a little upkeep pays off. Clean your gutters at least twice a year, in spring and fall, and after big storms. Standing debris holds water against the metal and speeds up rust, which is what opens most holes in the first place.
Once a year, check the fasteners and the slope, and look over the seams and end caps for sealant that is cracking. Reseal early, before a small gap becomes a drip. Gutter guards cut down on how often you need to clear leaves, and keeping downspouts clear stops the backups that cause overflow. After a hard freeze or a big storm, take a quick look for new sagging or splits, since ice and heavy water put the most strain on old joints. Catching these things early is far easier, and cheaper, than chasing water stains down your siding later.
Conclusion
Fixing a leaky rain gutter comes down to three moves: find the exact leak, clean and dry the spot, and seal or patch it with the right material. Handle the seams, holes, fasteners, and slope in that order, then let the sealant cure for about three days before rain. A good result is simple to spot: run the hose and no water drips from the underside or the back. Do that, keep up with cleaning, and the repair should hold for years.
Frequently asked questions
Can you fix a gutter leak in the rain?
It’s possible with a wet-surface sealant, but the bond is weaker and more likely to fail. For a lasting repair, wait for a dry day, clean the spot, and let it dry fully before you seal.
What is the best sealant for a leaking gutter?
A polyurethane or silicone gutter sealant made for exterior joints is best. It stays flexible and resists UV and water. Avoid plain indoor caulk, which dries hard and cracks.
Should you seal a gutter from the inside or the outside?
Seal from the inside of the channel. Water flowing over the seam presses the sealant into the gap instead of peeling it away, so inside repairs last much longer.
How long before it can rain after sealing a gutter?
Most gutter sealants skin over in about a day and are rain-ready in around three days. Full cure takes about a week, so keep the section dry as long as you can.
Why does my gutter leak at the corner or seam?
The old sealant at that joint has dried out and cracked, which is normal after years of weather. Scrape out the failed sealant, clean and dry the corner, then lay a fresh bead.
Related Articles
Joist Tape for Decking: The Complete Guide to Protecting Your Deck’s Substructure
How Often to Clean Bathroom: Daily, Weekly & Monthly Guide




