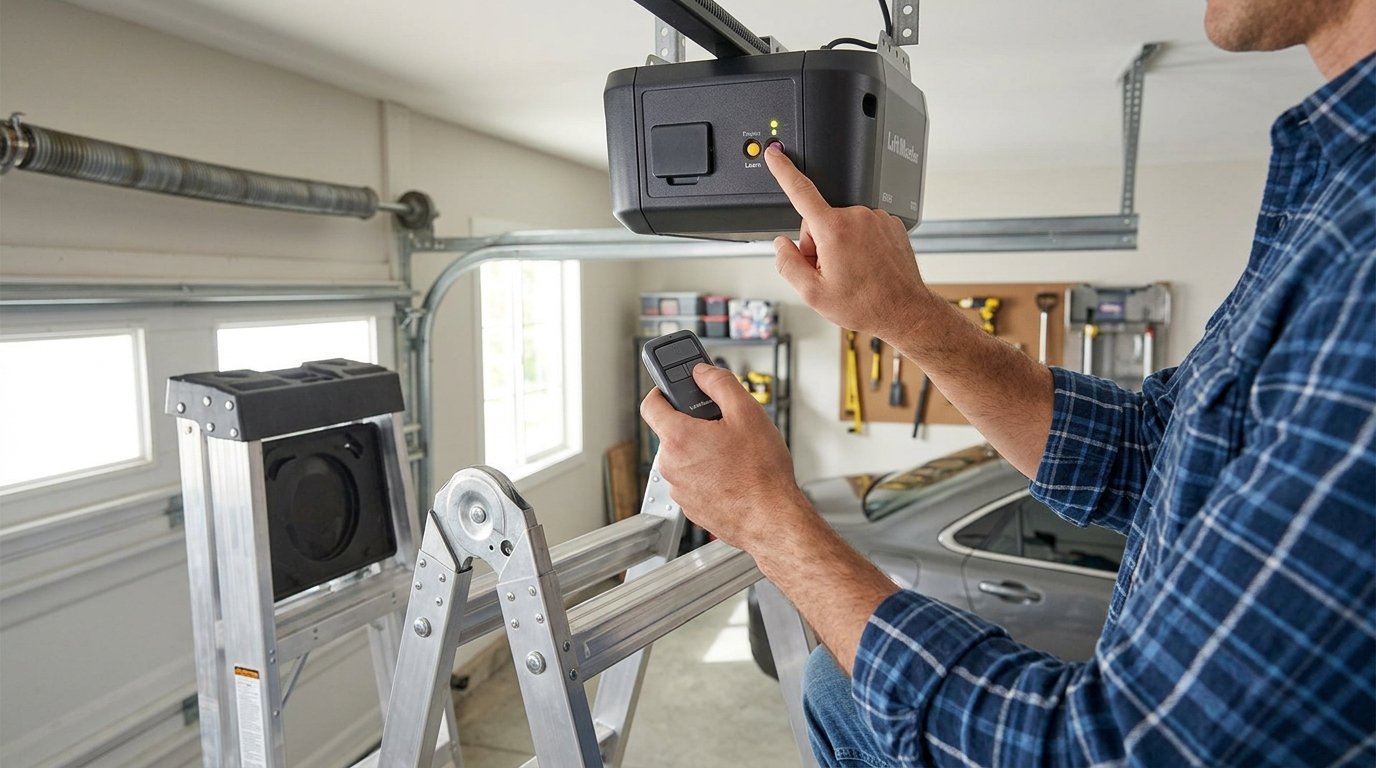

Programming a garage remote control is a simple process once you understand the basic steps involved for your specific opener brand. Most garage door openers allow you to sync a new or replacement remote within a few minutes using buttons located on the motor unit itself.
Understanding Garage Remote Systems
Before programming begins, it helps to understand how garage remotes communicate with the main opener unit. Every remote sends a unique signal that must be recognized and stored by the opener before it will respond to button presses.
How Remote Signals Work
Garage remotes use radio frequency signals to communicate with a receiver built into the motor unit mounted on the garage ceiling. Each remote has a unique code that the opener stores in its memory once programming is completed successfully. This is why simply pressing buttons without following the programming steps will not work.
Types of Garage Opener Brands
Different manufacturers such as Chamberlain, LiftMaster, Genie, and Craftsman use slightly different programming methods, though the overall concept remains similar. Some brands use a “Learn” button while others may require holding down a specific combination of buttons. Knowing your opener brand beforehand makes the programming process much smoother.
Tools Needed Before Programming
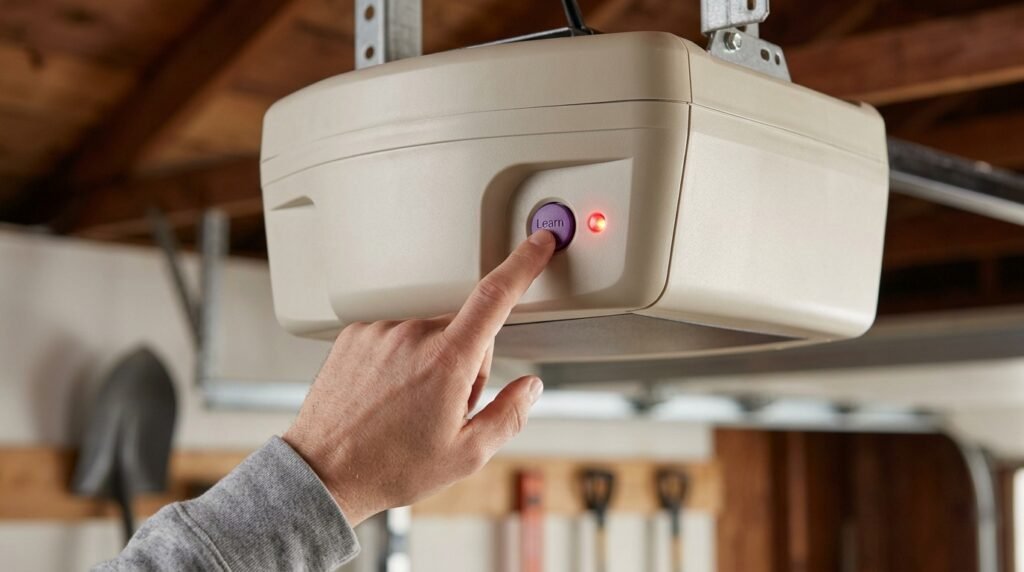
Having the right tools and information ready before starting saves time and prevents unnecessary trial and error during setup. A ladder, the remote control, and access to the motor unit are typically all that is required.
Locating the Motor Unit
The motor unit is usually mounted on the garage ceiling near the center of the door track, and it contains the programming buttons needed. A ladder is often necessary to safely reach this unit without straining or standing on unstable surfaces. Taking a moment to locate the “Learn” button on the unit beforehand speeds up the entire process.
Checking Remote Battery Status
A weak or dead battery is one of the most common reasons programming attempts fail, even when the steps are followed correctly. Testing the remote light or replacing the battery before starting ensures the signal will be strong enough for the opener to detect. This small check can save significant frustration later.
Step by Step Process to Program Garage Remote Control
Once the motor unit is located and the remote battery is confirmed working, the actual programming process can begin. These steps apply broadly across most standard garage opener brands with minor variations depending on the manufacturer.
Locating the Learn Button
On most openers, the “Learn” button is a small colored button found on the back or side of the motor unit housing. Pressing this button puts the opener into programming mode, usually indicated by a small light turning on. This step must be done first before touching the remote itself.
Pressing the Remote Button
After activating the Learn mode, press and hold the desired button on the remote control until the opener’s light blinks or clicks. This confirms that the remote’s signal has been successfully stored in the opener’s memory. Most systems only allow a short window of time, usually thirty seconds, to complete this step.
Testing the Programmed Remote
Once programming is complete, test the remote by pressing the button from a normal distance away from the garage door. If the door opens and closes properly, programming was successful and no further steps are needed. If it does not respond, the process may need to be repeated from the beginning.
Programming Steps by Popular Brands
While the general process remains similar, each major brand has slightly different button layouts and terminology. The table below summarizes common differences to help identify the right approach for your specific opener.
| Brand | Programming Button Name | Notes |
| Chamberlain | Learn Button | Usually purple or yellow colored |
| LiftMaster | Learn Button | Located near antenna wire |
| Genie | Program or Set Button | May require holding for several seconds |
| Craftsman | Learn Button | Similar layout to Chamberlain models |
Chamberlain and LiftMaster Similarities
Chamberlain and LiftMaster openers are made by the same parent company, so their programming steps are nearly identical across most models. Both typically use a purple or yellow Learn button located near the antenna wire on the motor unit. This similarity makes troubleshooting easier if you own either brand.
Genie Opener Differences
Genie openers sometimes require holding the program button for a longer duration compared to other brands before entering learn mode. The indicator light may also blink differently, so checking the manual for exact timing is recommended. This slight difference is important to avoid repeated failed attempts.
Troubleshooting Common Programming Issues
Even when steps are followed correctly, some remotes may still fail to program on the first attempt due to minor technical issues. Identifying the cause quickly helps avoid unnecessary frustration or unnecessary remote replacement.
Remote Not Syncing with Opener
If the remote does not sync, clearing the opener’s memory completely and starting fresh often resolves the issue. This can usually be done by holding the Learn button until the indicator light turns off before beginning again. Starting clean prevents conflicting old codes from interfering with new programming.
Signal Interference Problems
Nearby electronic devices or metal objects can sometimes interfere with the radio signal between the remote and the opener unit. Moving closer to the motor unit during programming can help ensure a stronger, uninterrupted connection. This is especially useful in garages with metal shelving or large appliances nearby.
Outdated Remote Models
Very old remotes may use outdated frequency technology that is no longer compatible with newer opener units. In such cases, purchasing a compatible universal remote is often the simplest solution. Checking compatibility charts before buying a replacement avoids unnecessary returns.
Universal Remotes as an Alternative
For homeowners dealing with multiple garage doors or older systems, universal remotes offer a convenient one-device solution. These remotes are designed to work across various brands with a slightly extended programming process.
Benefits of Universal Remote Programming
Universal remotes can often store multiple codes, allowing one device to control several garage doors or gate systems at once. This is particularly useful for properties with more than one garage or shared driveway access points. Programming these remotes usually follows a similar Learn button process as brand-specific remotes.
Limitations to Consider
While convenient, universal remotes sometimes require more precise timing during programming compared to original manufacturer remotes. They may also need periodic reprogramming if signal codes are accidentally cleared by nearby electronic interference. Understanding these limitations helps set realistic expectations before purchasing one.
Competitor Content Analysis
Many existing guides on this topic focus only on one specific brand or oversimplify the process into a few generic steps without addressing troubleshooting or universal remote options. Few articles compare programming differences across multiple brands in one place or explain why signal interference and battery issues commonly cause failures. This guide addresses those gaps by combining brand-specific instructions, a clear troubleshooting section, and universal remote guidance together.
Conclusion
Programming a garage remote control is a straightforward task once you understand your opener brand, locate the Learn button, and follow the correct button sequence. By checking your remote’s battery, avoiding signal interference, and referring to brand-specific notes when needed, you can successfully program your garage remote without needing professional assistance.
Frequently Asked Questions
How do you program a garage remote control without a Learn button?
Some older models use dip switches instead of a Learn button, requiring matching switch settings between the remote and receiver unit.
Why does my garage remote stop working after programming?
This is often caused by battery issues, signal interference, or the opener’s memory being cleared accidentally by another remote.
Can one remote control multiple garage doors?
Yes, universal remotes are designed to store multiple codes and can control more than one garage door or gate system.
How long does the Learn mode stay active during programming?
Most openers keep Learn mode active for about thirty seconds, so the remote button must be pressed within that window.
Do all garage remotes use the same frequency?
No, different brands and models may use different frequencies, which is why compatibility should be checked before buying a replacement remote.
Related Articles
Carbon Fiber Straps for Basement Walls: Complete Guide 2026
Glow in the Dark Epoxy Floor: The Ultimate Guide for Homeowners & Contractors
Wet Floor Sign: A Complete Guide 2026