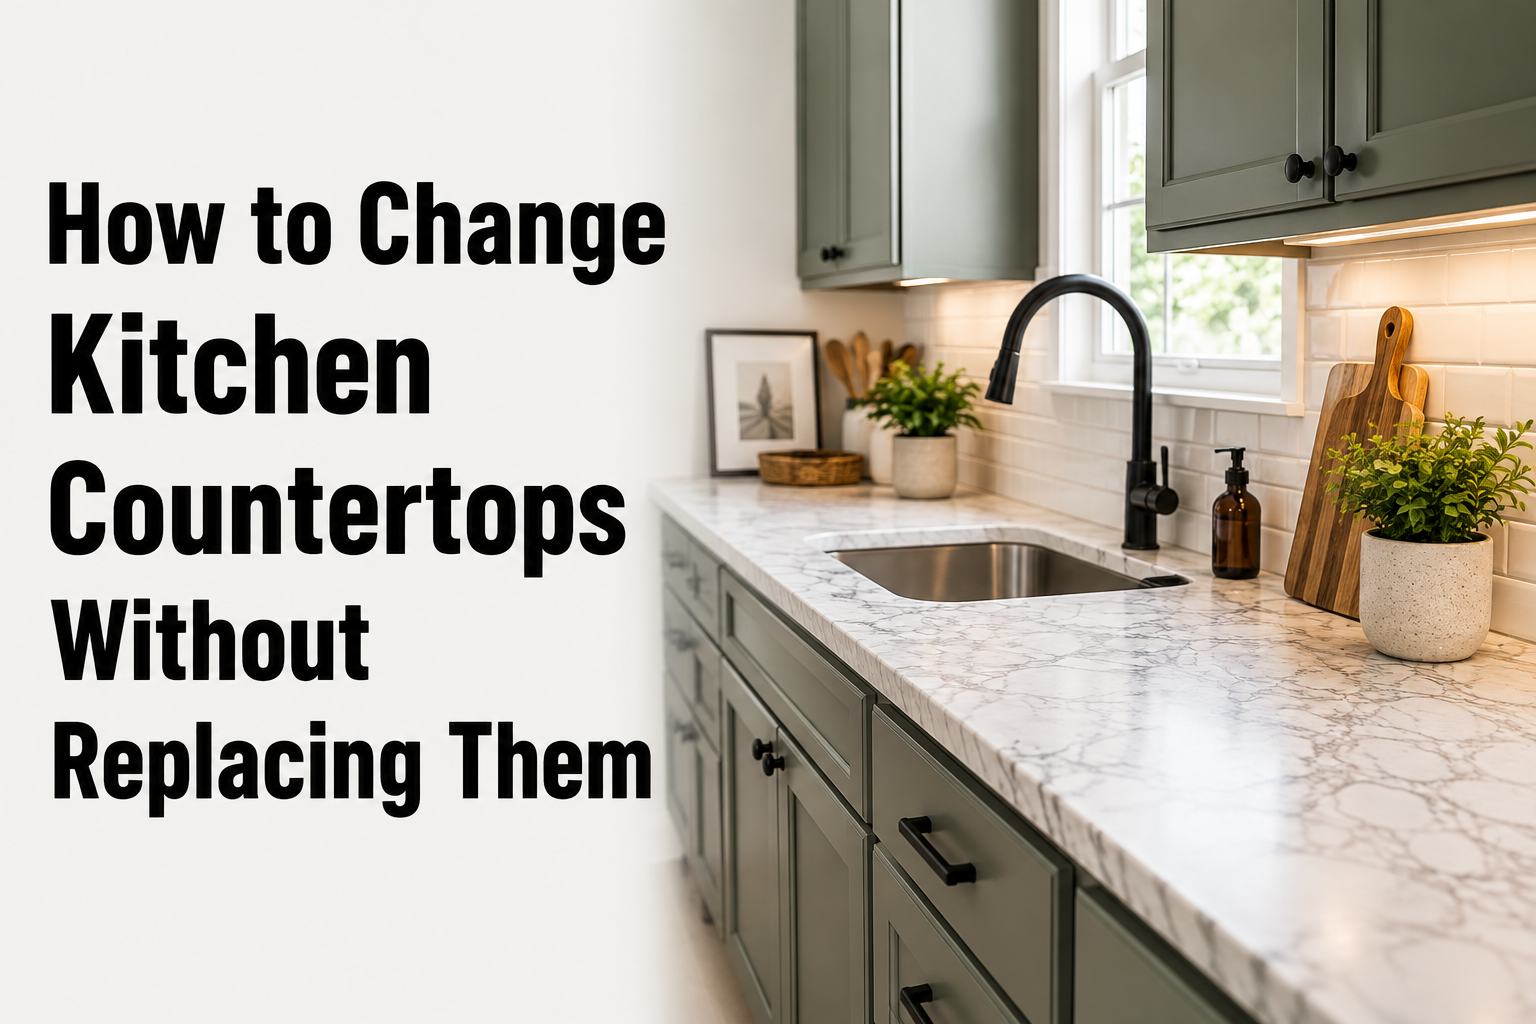

A tired-looking kitchen counter does not always mean you need to tear it out and start over. Many homeowners are searching for how to change kitchen countertops without replacing them because full replacement is expensive, messy, and time-consuming.
The good news is that you can refresh the look of your kitchen using resurfacing kits, paint, overlays, or tiling, all without removing the existing base. This guide walks you through every practical method, the tools you will need, and the mistakes to avoid so your project turns out smooth and long-lasting.
Why Update Instead of Replacing Your Countertop
Replacing a countertop usually costs several times more than resurfacing it, and it often involves plumbing disconnection, demolition debris, and days of kitchen downtime. Updating the existing surface keeps your budget low while still giving your kitchen a noticeably fresh appearance.
Most homeowners choose an update because it can be finished in a weekend, requires fewer tools, and does not disturb the sink, cabinets, or plumbing lines underneath. This makes it a practical choice for rentals, older homes, or anyone testing a new look before committing to a permanent renovation.
Check If Your Countertop Is a Good Candidate
Before choosing a method, inspect the surface for deep cracks, water damage, or structural weakness, since these issues need repair first regardless of which technique you pick. A countertop that is merely dull, stained, or outdated in color is an excellent candidate for resurfacing rather than removal.
Run your hand across the surface to feel for unevenness, and check underneath for soft or swollen particleboard. If the base is solid and only the top layer looks old, you can safely move forward with any of the methods explained below.
Best Methods to Change Kitchen Countertops Without Replacing
There are several proven techniques that transform a countertop’s appearance without removing it, each suited to a different budget, skill level, and desired finish. Below are the most reliable options broken down individually.
Refinishing and Resurfacing Kits
Refinishing kits use epoxy or acrylic coatings that are poured or rolled over the existing surface to mimic granite, marble, or stone patterns. They bond directly to laminate, tile, or solid surfaces after proper cleaning and light sanding.
This method gives one of the most realistic stone-like finishes among all DIY options. It typically takes one to three days including curing time, and the result can last several years with careful use.
Countertop Paint
Specialty countertop paint kits include a base coat, decorative color layers, and a protective topcoat designed specifically for kitchen use. They are widely available and do not require professional tools to apply.
Painting is one of the most budget-friendly ways to change kitchen countertops without replacing them, since a full kit often costs less than a single square foot of new stone. Proper curing time is essential, usually several days, before the counter can handle daily use.
Laminate Overlay Sheets
Laminate overlays are thin, pre-finished sheets that are cut to size and bonded directly onto the old countertop using contact adhesive. They come in many colors and patterns, including wood grain and solid stone looks.
This option works well over flat, smooth laminate or wood surfaces and gives a clean, factory-like finish. Edge trims are usually added afterward to hide the seam where the overlay meets the counter’s edge.
Peel-and-Stick Countertop Covers
Peel-and-stick vinyl covers are the simplest and fastest way to change the look of a counter, often taking just a few hours to apply. They are self-adhesive, require no special tools, and can be removed later without much residue.
While affordable, these covers are best suited for temporary updates, such as rental kitchens, since they are less resistant to heat and heavy daily wear compared to other methods.
Solid Surface Veneers and Overlays
Thin solid-surface or quartz veneers are bonded over the existing counter, giving a look and feel very close to a brand-new installation. This method usually requires professional measuring and installation for a precise, seamless fit.
Because the material itself is durable and scratch-resistant, this option offers one of the longest lifespans among non-replacement methods, closely matching the durability of a full countertop replacement.
Tiling Over an Existing Counter
Tiling directly on top of an old countertop is a classic way to introduce color, texture, and pattern without demolition. The surface needs to be clean, flat, and slightly roughened so the tile adhesive can grip properly.
This method adds a small amount of height to the counter, so cabinet doors and appliances should be checked for clearance beforehand. Grout lines require regular sealing to keep the surface hygienic and stain-free.
Concrete Overlay
A concrete skim coat is applied in thin layers over the existing countertop to create an industrial, modern appearance. It is hand-troweled or poured, then sanded smooth between coats for an even finish.
This technique is popular for contemporary kitchens because it can be tinted in almost any color and sealed for water resistance. It requires patience, as each layer needs adequate drying time before the next is applied.
Comparing All Methods at a Glance
The table below summarizes cost, difficulty, and durability so you can match a method to your kitchen’s needs and your comfort level with DIY work.
| Method | Approx. Cost | DIY Difficulty | Durability | Best For |
| Refinishing/Resurfacing Kit | Low to Medium | Medium | 5–10 years | Laminate, tile, solid surfaces |
| Countertop Paint | Low | Easy | 3–5 years | Budget updates, rentals |
| Laminate Overlay | Medium | Medium | 8–12 years | Flat laminate or wood counters |
| Peel-and-Stick Cover | Very Low | Easy | 1–3 years | Temporary or rental kitchens |
| Solid Surface Veneer | High | Hard (Pro recommended) | 15–20 years | Long-term, near-permanent update |
| Tile Overlay | Medium | Medium | 10–15 years | Adding texture and pattern |
| Concrete Overlay | Medium | Medium to Hard | 10–15 years | Modern, industrial kitchens |
Preparing Your Countertop Before You Start
Good preparation determines how well any of these methods will hold up over time, so it should never be skipped regardless of which technique you choose. The surface must be thoroughly cleaned, degreased, and dried before any coating, overlay, or tile is applied.
Cleaning and Degreasing
Kitchen counters collect cooking oil and residue that prevent adhesives and coatings from bonding properly. A degreasing cleaner followed by a clean water rinse ensures the surface is ready for the next step.
Sanding or Roughening the Surface
Light sanding creates a slightly textured surface that helps paint, epoxy, or adhesive grip firmly. Glossy or sealed surfaces especially need this step, or the new layer may peel over time.
Repairing Cracks and Chips
Any existing cracks, chips, or gaps should be filled with an appropriate filler and sanded flat before starting. Skipping repairs can cause the new surface to show the same flaws once finished.
Maintenance Tips to Extend the New Surface
Once your countertop update is complete, simple daily habits will help it last much longer. Wipe up spills quickly, avoid placing hot pans directly on the surface, and use cutting boards instead of cutting directly on top.
Reseal painted, epoxy, or concrete surfaces periodically based on the product instructions, since sealing protects against staining and water damage. Cleaning with mild, non-abrasive products also helps preserve the finish’s color and shine.
Common Mistakes to Avoid
Many DIY countertop updates fail not because of the method itself but because of avoidable errors during the process.
- Skipping surface cleaning or sanding before applying paint, epoxy, or adhesive
- Choosing a product not rated for kitchen or high-moisture use
- Working in a poorly ventilated space when using epoxy or paint
- Rushing the curing time before placing items back on the counter
- Ignoring small cracks or unevenness that later show through the new layer
Frequently Asked Questions
How long does a resurfaced countertop typically last?
Depending on the method, a resurfaced countertop can last anywhere from three to twenty years, with solid surface veneers lasting longest and paint or peel-and-stick covers needing more frequent refreshing.
Can I apply these methods over laminate, tile, or granite?
Most resurfacing kits, paints, and overlays work over laminate and tile with proper sanding, while natural stone like granite usually needs a specialized primer for good adhesion.
Is the finished surface safe for food preparation?
Yes, as long as you use kitchen-rated products and allow full curing time before use, the finished surface is safe for everyday food preparation.
How soon can I use the counter after finishing the project?
Most methods require anywhere from twenty-four hours to a full week of curing before the countertop can handle regular use, so always check the specific product’s instructions.
Conclusion
Changing a countertop’s appearance does not have to mean a costly, full-scale renovation. Whether you choose an affordable paint kit, a durable solid surface veneer, or a modern concrete overlay, each method offers a realistic way to refresh your kitchen without removing the existing counter.
Compared to many generic guides that only list options briefly, this guide focuses on practical comparisons and preparation steps so you can choose the right method with confidence and get a finish that truly lasts.
Related Articles
How to Program Garage Remote Control Complete Guide 2026
How to Clean and Store Kitchen Tools: The Complete Guide
Pot Lights in Cathedral Ceiling: A Complete Planning and Installation Guide