


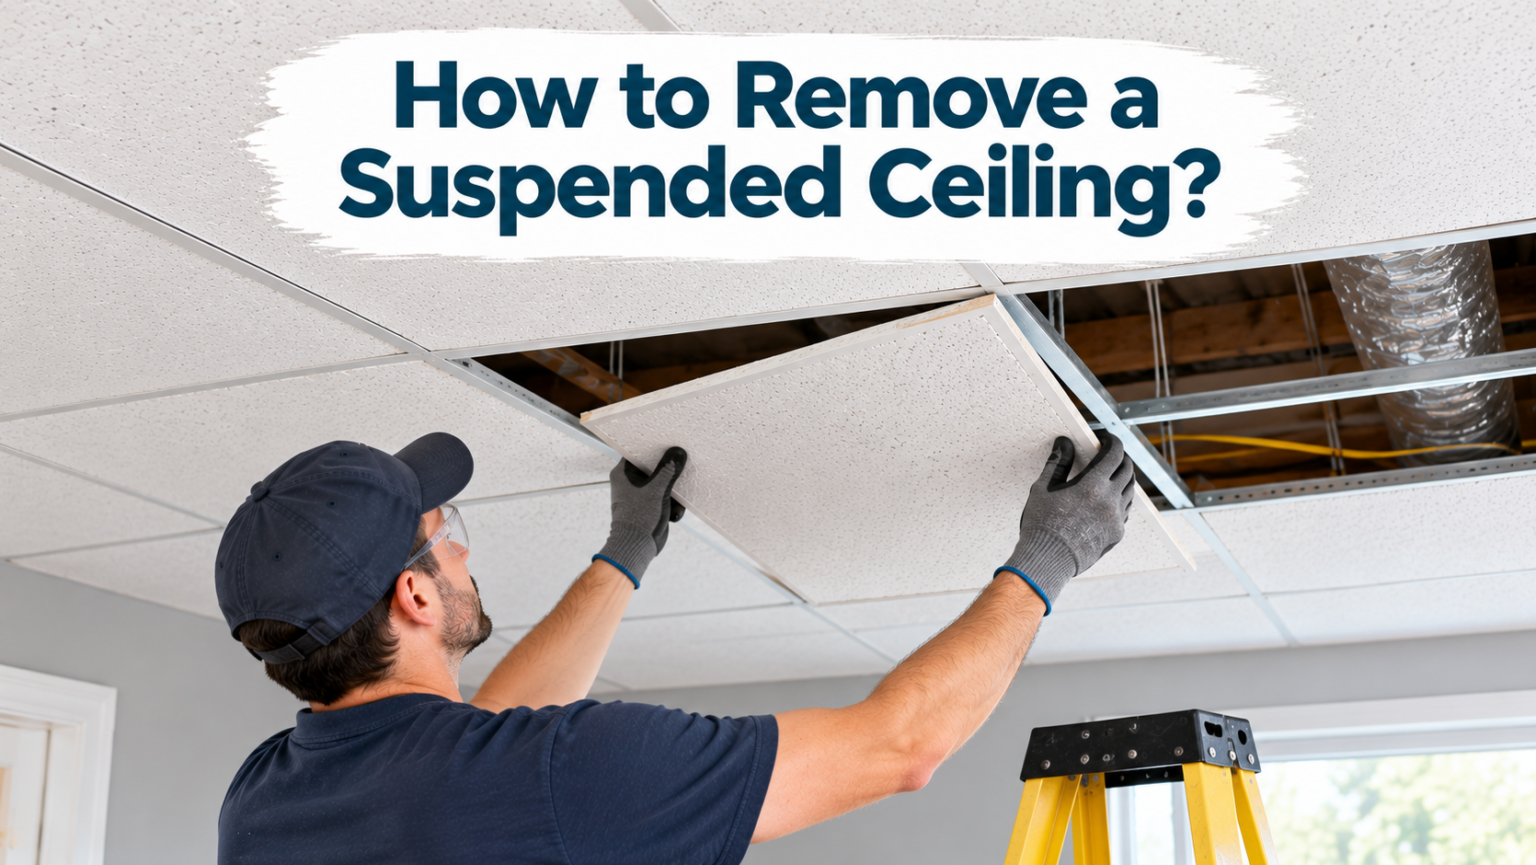

Removing a suspended ceiling is a manageable weekend project when you follow the correct order of steps. The process involves clearing the room, cutting power to any embedded wiring, taking down the tiles, dismantling the metal grid, and finally removing the wall trim.
Most homeowners can complete the job in a single day with basic tools and a helper. The biggest risks come from hidden wiring, unstable ladders, and older tiles that may contain asbestos. Working slowly and checking each layer before moving to the next keeps the project safe and efficient.
Key Takeaways
- Suspended ceilings are removed in layers: tiles first, then the grid, then the wall trim.
- Power should always be shut off before touching any section near wiring or light fixtures.
- Older tiles installed before the 1980s should be checked for asbestos before cutting or breaking them.
- The exposed ceiling above often needs patching, repainting, or minor wiring adjustments.
- Metal grid components can usually be recycled, reducing landfill waste.
What Is a Suspended Ceiling?
A suspended ceiling is a lightweight secondary ceiling made of a metal grid and lay-in tiles, hung below the original structural ceiling. It is designed to conceal wiring, ductwork, and uneven surfaces while remaining easy to access for repairs.
Common Names: Drop Ceiling and False Ceiling
Suspended ceilings are frequently referred to as drop ceilings or false ceilings depending on the region and industry. All three terms describe the same basic system: a metal grid supporting removable tiles. The naming difference does not change how the system is installed or removed.
Where Suspended Ceilings Are Typically Installed?
These ceilings are common in basements, office buildings, retail spaces, and older homes with exposed piping or ductwork. They are popular because they hide unattractive infrastructure while still allowing easy access above the tiles. Many buildings from the 1960s through the 1990s used this style extensively.
Tools and Materials You Will Need
Before starting, gather the right tools so the project moves smoothly without repeated trips to the hardware store. Having proper protective gear on hand also reduces the risk of injury during removal.
| Tool or Material | Purpose | Approx. Price |
| Step ladder | Reach the ceiling grid and tiles safely | $40–$100 |
| Work gloves | Protect hands from sharp metal edges | $5–$15 |
| Dust mask or respirator | Protect lungs from dust and debris | $10–$25 |
| Safety glasses | Protect eyes from falling debris | $5–$10 |
| Pliers or wire cutters | Detach wire hangers from the grid | $10–$20 |
| Flathead screwdriver | Pry off wall angle molding | $5–$10 |
| Trash bags or bins | Collect and dispose of old tiles | $10–$20 |
| Drop cloth or tarp | Protect flooring from debris | $10–$25 |
Safety Precautions Before You Start
Safety comes before speed on this project. Two areas deserve special attention: electrical exposure and older materials that may contain hazardous substances.
Electrical Safety
If light fixtures or wiring pass through the ceiling grid, turn off power at the breaker before touching anything. Even seemingly disconnected wires can carry a live current if the circuit was not properly isolated. Confirm with a voltage tester before handling any exposed wiring.
Checking for Asbestos in Older Tiles
Ceiling tiles installed before the 1980s sometimes contain asbestos fibers, which become dangerous when cut, crushed, or broken. If the building’s age is uncertain, have a sample tested before removal. Avoid sanding, cutting, or forcefully breaking tiles until asbestos has been ruled out.
Ladder and Personal Protective Equipment
Use a sturdy, properly positioned ladder rather than standing on furniture or boxes. Wear gloves, a dust mask, and safety glasses throughout the project, since falling debris and sharp metal edges are common hazards. Having a second person hold the ladder steady adds an extra layer of safety.
Step-by-Step Removal Process
Removing a suspended ceiling follows a clear top-down sequence. Each step should be completed fully before moving to the next to avoid dropped debris or damaged components.
Step 1: Clear the Room
Move furniture out of the workspace or cover it with a tarp to protect it from dust and falling debris. Lay a drop cloth across the floor to catch small pieces of tile and metal. A cleared space also makes ladder movement safer.
Step 2: Turn Off Power
Locate the breaker controlling any lights or outlets connected through the ceiling and switch it off. Test fixtures with a voltage tester to confirm power is fully disconnected. This step prevents accidental shocks while handling wiring above the tiles.
Step 3: Remove Ceiling Tiles
Starting from one corner, gently lift each tile and angle it downward through the grid opening. Stack tiles carefully if they will be reused, or place them directly into trash bags if discarding them. Work section by section to avoid dust buildup in one area.
Step 4: Take Down the Grid (Cross Tees and Runners)
Once tiles are cleared, unclip the shorter cross tees first, followed by the longer main runners. These pieces are usually lightweight and can be lowered by hand. Keep track of screws or clips, since some grids reuse the same hardware.
Step 5: Detach Wire Hangers
Each section of the grid is typically held up by thin wire hangers connected to the structural ceiling above. Untwist or cut these wires using pliers, working carefully since sections may drop suddenly once released. Remove wires close to the ceiling to avoid leaving sharp ends exposed.
Step 6: Remove Wall Angle Molding
The L-shaped trim running along the perimeter walls held the grid’s edge in place. Use a flathead screwdriver to pry it away from the wall, removing screws or nails as needed. This trim is often reused in future ceiling projects if removed carefully.
Step 7: Inspect the Exposed Ceiling
With the suspended ceiling fully removed, examine the structural ceiling above for exposed wiring, ductwork, insulation, or water stains. This inspection reveals whether further repairs or painting will be needed before finishing the space. Take photos if planning future renovations.
What to Do With the Exposed Ceiling?
Once the suspended system is gone, the original ceiling usually needs cosmetic or functional attention before the room feels finished.
Patching and Repainting the Ceiling
Fill any holes left by hangers or screws using spackle or joint compound, then sand the surface smooth. A fresh coat of primer and paint gives the exposed ceiling a clean, finished appearance. This step is often the most time-consuming part of the post-removal process.
Handling Exposed Wiring and Ductwork
If wiring or ducts were hidden by the suspended ceiling, decide whether to reroute them, box them in, or leave them visible as an industrial-style feature. Any electrical work involving rerouting should be handled by a licensed electrician. Ductwork can sometimes be painted to blend with the ceiling color.
Disposal and Cleanup Tips
Proper disposal keeps the project environmentally responsible and avoids unnecessary landfill waste.
Recycling the Metal Grid Components
Metal runners, cross tees, and wall angle trim are typically recyclable as scrap metal. Many local recycling centers accept these materials at no cost, and some even pay a small amount per pound. Check with a nearby facility before discarding grid parts in regular trash.
Disposing of Ceiling Tiles Safely
Standard fiberboard tiles can usually go in regular household trash unless local regulations state otherwise. If asbestos was confirmed, tiles must be bagged and disposed of according to local hazardous waste guidelines. Always check municipal rules before large-scale disposal.
Cost of Removing a Suspended Ceiling
Costs vary significantly depending on whether the work is done independently or by a hired professional.
DIY Cost Estimate
A do-it-yourself removal typically costs between $50 and $150, covering tools, protective gear, and disposal bags. Most homeowners already own basic tools like ladders and screwdrivers, lowering the total further. Time investment is usually one full day for an average-sized room.
Hiring a Professional: Cost Range
Professional removal services generally charge between $1 and $3 per square foot, depending on room size and disposal fees. For a typical 200-square-foot room, this translates to roughly $200 to $600. Hiring a professional is advisable when asbestos is suspected or electrical work is involved.
Common Mistakes to Avoid
Many DIY removals run into avoidable problems. Skipping the power shutoff step is one of the most common and dangerous mistakes, since hidden wiring is easy to overlook. Another frequent issue is breaking tiles carelessly without checking their age, which can release asbestos fibers into the air.
Rushing the wire hanger removal step also causes grid sections to fall unexpectedly, sometimes damaging flooring or causing injury. Taking each step in order and moving slowly prevents most of these problems.
Frequently Asked Questions
How long does it take to remove a suspended ceiling? Most rooms take four to eight hours to fully clear, depending on size and the amount of wiring involved.
Can I remove it myself without professional help? Yes, most homeowners can safely complete this project alone, provided electrical safety and asbestos checks are handled first.
What is usually found underneath a suspended ceiling? Wiring, ductwork, plumbing, or an unfinished structural ceiling are the most common discoveries.
Do I need a permit to remove a suspended ceiling? In most residential cases no permit is required, though local building codes should always be checked first.
Is suspended ceiling removal a messy job? It generates moderate dust and debris, so covering floors and furniture beforehand keeps cleanup manageable.
Conclusion
Removing a suspended ceiling is a straightforward project when tackled in the right order: tiles first, then the grid, then the wall trim. Prioritizing safety checks for wiring and asbestos protects against the most common risks. With the right tools and a few hours of focused work, most homeowners can complete the job and reveal a cleaner, more open ceiling space.
Related Posts
How to Install a New Basement Window: Complete Step-by-Step Guide
How to Manually Flush a Toilet: Complete guide 2026
How to Get Rid of Gnats in Bathroom Fast
What Are Styrofoam Ceiling Tiles? Discover their benefits & tips.




