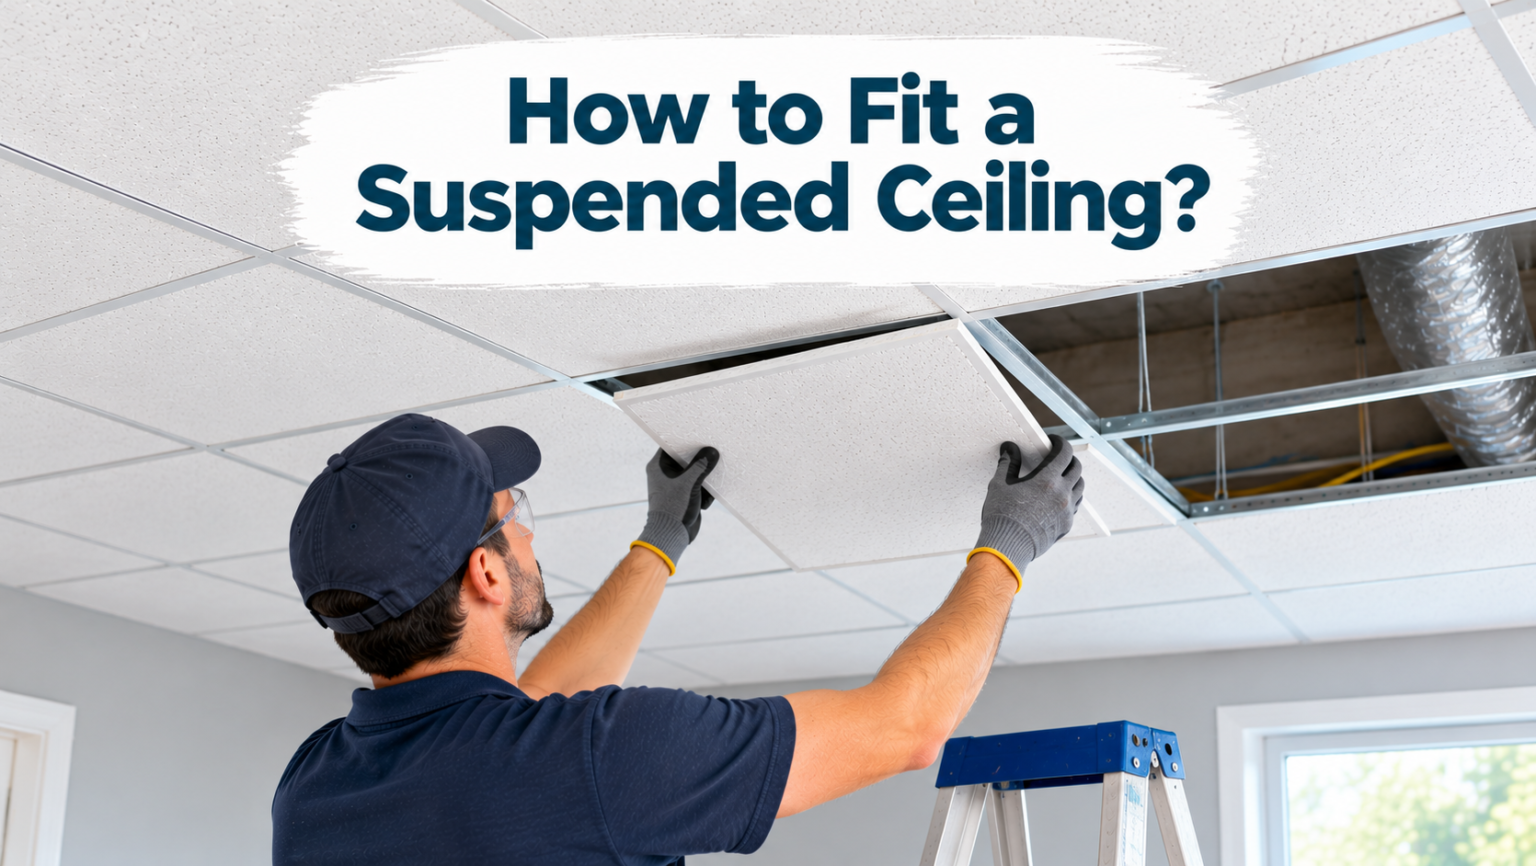

Fitting a suspended ceiling is a practical way to hide pipes, wires, and uneven surfaces while giving a room a clean, finished look. The process involves marking a level line, fixing wall angles, hanging main runners with wire, adding cross tees to form a grid, and finally dropping ceiling tiles into place.
Anyone with basic DIY skills and the right tools can complete this project over a weekend. This guide walks through every stage in simple language, from planning and material selection to installation, common mistakes, and long-term maintenance, so you can achieve a professional-looking suspended ceiling without hiring outside help.
Understanding Suspended Ceiling Systems
Before starting installation, it helps to understand what each part of the system does and how the different components fit together. This section explains the main parts, the types of grid systems available, and the tile options you can choose from.
Components Explained
A suspended ceiling system is made up of a few key parts that work together to hold the tiles in place. The table below breaks down each component and its purpose.
| Component | Function |
| Wall angle | L-shaped trim fixed around the room walls to support the grid edges |
| Main tees | Long runner bars that carry the weight of the grid, hung by wires |
| Cross tees | Shorter bars that connect between main tees to form the tile grid |
| Hanger wires | Wires fixed to the structural ceiling above to suspend the main tees |
| Ceiling tiles | Lightweight panels that drop into the grid openings |
Types of Grid Systems
There are two main grid types used in suspended ceilings: exposed grid and concealed grid. An exposed grid shows the metal framework between tiles, which is the most common and easiest style to install for DIY projects. A concealed grid hides the metal bars behind the tile edges, giving a smoother, more seamless appearance but requiring more precise fitting.
Common Tile Sizes
Ceiling tiles typically come in standard sizes such as 600x600mm or 1200x600mm, which correspond to 2x2ft and 2x4ft in imperial measurements. Choosing a standard size makes planning and cutting far simpler, since grid components are manufactured to match these dimensions. Mixing sizes in one room is possible but adds complexity to the layout.
Types of Ceiling Tiles
Mineral fiber tiles are the most widely used option because they are affordable, lightweight, and offer decent sound absorption. PVC tiles are popular in kitchens and bathrooms since they resist moisture and are easy to wipe clean. Metal and fiberglass tiles are chosen for commercial settings where durability or higher acoustic performance is needed.
Planning Before You Start
Good planning prevents wasted materials and uneven results later. This section covers assessing the room, calculating the drop height, and working out exactly how many materials you need.
Assessing the Room
Before buying any materials, walk through the room and note the current ceiling height, any pipes or cables that need clearance, and the position of doors or windows. This assessment determines how much space is available for the new ceiling and highlights any obstacles that may affect the grid layout. Taking photos of the existing ceiling can also help when planning fixture positions later.
Calculating Drop Height
The drop height is the distance between the old ceiling and the new suspended one, and it must allow enough clearance for pipes, ducts, or light fittings. A minimum drop of around 75-100mm is usually recommended for a plain ceiling, while more space is needed if fitting recessed lights or larger ductwork. Measure the lowest obstruction point first, then add a small buffer for safe clearance.
Creating a Layout Plan
Sketching the room on paper, including exact measurements, helps determine how tiles will be arranged so that border tiles on opposite walls end up equal in size. This step also identifies where main tees and cross tees will run across the ceiling. A balanced layout avoids having very thin, awkward-looking tiles along one wall.
Measuring the Room Accurately
Accurate measurements of length and width are essential for ordering the correct amount of grid material and tiles. Measure at multiple points along each wall, since older rooms are rarely perfectly square, and use the smallest and largest readings to plan tile cuts. Recording these figures on your layout sketch keeps the whole project organized.
Calculating Materials Needed
Once the layout is finalized, calculate the number of tiles, main tees, cross tees, wall angle lengths, and hanger wires required, always adding around 10% extra to cover cutting waste. This buffer prevents delays caused by running short mid-project. Suppliers can often help verify quantities if you provide your room dimensions.
Tools and Materials Checklist
Having everything ready before starting saves time and avoids interruptions once work begins. Below is a breakdown of the tools, materials, and safety gear needed for this project.
Essential Tools List
The following tools are generally needed to fit a suspended ceiling correctly:
- Tape measure and chalk line
- Spirit level or laser level
- Step ladder
- Tin snips or a suitable tile cutting knife
- Power drill with screwdriver bits
- Pliers for wire work
Materials Shopping List
Along with the grid components already discussed, you will need wall plugs and screws suitable for your wall type, eye screws or hooks for hanger wires, and enough tiles to cover the full ceiling area with spares. It is worth double-checking tile color and texture consistency across boxes, since batches can vary slightly. Buying a few extra tiles also allows for future replacements if one gets damaged.
Safety Equipment Needed
Basic safety gear includes work gloves to protect hands from sharp metal edges, safety glasses when cutting tiles or drilling overhead, and a stable ladder rated for the required height. Dust masks are useful when working in older buildings where ceiling debris may be present. Taking these precautions reduces the risk of injury throughout the project.
Step-by-Step Installation Guide
This is the core part of learning how to fit a suspended ceiling, covering every stage from marking the level line through to fitting the final tile. Follow each step in order for the best results.
Step 1: Marking the Level Line
Using a laser level or a spirit level with a chalk line, mark a continuous horizontal line around the room at your chosen drop height. This line acts as the guide for fixing the wall angle, so accuracy here determines how level the entire ceiling will be. Check the line at several points around the room before proceeding.
Step 2: Installing the Wall Angle
Fix the L-shaped wall angle along the marked line using screws and wall plugs spaced roughly every 40-60cm. This trim supports the outer edge of the grid and tiles, so it must be firmly secured to the wall. Use a level frequently while fixing to keep the angle perfectly straight.
Step 3: Marking Main Tee Positions
On the structural ceiling above, mark the positions where main tees will run, typically spaced around 1200mm apart based on your layout plan. These marks indicate where hanger wires need to be fixed into the joists. Careful marking here keeps the entire grid aligned and evenly spaced.
Step 4: Installing Hanger Wires
Fix eye screws or hangers into the structural ceiling joists at the marked points, then attach lengths of wire that will hold up the main tees. The wires should be slightly longer than needed so they can be trimmed after leveling. Space the wires according to the main tee spacing decided during planning.
Step 5: Fitting the Main Runners
Rest the main tee bars onto the wall angle at each end and secure them using the hanger wires, keeping the bars roughly level as you go. These runners carry most of the ceiling’s weight, so proper wire tension is important. Work across the room methodically, checking alignment against your layout sketch.
Step 6: Adding Cross Tees to Form the Grid
Clip the shorter cross tees between the main tees at right angles, creating the square or rectangular openings where tiles will sit. Most systems use a simple clip-lock connection that requires no tools. Continue this pattern across the entire ceiling area until the grid is complete.
Step 7: Leveling the Entire Grid
Check the whole grid with a spirit level, adjusting the hanger wires up or down until every section sits perfectly flat. Even small dips can become noticeable once tiles are installed, so this step deserves careful attention. Walk the room from multiple angles to spot any inconsistencies.
Step 8: Cutting Border Tiles
Measure the gaps around the room’s perimeter and cut border tiles to fit, using a sharp tile knife against a straight edge for clean cuts. Label each cut tile with its intended position to avoid confusion during installation. Take your time here since border tiles are the most visible part of the finished ceiling.
Step 9: Installing Ceiling Tiles
Starting from one corner, tilt each tile slightly to pass it through the grid opening, then lower it flat into place. Work systematically across the room, ensuring tiles sit evenly without gaps against the grid edges. Full tiles usually install before the pre-cut border pieces are added last.
Step 10: Fitting Light Fixtures and Vents
For tiles that will hold light fittings or vents, cut the openings before placing the tile in the grid, following the fixture manufacturer’s template if provided. Support cut tiles with additional wire if needed, since removing material can weaken them slightly. Always turn off electrical power before connecting any wiring.
Step 11: Final Inspection and Adjustments
Once all tiles are in place, walk the room checking for level, gaps, or loose tiles, and make any final wire adjustments needed. Confirm that all cut edges sit neatly against the wall angle. A thorough final check ensures the ceiling looks professional from every angle.
Working With Obstacles
Most rooms have some obstruction that needs special handling during installation. This section covers the most common obstacles and how to plan around them.
Fitting Around Pipes and Ductwork
When pipes or ductwork sit close to the ceiling line, additional hanger wires may be needed around the obstruction to keep the grid stable. In some cases, a boxed-in section built from extra grid pieces can route around large ducts. Always confirm sufficient clearance before finalizing your drop height.
Installing Light Fittings and Downlights
Recessed light fittings usually require cutting a precise hole in the tile, matched to the fitting’s frame size, plus enough vertical clearance above for the fixture body. It is best to plan light positions during the layout stage so they align neatly with the grid pattern. Always follow local electrical safety guidelines when wiring fixtures.
Handling Sprinklers and Smoke Detectors
Sprinkler heads and smoke detectors often need to remain at a specific height for safety compliance, so their tile openings must be measured carefully. Never relocate these safety devices without checking local building regulations first. Support the surrounding tile properly since these fittings can add extra weight.
Dealing With Uneven Ceilings or Walls
Older buildings often have walls or ceilings that are slightly out of square, which can cause grid alignment issues. Measuring from multiple points and adjusting your layout plan accordingly helps minimize visible irregularities. In more extreme cases, slightly tapering border tiles can compensate for uneven walls.
Common Mistakes to Avoid
Several small errors can affect the overall finish of a suspended ceiling, and being aware of them in advance helps prevent rework.
Incorrect Measurements
Rushing the measuring stage often leads to grid components that don’t align properly with wall dimensions. Always double-check measurements at multiple points before cutting any material. This single step prevents most layout problems later in the project.
Poor Leveling
Skipping regular level checks during installation is one of the most common causes of a visibly uneven finished ceiling. Even a small slope becomes obvious once tiles reflect light differently across the room. Checking level after each major stage avoids this issue entirely.
Weak Wire Fixings
Hanger wires that aren’t firmly anchored into structural joists can loosen over time, causing sagging sections. Always fix into solid structural material rather than plasterboard or weak fixtures. Testing each hanger point before loading the grid is a simple precaution.
Wrong Tile Spacing
Using incorrect spacing between main tees leads to tiles that don’t fit properly within the grid openings. Always match the spacing to the exact tile size chosen during planning. Confirming this before installation begins saves significant rework later.
Maintenance and Care
A suspended ceiling requires relatively little upkeep, but a few simple habits keep it looking good for years.
Cleaning Suspended Ceiling Tiles
Most mineral fiber tiles can be dusted gently with a soft brush or vacuum attachment, while PVC tiles can be wiped with a damp cloth. Avoid soaking tiles or using harsh chemicals, as this can damage the surface texture. Regular light cleaning prevents dust buildup that dulls the ceiling’s appearance.
Replacing Damaged Tiles
Because tiles simply rest in the grid, a damaged or stained tile can be lifted out and replaced individually without disturbing the rest of the ceiling. Keeping a few spare tiles from the original batch ensures a color match when replacements are needed. This is one of the biggest practical advantages of a suspended ceiling system.
Accessing Space Above the Ceiling
For maintenance work on wiring or pipes, tiles can be lifted out temporarily and replaced once the work is finished. This makes suspended ceilings far more practical than solid plastered ceilings for buildings with frequent service needs. Always support the tile carefully when lifting it back into place to avoid cracking the edges.
Long-Term Durability Tips
Keeping the room at a stable humidity level helps prevent tile sagging or warping over time, particularly with mineral fiber products. Periodically checking hanger wires for tension also extends the system’s lifespan. Simple, consistent care keeps a suspended ceiling looking new for many years.
Cost Considerations
Budgeting properly before starting the project helps avoid unexpected expenses partway through installation.
Average Material Costs
Material costs vary depending on tile quality and grid type, with basic mineral fiber systems generally being the most affordable option. PVC and specialty acoustic tiles typically cost more but offer additional benefits like moisture resistance or improved sound dampening. Getting quotes from a couple of suppliers helps find the best value for your specific room.
DIY vs. Hiring a Professional
Fitting a suspended ceiling yourself can save significantly on labor costs, and the process described in this guide is manageable for most confident DIYers. However, rooms with complex wiring, unusual layouts, or strict building regulations may benefit from professional installation. Weighing your own skill level against the room’s complexity helps decide the right approach.
Budget-Friendly Tips
Buying standard tile sizes rather than custom options keeps costs down, since standard sizes are widely available and often discounted in bulk. Planning the layout carefully also reduces wasted material from unnecessary cuts. Comparing prices across several suppliers before purchasing is always worthwhile.
Safety Tips
Working overhead with tools and materials carries some risk, so following basic safety practices matters throughout the project.
Working at Height Safely
Always use a stable, properly rated ladder and avoid overreaching while working overhead. Having a second person nearby when handling longer grid sections or heavier tiles adds an extra layer of safety. Never stand on furniture or unstable surfaces as a substitute for proper equipment.
Electrical Safety When Fitting Lights
Always switch off power at the breaker before working near or connecting any electrical fixtures within the ceiling. If you are unsure about wiring work, it is safer to hire a qualified electrician for that specific part of the project. Testing circuits after installation confirms everything is connected safely.
Structural Considerations
Confirm that the structural ceiling above can support the added weight of hanger wires, grid, and tiles before beginning installation. In older buildings, checking joist condition beforehand prevents problems after the ceiling is loaded. When in doubt, consulting a structural professional is a sensible precaution.
Frequently Asked Questions (FAQ)
How long does it take to fit a suspended ceiling? A single room can typically be completed within one to two days, depending on its size and how many obstacles like pipes or lights need to be worked around.
Can I fit a suspended ceiling myself? Yes, most homeowners with basic DIY experience can complete this project using standard tools, provided they follow careful measuring and leveling practices throughout.
What’s the minimum drop height required? A minimum of around 75-100mm is generally recommended, though more clearance is needed if pipes, ducts, or recessed lighting are present above the new ceiling line.
Can suspended ceilings be soundproofed? Yes, choosing acoustic-rated tiles or adding insulation above the grid can noticeably improve sound dampening between floors or rooms.
Conclusion
Learning how to fit a suspended ceiling comes down to careful planning, accurate measuring, and following each installation stage in order, from marking the level line to fitting the final tile.
With the right tools, a clear layout plan, and attention to leveling throughout, most DIYers can achieve a neat, professional-looking result. Regular maintenance and simple safety precautions then keep the finished ceiling looking good for years to come.
Related Articles
What Gets Hair Dye Off Sink? Easy & Effective Removal Guide
Can You Use Ceiling Paint on Walls? The Surprising Benefits and Drawbacks
How Many Bags of Mulch in a Yard Complete guide 2026
Can You Put Bleach on Hardwood Floors? Safe Cleaning Guide
What Size Is a Typical Kitchen Trash Can? Complete Size Guide