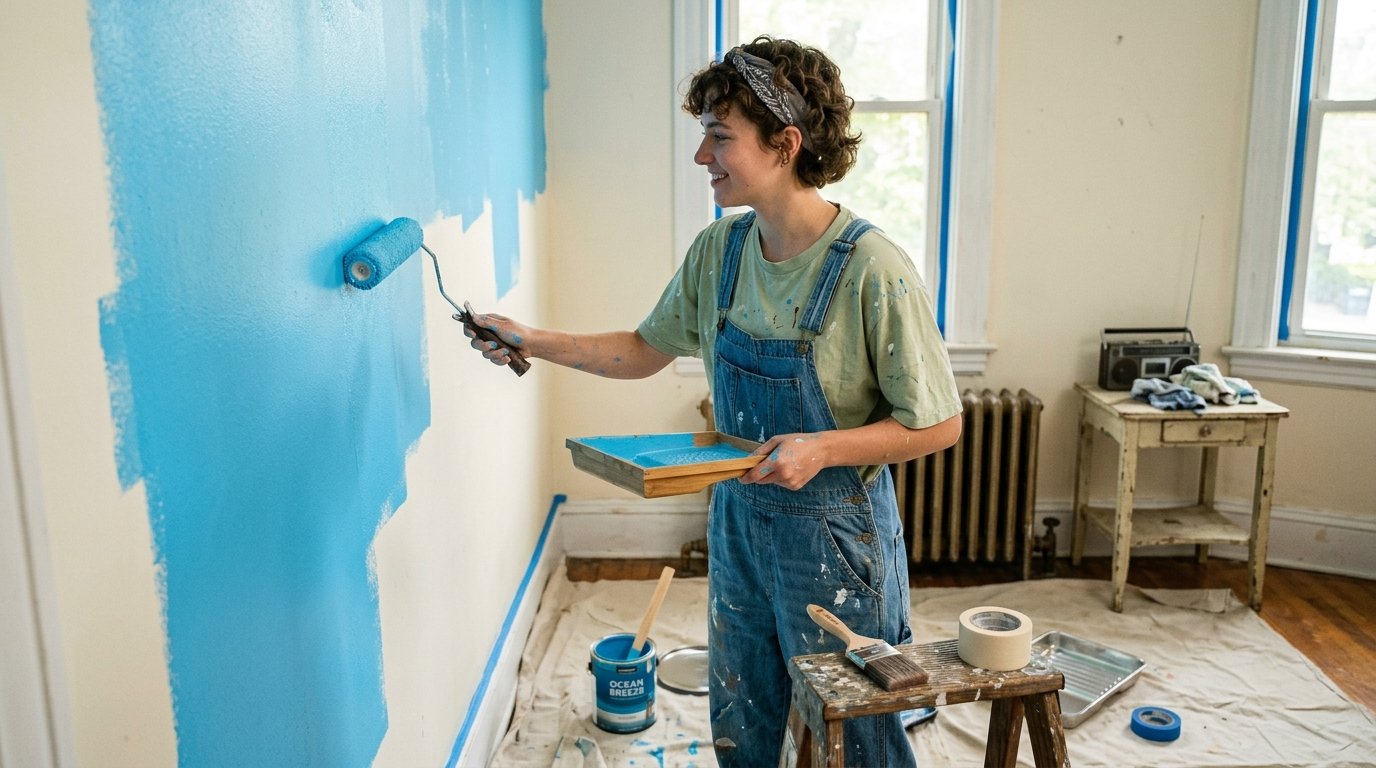

Should You Paint the Walls Before Staining Stairs? In almost every residential project, you should stain the stairs before painting the nearby walls. The staining process involves heavy sanding, liquid stain application, and multiple polyurethane coats each of which poses a real contamination risk to freshly painted surfaces
. Painting the walls afterward gives you cleaner cut-in lines, easier touch-ups, and a more professional-looking finish overall.
Why the Order of Painting and Staining Matters
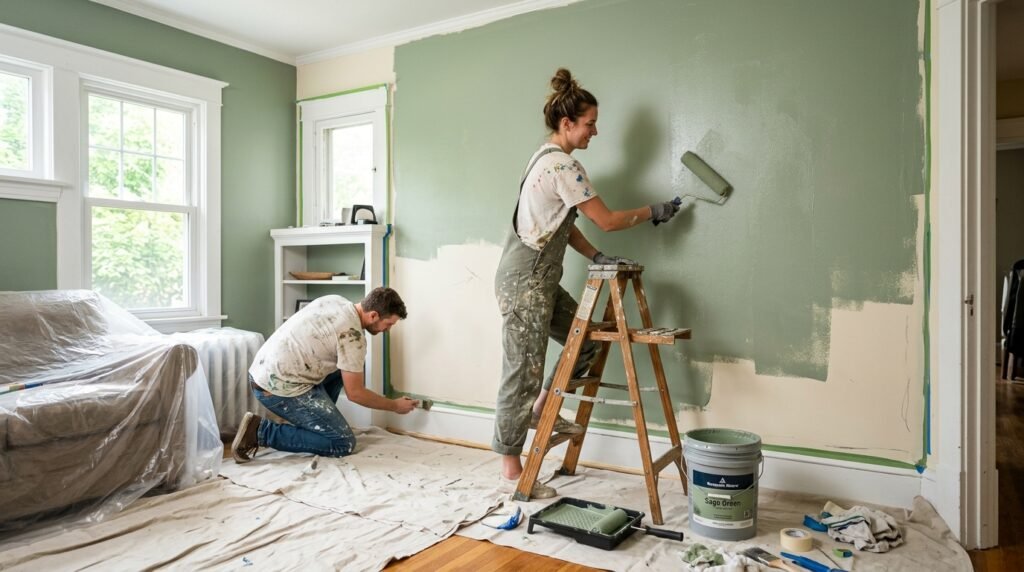
Getting the sequence right on a staircase renovation is not a minor detail — it directly determines how clean your final results will look and how much rework you will face before the project is done. A staircase is one of the most complex interior finishing areas in a home because it involves multiple surfaces reacting differently to sanding, moisture, and drying conditions.
Wood stain penetrates the grain of the wood and requires sanding preparation, while wall paint creates a film on a smooth surface that is highly vulnerable to dust and splatter during that sanding process.
Staining Creates Significantly More Mess Than Painting
Sanding stair treads sends fine wood dust into the air, and that dust travels throughout the stairwell and settles on every nearby surface. Even with vacuum attachments and dust barriers, some particles always find their way onto walls.
If those walls are freshly painted, the dust embeds into the surface and dulls the sheen in a way that cannot simply be wiped away. The sanding stage alone is reason enough to complete all stair prep and staining before the final wall coats go on.
Stain Drips Are Harder to Fix Than Paint Drips
Paint that drips onto raw, unsanded wood can be sanded away in seconds during the prep stage without leaving a trace. Stain that lands on a finished painted wall is an entirely different problem.
Once stain cures, it bonds to whatever surface it contacts. Removing it from painted drywall typically requires mineral spirits, which can dull the paint sheen, followed by a touch-up coat that rarely blends perfectly into the surrounding color. Staining stairs first eliminates this risk entirely.
Wall Painting After Staining Produces Cleaner Cut Lines
When walls are painted after the stair staining is complete and cured, painters can work right up to the stringer and riser edges with much greater precision.
The stained wood acts as a clear boundary, masking tape adheres cleanly to cured polyurethane, and there is no risk of pressing tape against a tacky or uncured surface. The cut-in lines where wall meets staircase look sharper and more intentional as a result.
The Correct Professional Sequence for Staircase Renovation
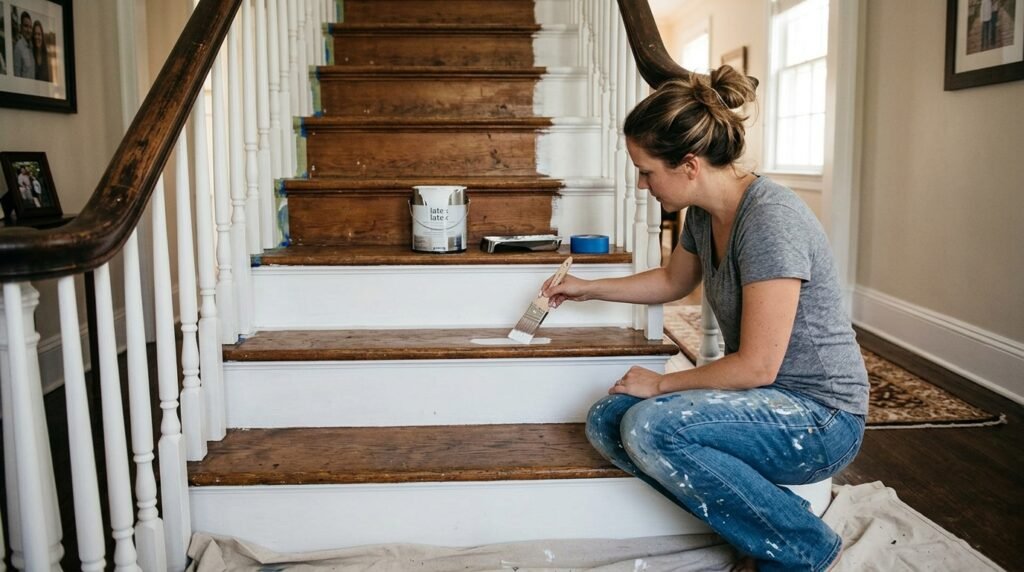
Following the right order from the beginning is what separates a staircase project that finishes cleanly from one that drags into repeated touch-ups and corrections. Below is the sequence most experienced finish crews follow on a standard residential staircase renovation.
| Stage | Task | Why It Comes Here |
| 1 | Full prep and surface protection | Protects all surrounding areas before any work begins |
| 2 | Sanding stair treads and risers | Creates the most airborne dust; must happen on bare wood |
| 3 | Priming risers and stringers | Bare wood primer before any topcoat |
| 4 | Painting risers and stringers | Drips on bare treads sand off cleanly |
| 5 | Staining the handrail | Gets handrail out of the way early |
| 6 | Staining the treads | The most delicate finishing step on the staircase |
| 7 | Sealing with polyurethane | Protective topcoat over cured stain |
| 8 | Painting walls, ceiling, and trim | Walls go on last over fully cured staircase |
| 9 | Final wall touch-ups | Small corrections after all other work is complete |
This sequence protects every finished surface from the work happening on the next surface. Swap any two steps and you will likely create a contamination or adhesion problem somewhere in the project.
Prep and Sanding Come Before Everything Else
Before any stain or paint product is applied, the entire work area needs to be properly prepared. This means removing furniture, covering flooring with canvas drop cloths, sealing HVAC vents to prevent dust from spreading into other rooms, and taping off any surfaces that need protection.
Sanding is then the first actual task on the staircase because it is the messiest and most dust-intensive part of the whole project, and doing it on bare wood means there are no finished surfaces nearby to contaminate.
Risers Get Painted Before Treads Get Stained
Within the staircase itself, the risers — the vertical front faces between each step — are painted before the treads are stained. This order matters because any paint drip that lands on a bare, unsanded tread simply sands off during prep without leaving a mark.
If the sequence were reversed and stain got onto a freshly painted riser, particularly with dark stain colors like walnut or ebony, the cleanup would involve scraping, sanding, and repainting that riser from scratch.
Walls and Trim Are Always the Final Painted Surface
Once the entire staircase — treads, risers, handrail, and spindles — is fully cured, the wall painting begins. At this point, all the messy stages are behind you. Dust is cleaned up, stain is cured, polyurethane is hardened, and the only task remaining is cutting in cleanly along the wall edges and rolling out the main wall sections.
Touch-ups to any spots that got nicked during the stair work happen at the very end after everything else is dry and the project is essentially complete.
When Painting Walls First Is Acceptable
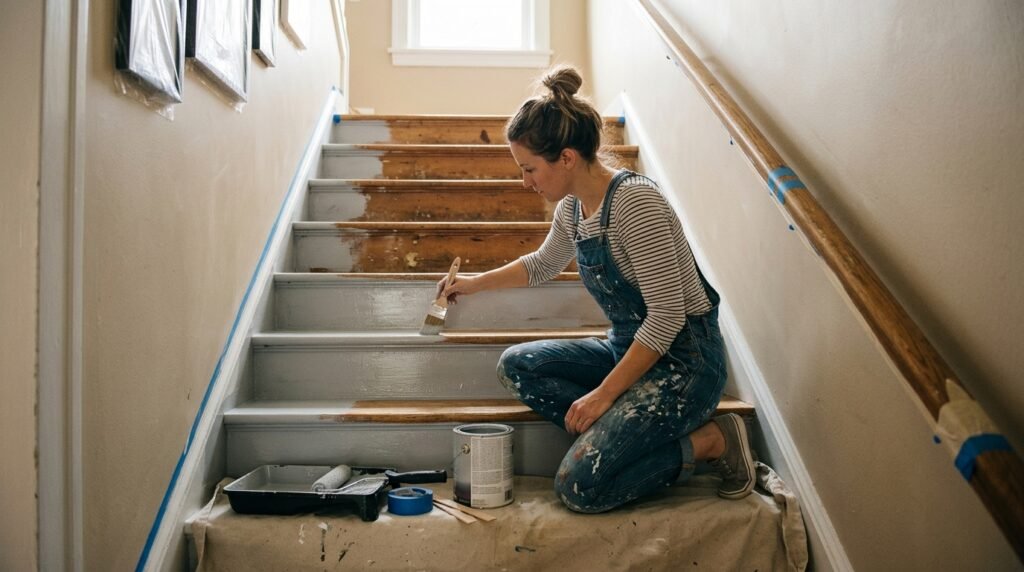
Although staining stairs first is the standard professional recommendation, there are specific situations where painting walls beforehand makes more practical sense and introduces less overall risk.
- Light prep sanding only — If the stairs only need light scuff sanding rather than a full refinishing strip, dust output is minimal and walls can be painted first without significant contamination risk
- Pre-finished stair components — When stair treads arrive from the manufacturer already stained and sealed, there is no sanding or liquid staining to cause mess, so wall painting can happen first
- Major drywall repairs needed — If the walls require skim coating, patching, or significant texture repair, those repairs and an initial prime coat may happen before stair work begins, with the final paint coat still applied after staining
- New construction scheduling — In brand new builds, walls are often primed and receive a first coat before stair installation is even complete, with final touch-up coats coming last
The consistent thread across all exceptions is that the final topcoat of wall paint still happens after staining in almost every scenario. Only the preliminary coats or repair work shift earlier in the timeline.
How Long to Wait Before Painting Walls After Staining Stairs
Timing is one of the most misunderstood aspects of this type of project. Stain and polyurethane can feel dry to the touch long before they are actually cured enough to safely work around.
Painting walls too soon after staining — even without touching the treads — risks disturbing the curing environment through increased airflow, paint fumes, or accidental contact.
| Product Type | Touch Dry | Ready for Next Coat | Safe to Work Around |
| Water-based stain | 1 to 2 hours | 8 to 12 hours | 24 hours |
| Oil-based stain | 6 to 8 hours | 24 hours | 24 to 72 hours |
| Water-based polyurethane | 2 to 4 hours | 6 hours | 24 hours |
| Oil-based polyurethane | 6 to 8 hours | 24 hours | 48 to 72 hours |
High humidity and low temperatures extend all of these timelines, sometimes by double. Rushing past the curing window is one of the most common reasons staircase finishes end up with permanent marks, smudges, or dull patches in the final result.
Common Mistakes to Avoid on Staircase Refinishing Projects
Most staircase renovation errors come down to either skipping the question of should you paint the walls before staining stairs entirely or cutting corners on timing and protection. These are the mistakes that consistently lead to rework.
Painting walls before sanding is complete. Even light post-sanding dust that lands on freshly painted walls dulls the surface in a way that requires a full repaint of the affected sections to correct properly.
Walking on polyurethane too soon. Polyurethane feels solid in 24 hours but is not truly hardened for 30 days. Heavy foot traffic during the first week leaves dents and impressions in the finish that are permanent and visible.
Using wall paint on risers. Standard interior wall paint is a film-forming product designed for low-traffic vertical surfaces. On risers that get kicked and scuffed constantly, it chips and peels within months. Floor-grade enamel or porch-and-floor paint is the correct product for that surface.
Taping over uncured stain or polyurethane. Painter’s tape adhered to a surface that has not fully cured will pull the finish off when removed, leaving a visible strip of damaged stain or paint. Always wait for full cure before taping adjacent surfaces.
Skipping primer on bare risers. Bare wood risers that receive paint directly without a primer coat will peel within a year regardless of paint quality. A proper oil-based or bonding primer is not optional on bare wood.
Choosing the Right Products for Stairs and Walls

Product selection has a direct impact on both durability and the ease of maintaining the correct project sequence.
For stair treads, oil-based stains deliver deeper color penetration and richer tone, though they require longer drying windows. Water-based stains dry faster and have lower odor but can raise the wood grain slightly, requiring a light sand between coats.
Over the stain, a floor-rated oil-based polyurethane in satin or semi-gloss finish offers the best combination of durability and appearance. Two to three coats is standard for indoor stairs with a light sand between each application.
For risers, stringers, and spindles, a cabinet-grade enamel or porch-and-floor paint provides the chip resistance and hardness that standard wall paint cannot. These products cure harder and maintain their edge sharpness under daily contact far better than typical interior latex.
For walls, finish selection depends on the room context. A low-sheen eggshell is the most common choice for stairwells because it is durable enough to clean but not so reflective that every wall imperfection becomes obvious under changing light conditions.
Frequently Asked Questions
Should you paint the walls before staining stairs in every situation?
No, not in every case. The general rule is to stain stairs first, but if the stairs only need light cleaning or the treads are pre-finished from the factory, painting walls first is reasonable. The final topcoat of wall paint should still come after any staining work in most scenarios.
Can stain drips be removed from painted walls?
Yes, but not easily. Fresh stain on paint can be blotted carefully with a mineral spirits-dampened cloth, but this often dulls the surrounding paint finish. The affected area typically requires a touch-up coat, which rarely blends seamlessly into aged or tinted wall paint.
How many coats of polyurethane should stair treads receive?
Most professionals apply two to three coats of floor-rated polyurethane on interior stair treads, with a light 220-grit sand between each coat. High-traffic staircases benefit from three full coats to build adequate film thickness for long-term wear resistance.
Is it safe to use the stairs during the staining process?
You should avoid using the stairs during staining and for at least 24 to 48 hours after the final polyurethane coat. Many professionals stain alternating treads so that the staircase remains passable during the project, completing the remaining treads once the first group is cured.
What is the best sheen level for stair tread polyurethane?
Satin is the most widely recommended finish for stair treads. It provides enough sheen to look polished without showing every scratch and footprint the way gloss finishes do, and it offers adequate slip resistance for safety on a frequently used staircase.
Conclusion
The question of should you paint the walls before staining stairs has a clear professional answer for the vast majority of home projects: stain the stairs first, then paint the walls. The sanding dust, liquid stain, and multiple polyurethane coats involved in stair refinishing create too many contamination risks for freshly painted surfaces to withstand.
Painting walls after the staircase is fully stained and cured produces cleaner edges, easier touch-ups, and a more cohesive finished result throughout the stairwell. Respect the sequence, give each product its full cure time, and use the right materials for each surface — those three decisions determine whether the project finishes looking professionally done or pieced together.
Related Articles
Roof Repairs Worcester: Your Complete Local Guide to a Safe and Lasting Roof
How to Clean Vinyl Floors: The Complete Step-by-Step Guide
Factors Affecting Door Installation Cost: What You Need to Know
Shower Door Repair: Complete Guide to Fix Common Shower Door Problems
Roof Leaks in Heavy Rain: Causes, Signs & Fixes
18 Inch Deep Base Cabinets: A Smart Storage Solution for Every Kitchen