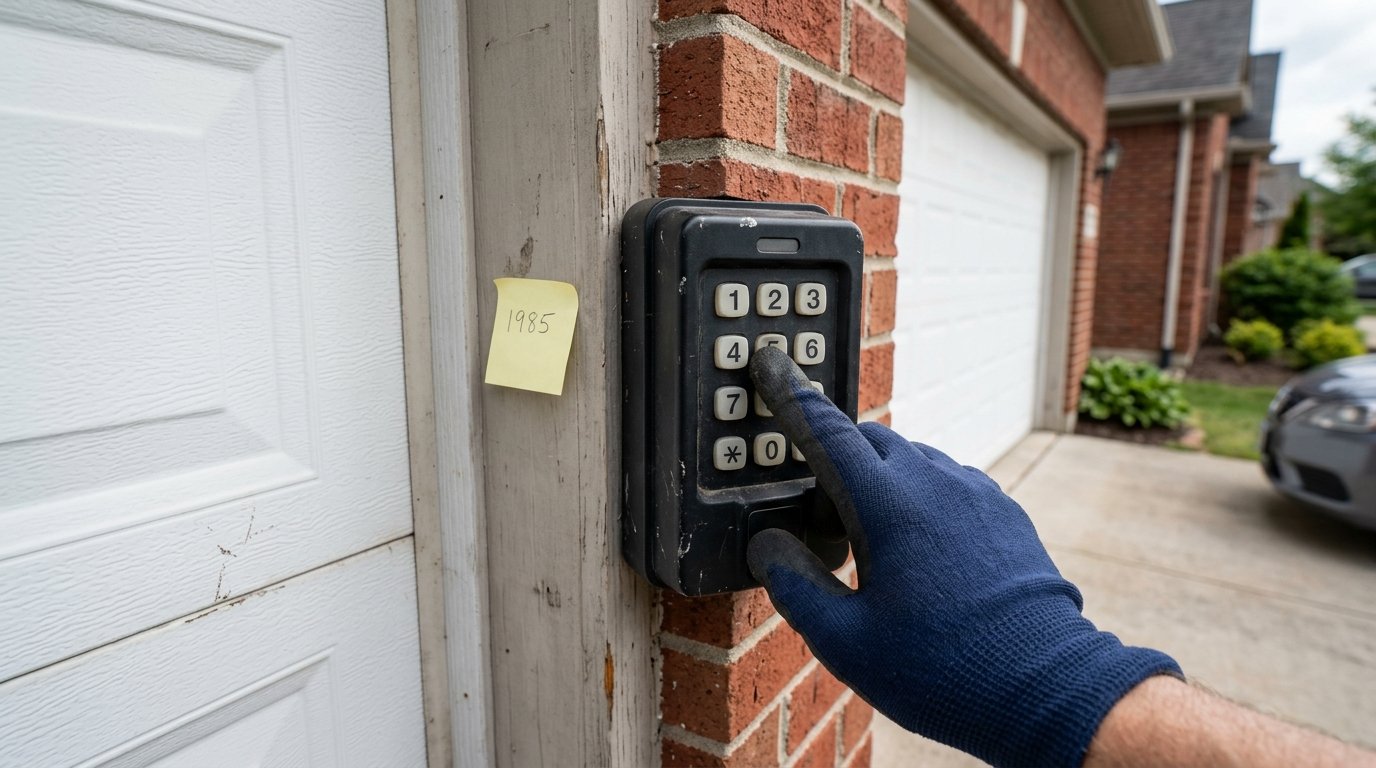

Changing your garage code is a quick security task that most homeowners can complete themselves using the keypad or opener unit directly. Whether you moved into a new home or simply want to improve security, the process usually takes only a few minutes once you know the correct steps.
Why Changing Your Garage Code Matters
A garage code acts as a digital key to your home, so keeping it updated regularly reduces the risk of unauthorized access. Many homeowners overlook this simple step, even though it is one of the easiest ways to improve home security.
Security Risks of an Old Code
An outdated garage code that has been shared with previous tenants, contractors, or guests can remain active indefinitely if never changed. This creates a security gap that many people forget about after moving into a new house. Regularly updating the code closes this risk without requiring any hardware replacement.
When You Should Change the Code
Common situations that call for a code change include moving into a new home, losing a keypad remote, or suspecting someone unauthorized knows the current code. Some homeowners also choose to change it periodically as a general safety habit. Recognizing these triggers helps you stay proactive rather than reactive about garage security.
Tools and Information Needed Before Starting
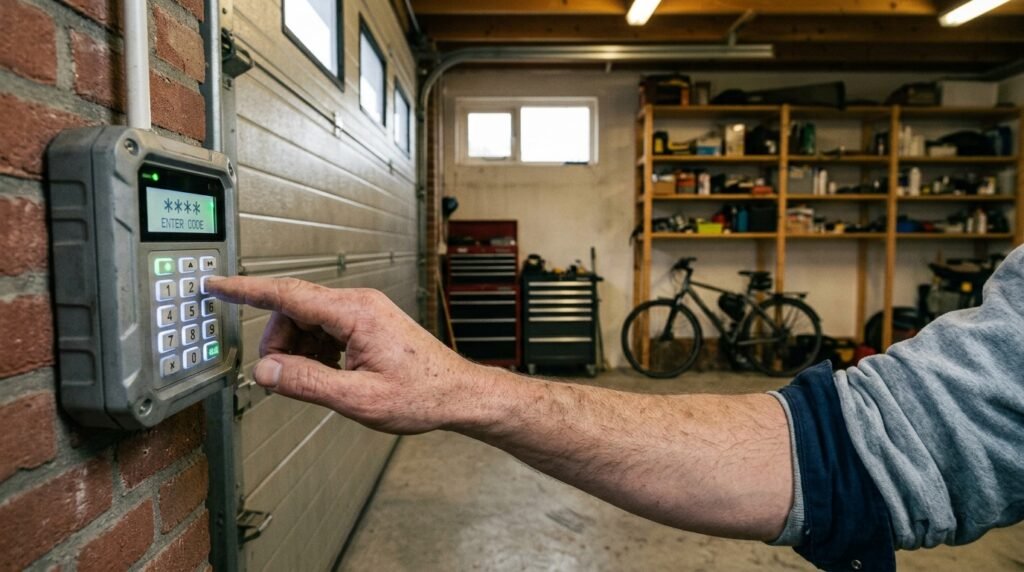
Before changing the code, it helps to gather some basic information about your opener brand and access the main motor unit. This preparation avoids unnecessary delays once the actual process begins.
Identifying Your Opener Brand
Knowing whether your opener is Chamberlain, LiftMaster, Genie, or another brand is important since keypad instructions vary slightly between manufacturers. The brand name is usually printed on the motor unit or the keypad itself. This information determines which programming button sequence you will need to follow.
Locating the Keypad and Motor Unit
The keypad is typically mounted outside the garage near the entry door, while the motor unit sits on the ceiling inside the garage. Both may need to be accessed during the code changing process, depending on your opener type. Having a ladder ready in advance makes reaching the motor unit safer and easier.
Step by Step Process to Change Garage Code
Once you have identified your opener brand and located the necessary components, the actual code changing process follows a fairly consistent pattern. These general steps apply to most standard keypad systems with only minor variations.
Accessing the Programming Mode
Begin by pressing the Learn or Program button on the motor unit, which usually triggers a small indicator light to turn on. This signals that the opener is ready to accept a new code input. This step must be completed before entering any numbers on the keypad.
Entering the New Code
While the opener is in programming mode, enter your desired new code on the keypad followed by the enter or program button if required. The indicator light on the motor unit will often blink to confirm the code has been accepted. Choosing a code that is easy to remember but not too obvious is recommended for better security.
Confirming the Change Was Successful
After entering the new code, test it immediately by opening the garage door using only the keypad. If the door responds correctly, the code change was successful and the old code should no longer work. If the old code still works, the programming steps may need to be repeated carefully.
Changing Codes by Popular Garage Opener Brands
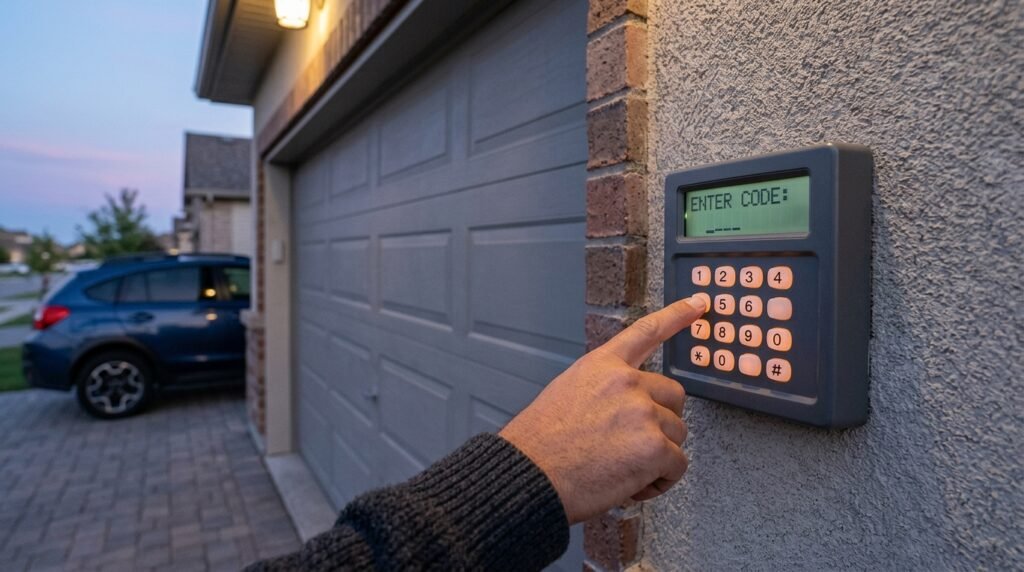
Although the overall process is similar, different brands use slightly different terminology and button layouts for their keypads. The table below summarizes common differences to help you identify the right steps for your system.
| Brand | Programming Method | Notes |
| Chamberlain | Learn Button plus Keypad Entry | Light blinks to confirm new code |
| LiftMaster | Learn Button plus Keypad Entry | Similar process to Chamberlain |
| Genie | Program Button plus Keypad Entry | May require holding button longer |
| Craftsman | Learn Button plus Keypad Entry | Comparable layout to Chamberlain |
Chamberlain and LiftMaster Code Changes
Since Chamberlain and LiftMaster share the same parent company, their code changing steps are nearly identical across most models. Both typically require pressing the Learn button until a light blinks, followed by entering the new code on the keypad. This overlap makes troubleshooting easier for households with either brand.
Genie Opener Code Changes
Genie systems sometimes require holding the program button slightly longer before the unit enters programming mode compared to other brands. The keypad may also require pressing enter twice to confirm the new code fully. Checking the manual for exact timing prevents repeated failed attempts.
Choosing a Secure New Garage Code
Selecting a strong code is just as important as knowing how to change it, since a weak code can be guessed easily by others. A good code balances memorability with enough complexity to prevent unauthorized guessing.
Avoiding Common Number Patterns
Codes like birth years, repeated digits, or simple sequences such as 1234 are easy for others to guess if they know basic personal details. Choosing a random combination instead significantly improves security without making the code harder to remember. This small choice makes a noticeable difference in protecting your home.
Balancing Memorability and Security
A good garage code should be something you can recall quickly without needing to write it down anywhere accessible. Using a mix of numbers that has personal meaning to you, but is not publicly known, works well. This balance ensures convenience without sacrificing safety.
Troubleshooting Common Code Change Issues
Sometimes the code changing process does not work on the first attempt, even when instructions are followed carefully. Identifying the cause quickly helps avoid frustration and repeated failed programming attempts.
Keypad Not Responding
If the keypad does not respond during programming, checking the battery level is usually the first troubleshooting step to take. A weak battery can prevent the signal from reaching the motor unit properly. Replacing the battery often resolves this issue immediately.
Old Code Still Working
If the previous code continues to work after programming a new one, the opener’s memory may not have been cleared properly beforehand. Resetting the entire keypad system before re-entering a new code usually fixes this problem. This step ensures no conflicting codes remain stored in memory.
Competitor Content Analysis
Most existing articles on this topic focus narrowly on one specific brand or skip important details like choosing a secure code or troubleshooting failed attempts. Few guides explain the security reasoning behind changing a code regularly or compare the process across multiple opener brands in one place. This guide fills those gaps by combining clear steps, brand comparisons, security advice, and troubleshooting guidance together.
Conclusion
Changing your garage code is a simple yet important task that strengthens your home’s security without requiring any special tools or professional help. By identifying your opener brand, following the correct programming steps, and choosing a secure new code, you can complete this process confidently and keep your garage protected.
Frequently Asked Questions
How often should you change your garage code?
It is a good practice to change your garage code whenever you move homes, lose a remote, or suspect someone unauthorized knows it.
Why is my new garage code not working?
This is often caused by an interrupted programming sequence or a low keypad battery preventing the signal from reaching the opener.
Can I change the garage code without the original remote?
Yes, most keypad systems allow code changes directly through the motor unit’s Learn button without needing the original remote.
Is it safe to use a simple garage code?
Simple codes like birthdays or repeated numbers are easier to guess, so choosing a more random combination is recommended for better security.
Do all garage keypads use the same programming steps?
No, steps vary slightly by brand, so checking your specific opener manual ensures the process is done correctly the first time.
Related Articles
How to Clean and Store Kitchen Tools: The Complete Guide
How to Clean Cork Flooring: A Complete Guide 2026
Wet Floor Sign: A Complete Guide 2026
Glow in the Dark Epoxy Floor: The Ultimate Guide for Homeowners & Contractors