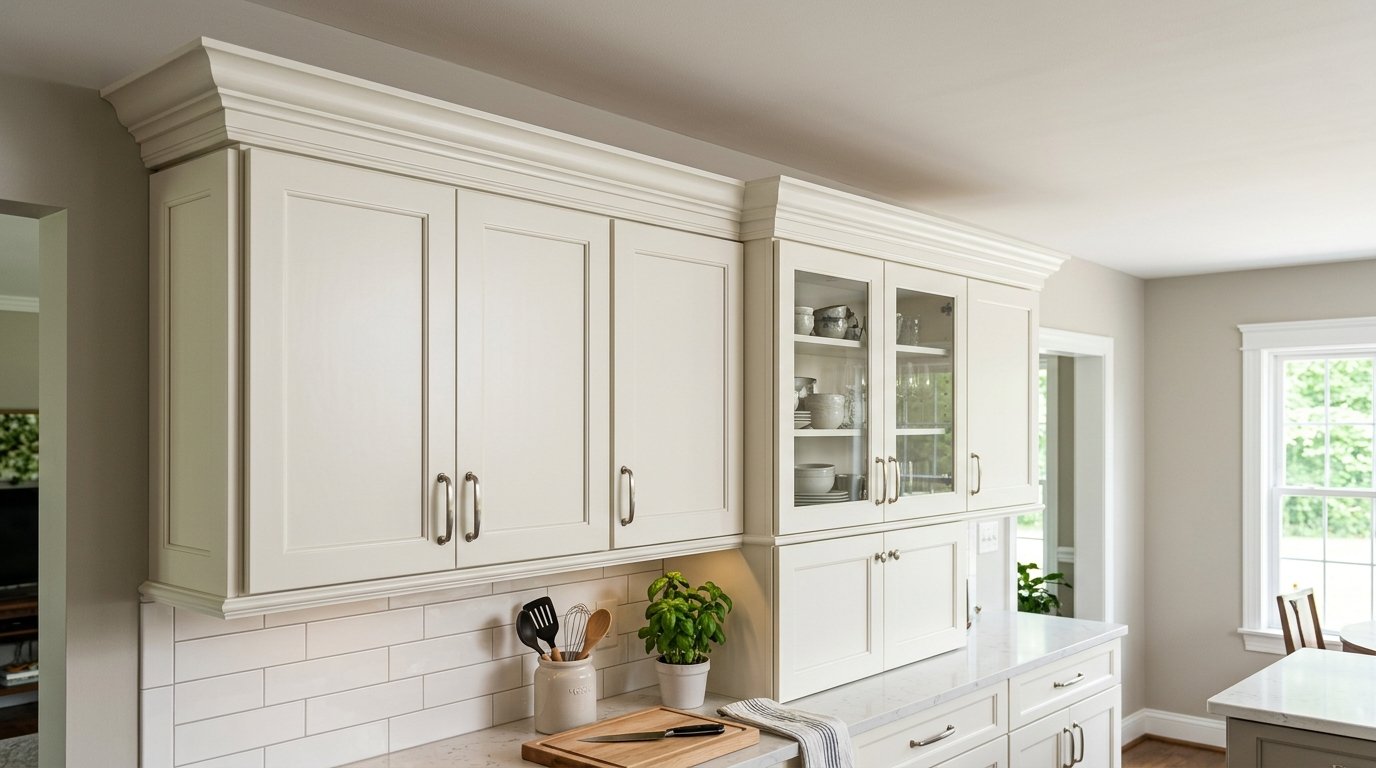

Crown molding adds a polished, elegant touch to kitchen cabinets, making them look custom-built and seamlessly connected to the ceiling. Many homeowners want this upgraded look but hesitate to attempt it themselves, assuming it requires professional expertise. In reality, learning how to attach crown molding to cabinets is a manageable project if you understand the right tools, measurements, and installation techniques.
This guide breaks down the entire process step by step, from preparing materials to achieving clean corner joints, so you can complete this upgrade with confidence and a professional-looking result.
Why Crown Molding Enhances Cabinet Design
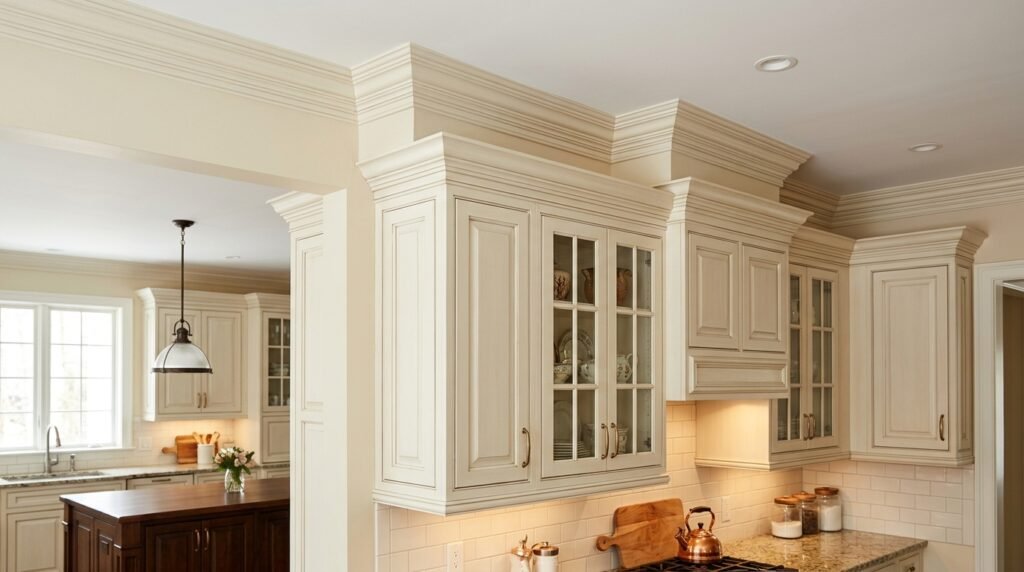
Crown molding transforms plain cabinet tops into a finished, high-end feature that blends naturally with the ceiling. It closes gaps and adds architectural detail that elevates the entire kitchen’s appearance.
Hiding Gaps Between Cabinets and Ceiling
One of the main functional benefits of crown molding is covering the awkward gap that often exists between the top of cabinets and the ceiling. This creates a cleaner, more finished look throughout the kitchen space.
Adding a Custom, High-End Look
Crown molding gives cabinets a custom-built appearance, similar to expensive built-in cabinetry, even if the cabinets themselves are standard sizes. This small addition can significantly increase the perceived value of the kitchen.
Tools and Materials Needed for Installation
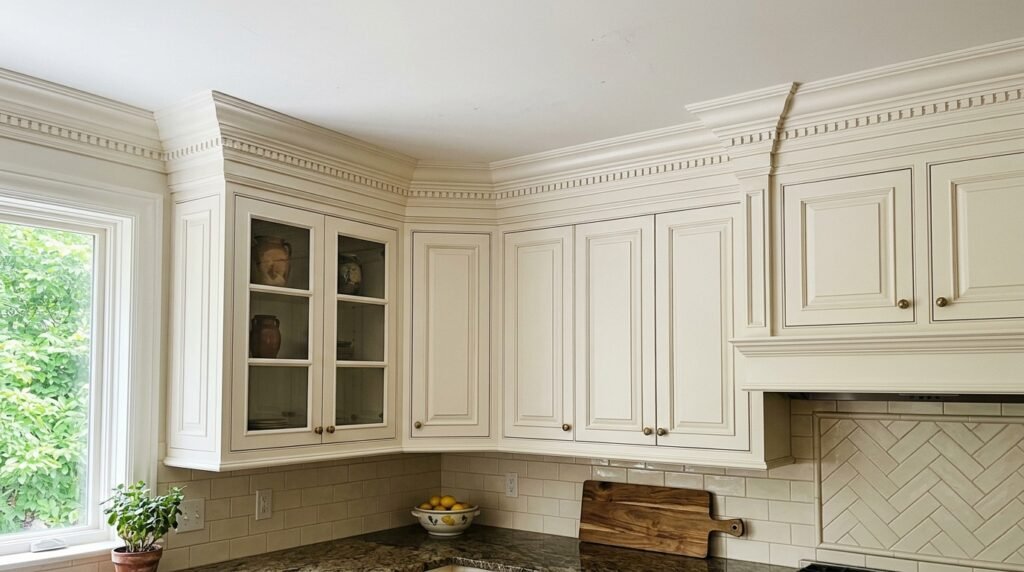
Having the right tools ready before starting ensures the installation process goes smoothly without unnecessary delays or mistakes.
Essential Tools Required
You will need a miter saw for cutting angles, a measuring tape, a level, a nail gun or hammer with finishing nails, and wood glue. A coping saw may also be needed for creating tight inside corner joints.
Choosing the Right Crown Molding Material
Crown molding is available in solid wood, MDF, or polyurethane, each offering different price points and durability levels. MDF is budget-friendly and easy to work with, while solid wood offers a more premium, authentic appearance.
Step-by-Step Process to Attach Crown Molding to Cabinets
Following a clear, organized process ensures the crown molding fits properly and looks seamless once installed on top of the cabinets.
Step 1: Measure the Cabinet Perimeter
Begin by measuring the full length of the cabinet tops where the molding will be installed, including all corners and edges. Accurate measurements at this stage prevent wasted material and fitting issues later in the project.
Step 2: Cut the Molding at Correct Angles
Using a miter saw, cut the molding pieces at 45-degree angles for outside corners and use a coping saw technique for inside corners. Taking time with these cuts is essential, since incorrect angles can leave visible gaps at the joints.
Step 3: Attach a Nailing Strip if Needed
If your cabinets do not have enough surface area on top, attach a wooden nailing strip along the cabinet edge first. This strip provides a solid base for securing the crown molding firmly in place.
Step 4: Apply Wood Glue to the Molding
Before nailing the molding in place, apply a thin layer of wood glue along the back edge that will touch the cabinet surface. This adds extra strength and stability, especially at the corner joints.
Step 5: Nail the Molding in Place
Use a nail gun or hammer with finishing nails to secure the molding firmly to the cabinet or nailing strip. Space the nails every twelve to sixteen inches for a stable and even hold along the entire length.
Step 6: Fill Gaps and Sand Smooth
After installation, use wood filler to fill any small gaps or nail holes along the molding. Once dry, sand the filled areas smooth so they blend seamlessly with the rest of the crown molding surface.
Table: Crown Molding Material Comparison
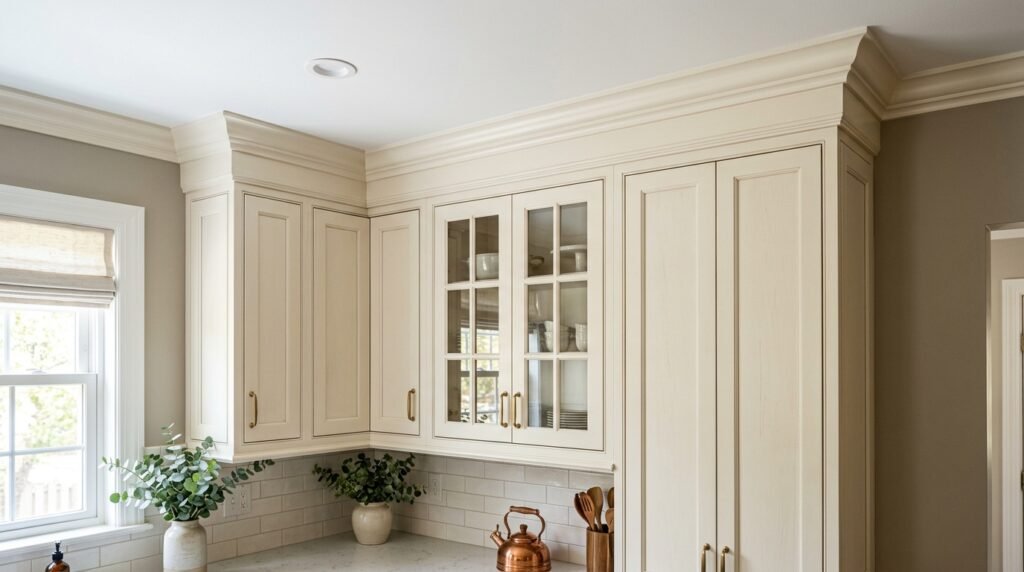
| Material Type | Durability | Cost Level | Best For |
| Solid Wood | High | Expensive | Premium, traditional kitchens |
| MDF | Moderate | Affordable | Budget-friendly projects |
| Polyurethane | High | Moderate | Moisture-prone areas |
Common Mistakes to Avoid When Installing Crown Molding
Certain mistakes can compromise the final look of the crown molding, so it helps to be aware of them before starting the installation process.
Incorrect Corner Cutting
Cutting corners at the wrong angle is one of the most common mistakes, often leading to visible gaps at joints. Taking time to measure and test-fit pieces before nailing them in place can prevent this issue.
Skipping the Nailing Strip
Attempting to nail crown molding directly onto thin cabinet edges without a proper nailing strip can result in a weak, unstable installation. This strip provides the necessary support for long-term durability.
Rushing the Painting or Finishing Step
Applying paint or stain too quickly, before wood filler has fully dried, can result in an uneven finish. Allowing proper drying time ensures a smooth, professional-looking final appearance.
Tips for a Professional Finish
A few extra tips can help elevate the overall look of your crown molding installation, making it appear as though it was professionally done.
Pre-Paint Before Installation
Painting or staining the crown molding pieces before installing them can save time and result in cleaner edges, since it is easier to paint flat pieces than installed molding with corners.
Use Caulk for Seamless Corners
Applying a thin line of paintable caulk along the seams and corners after installation helps hide any minor imperfections. This creates a smooth, continuous look once painted over.
Conclusion
Understanding how to attach crown molding to cabinets allows you to upgrade your kitchen with a custom, high-end appearance without hiring expensive professional help. By carefully measuring, cutting accurate angles, using a nailing strip when needed, and finishing with wood filler and caulk, you can achieve a clean and seamless result. Taking your time with each step, especially corner cuts and drying periods, ensures the crown molding looks polished and professionally installed for years to come.
FAQs
Do I need special tools to install crown molding on cabinets?
Yes, a miter saw, nail gun, and level are essential tools for accurate and secure installation.
What material is best for crown molding on cabinets?
MDF is budget-friendly and easy to work with, while solid wood offers a more premium finish.
Can I install crown molding without a nailing strip?
It is not recommended since cabinets often lack enough surface area for secure attachment without one.
How long does it take to install crown molding on cabinets?
For an average kitchen, installation typically takes four to six hours depending on cabinet layout and corners.
Related articles
How Long Does It Take for Bathroom Caulk to Dry? Complete Guide
Acid Staining Concrete Floor: Complete Guide
How to Find a Water Leak Underground Complete Guide 2026